


")
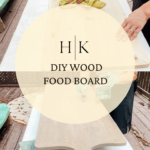
I’m so excited to finally share this DIY wood food board tutorial, which I’ve had on my to-do list for months!
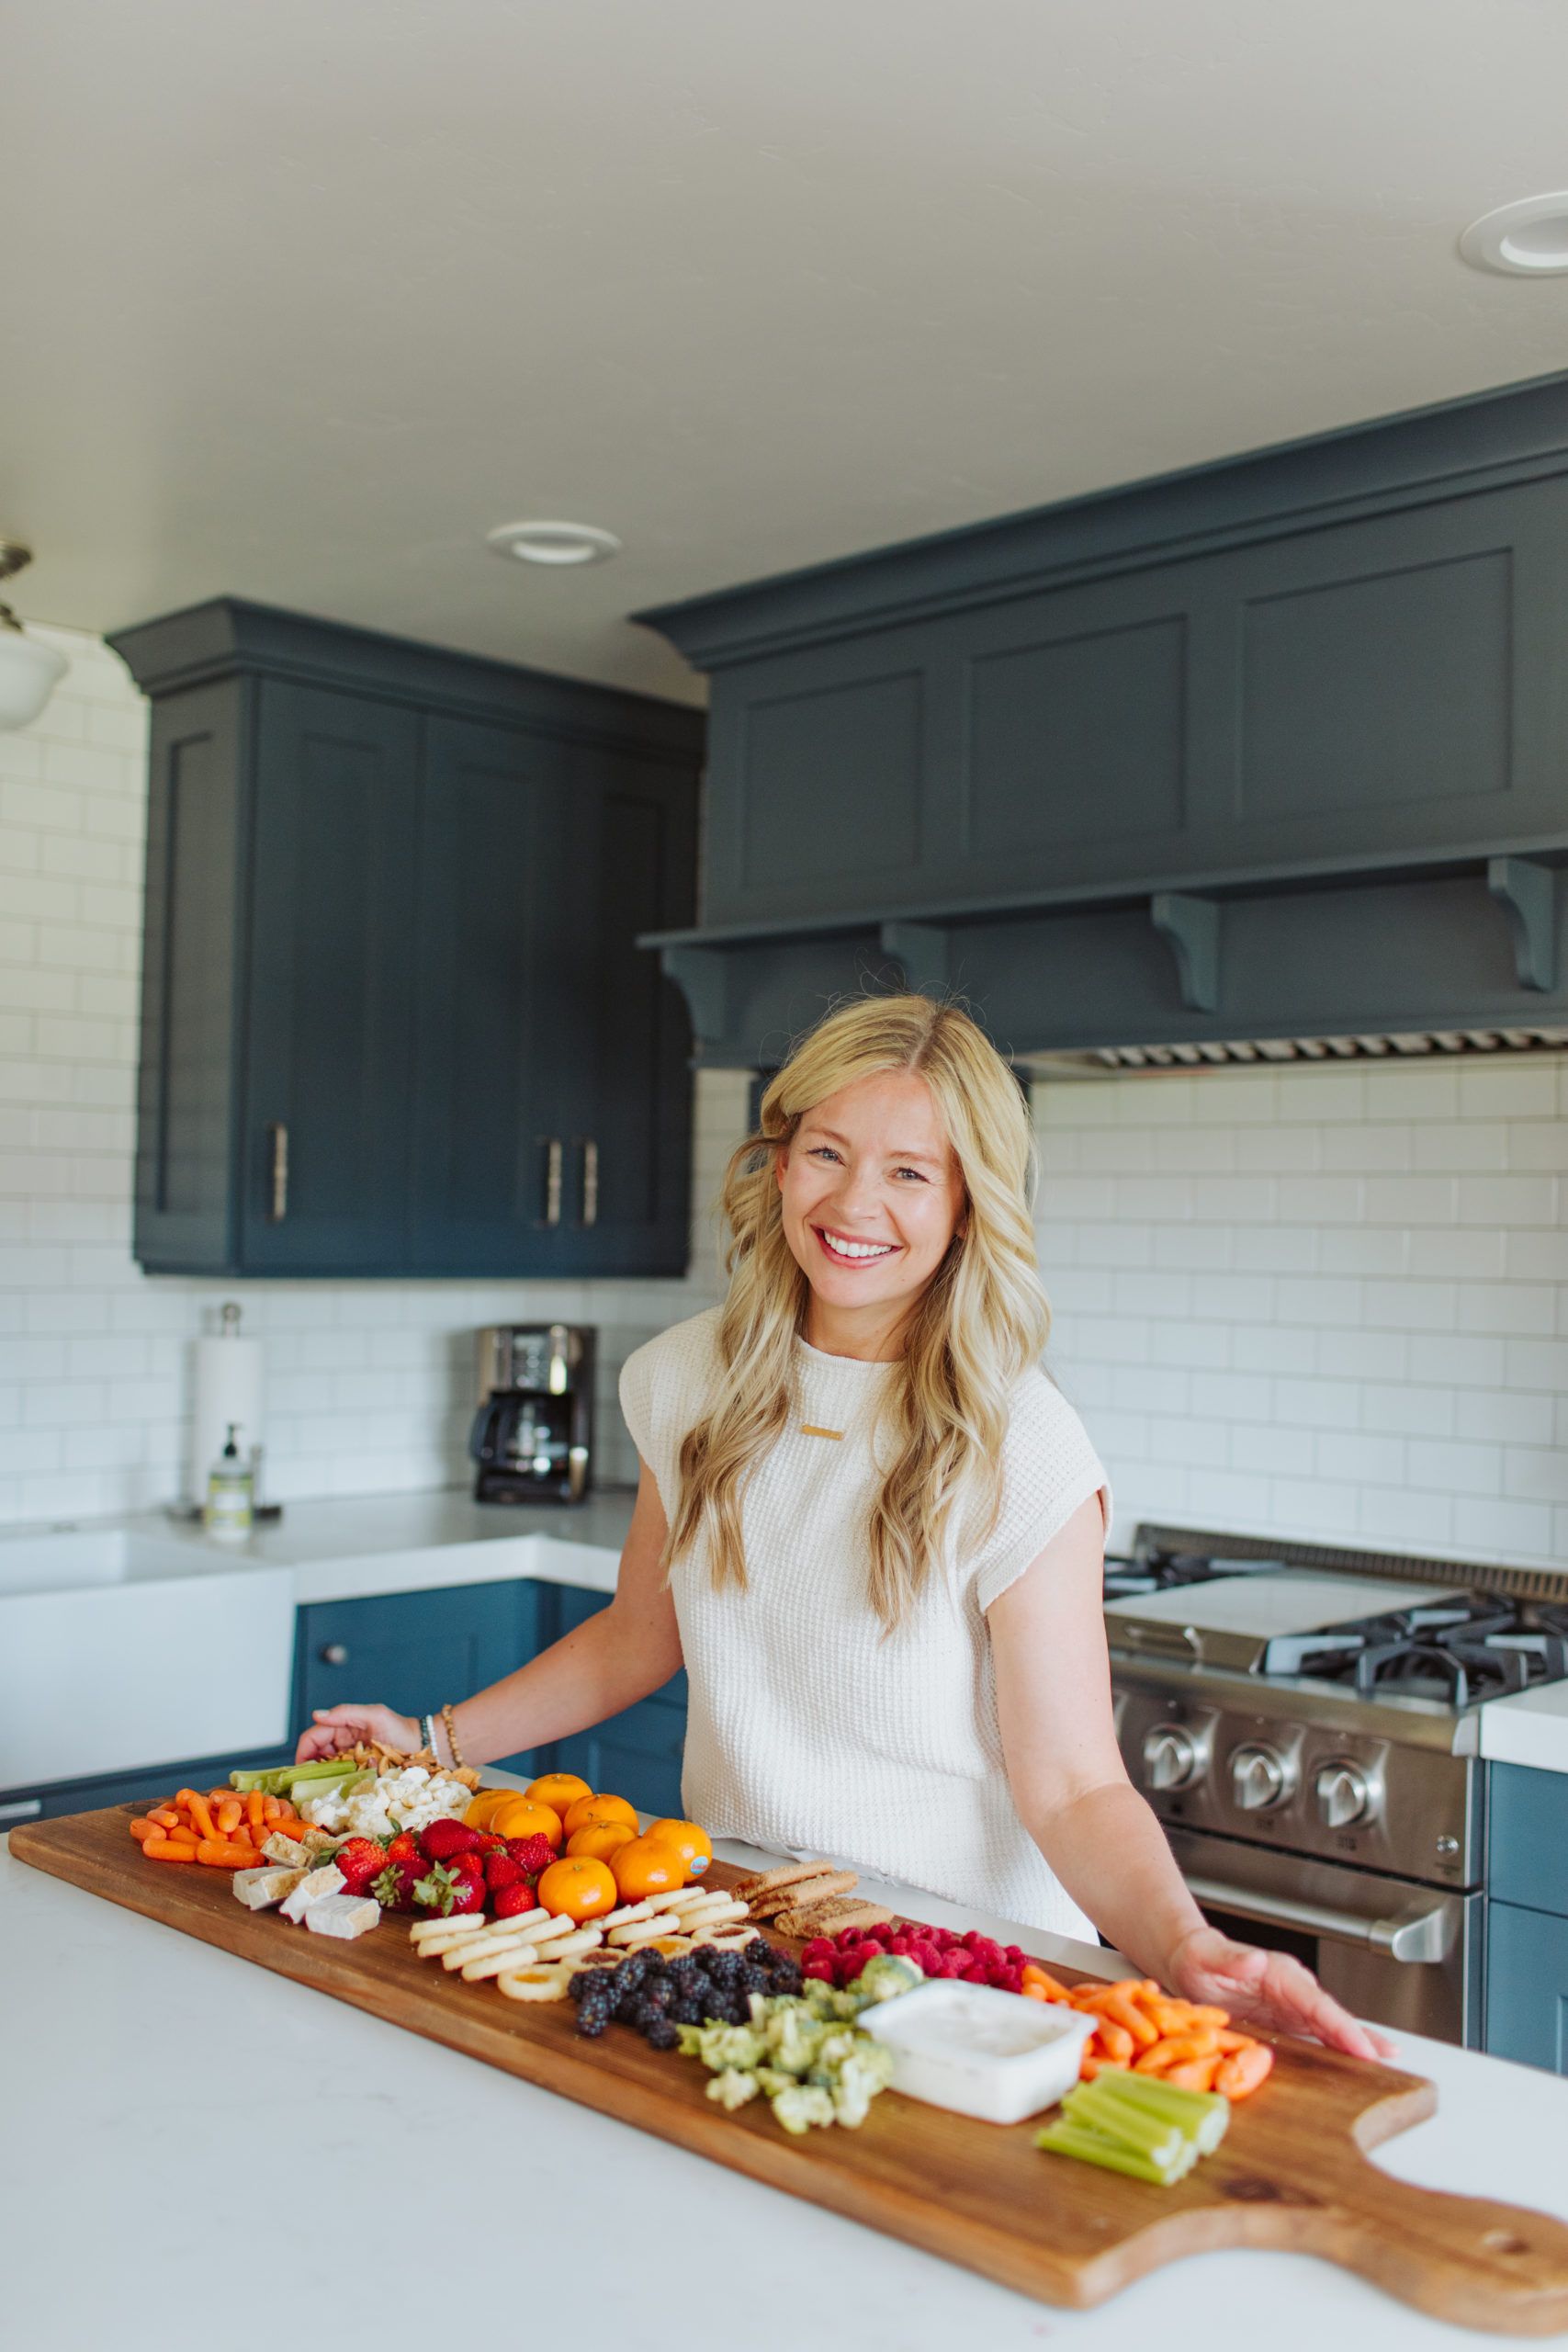
Awhile back I went to a business retreat and fell in love with this giant wood food board I saw hanging on the wall at the event. We pulled it down and had a great time using it to display and eat an array of tasty snacks. (Think: fruit, crackers, cheese, and all the charcuterie board staples.)

I figured I could totally make one of these boards of my own, and now six months later, here I am, finally making it happen.
Materials Required for a DIY Wood Food Board
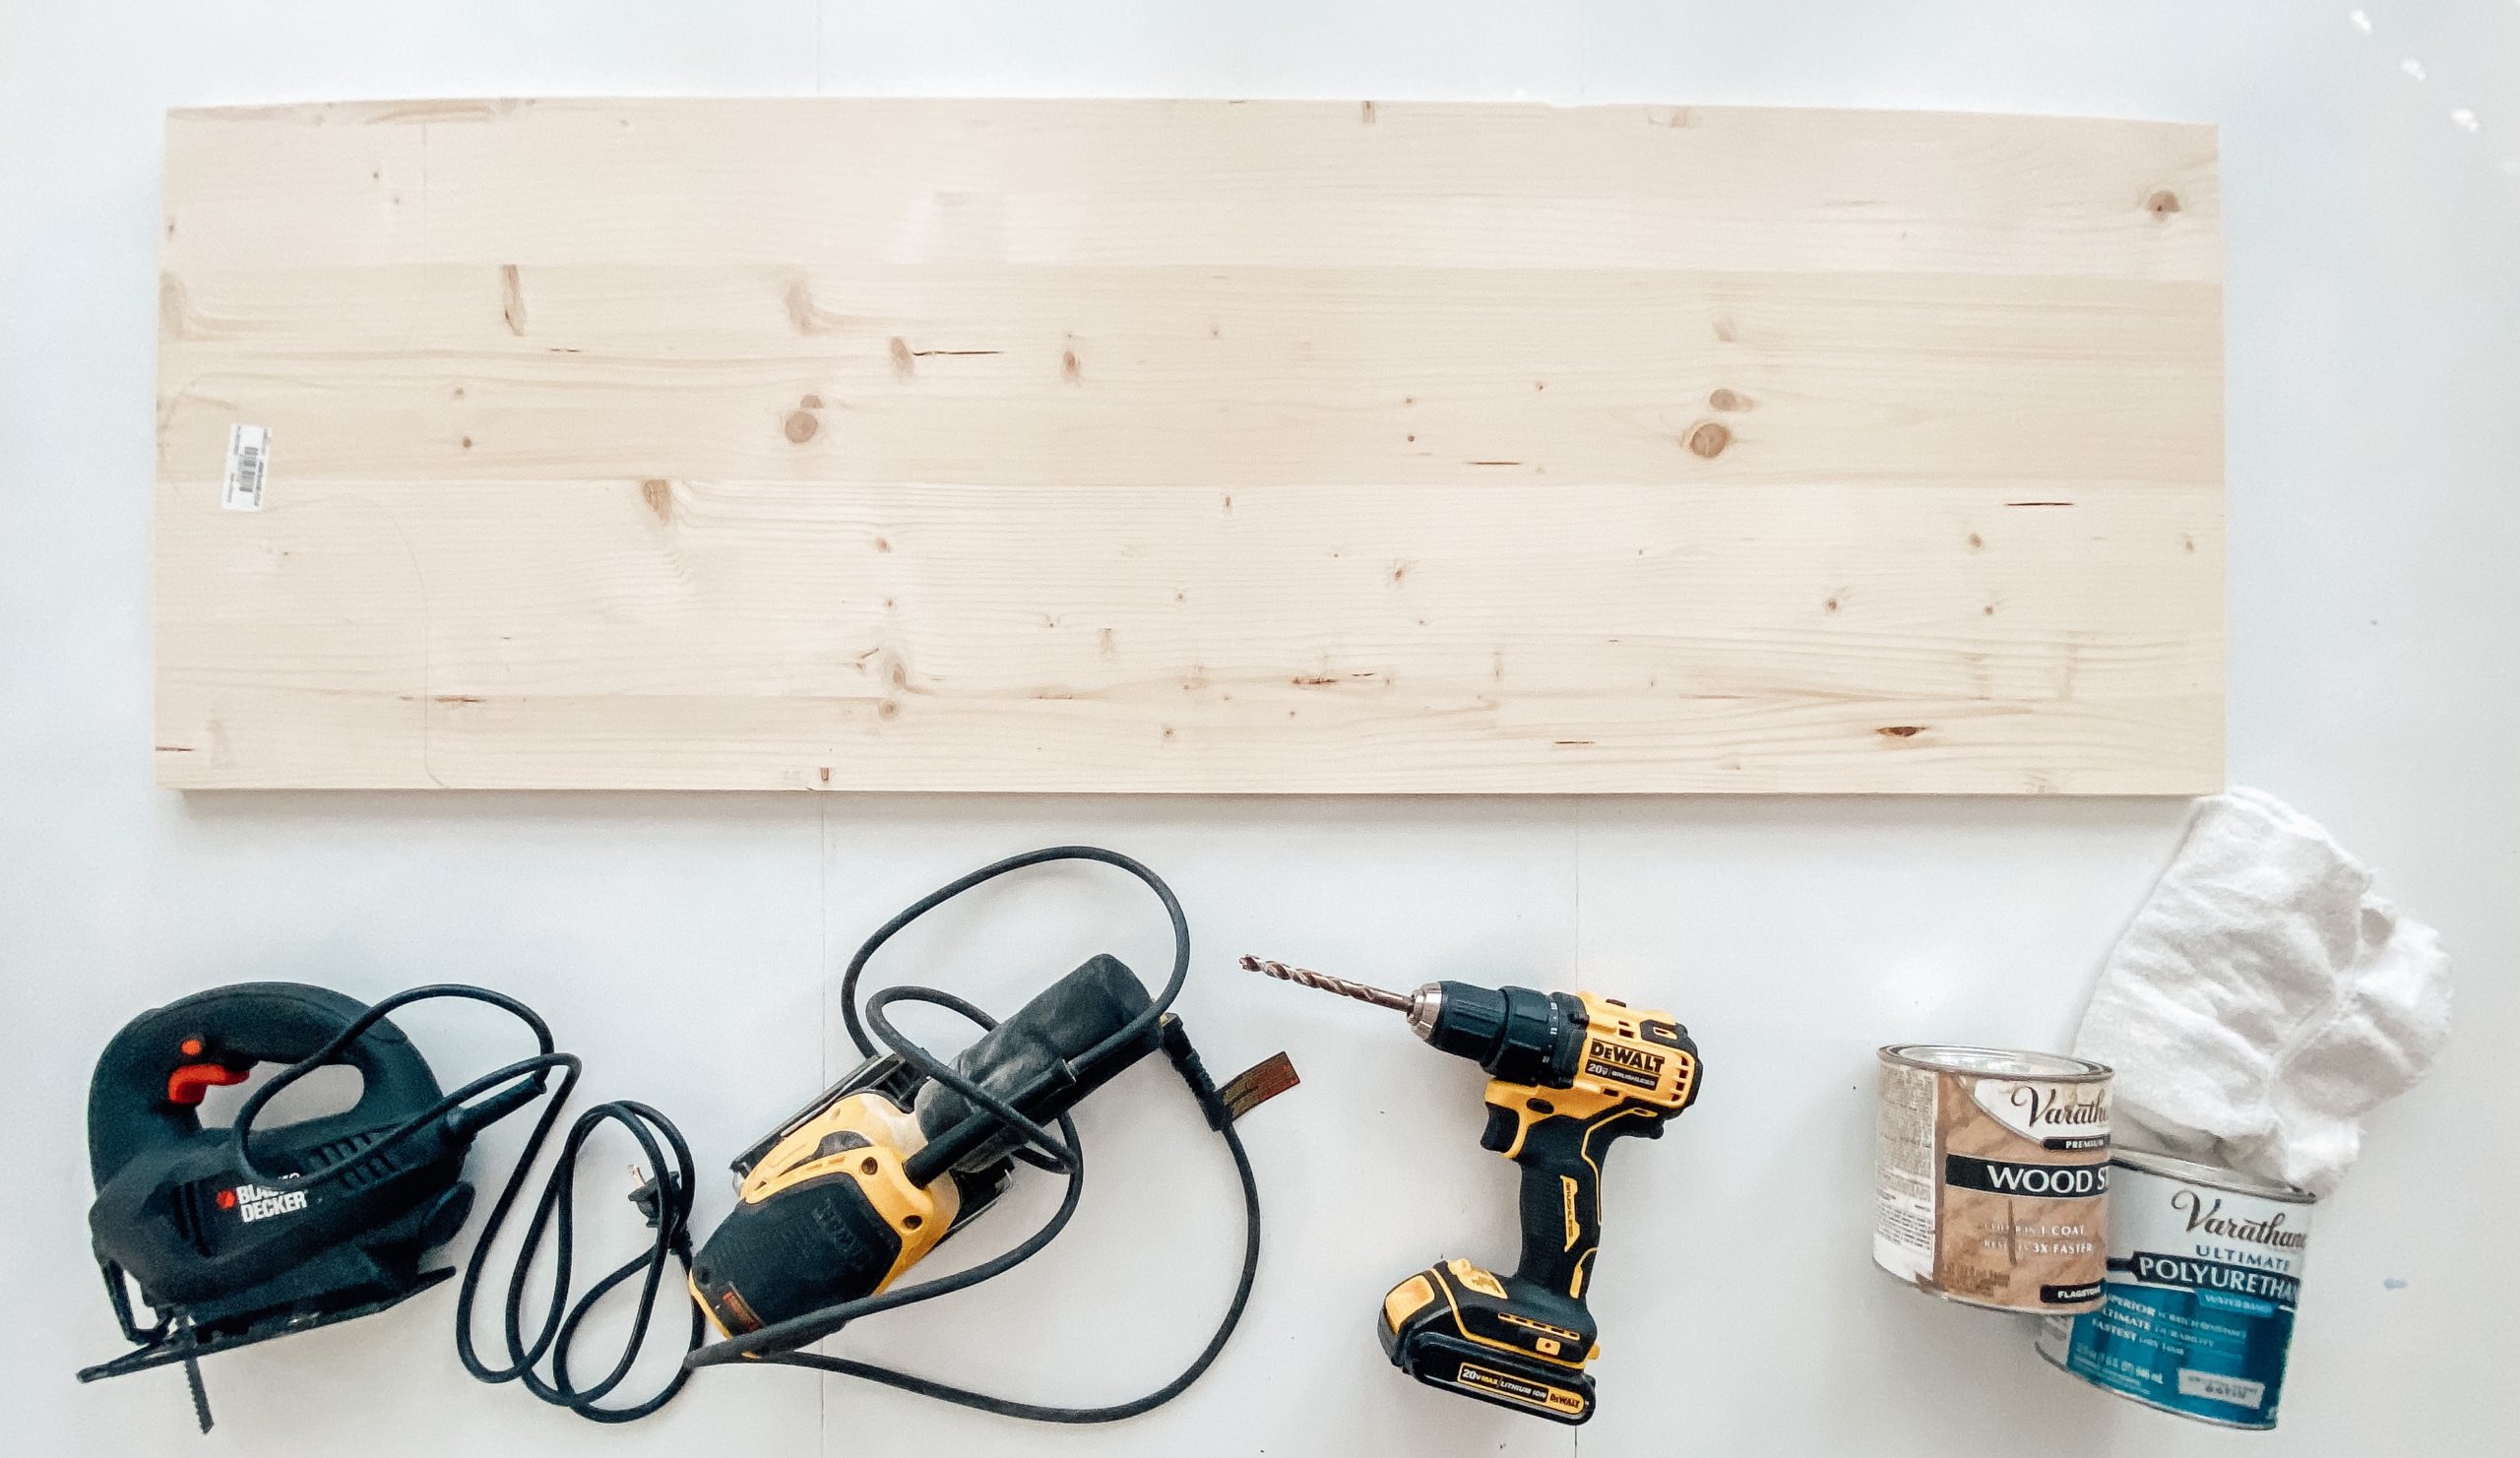
The first step to making a DIY wood food board is to gather and purchase all of your materials. Here are all the tools and materials you’ll need:
- A piece of laminated spruce wood (Mine is about 48 inches long and 17 inches wide)
- Jigsaw
- Sander
- 100-grit sandpaper
- 220-grit sandpaper
- Drill
- Drill bits
- Microfiber towels
- Wood stain
- Polyurethane
Steps to Making a DIY Wood Food Board
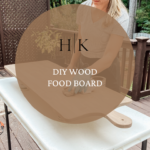
- Trace your pattern: Once all of your materials are ready to go, it’s time to create a template for the handle portion of your food board, then trace it onto the board. I made sure mine was symmetrical by creating half of a pattern, tracing it on one side, then flipping it over to the other side.
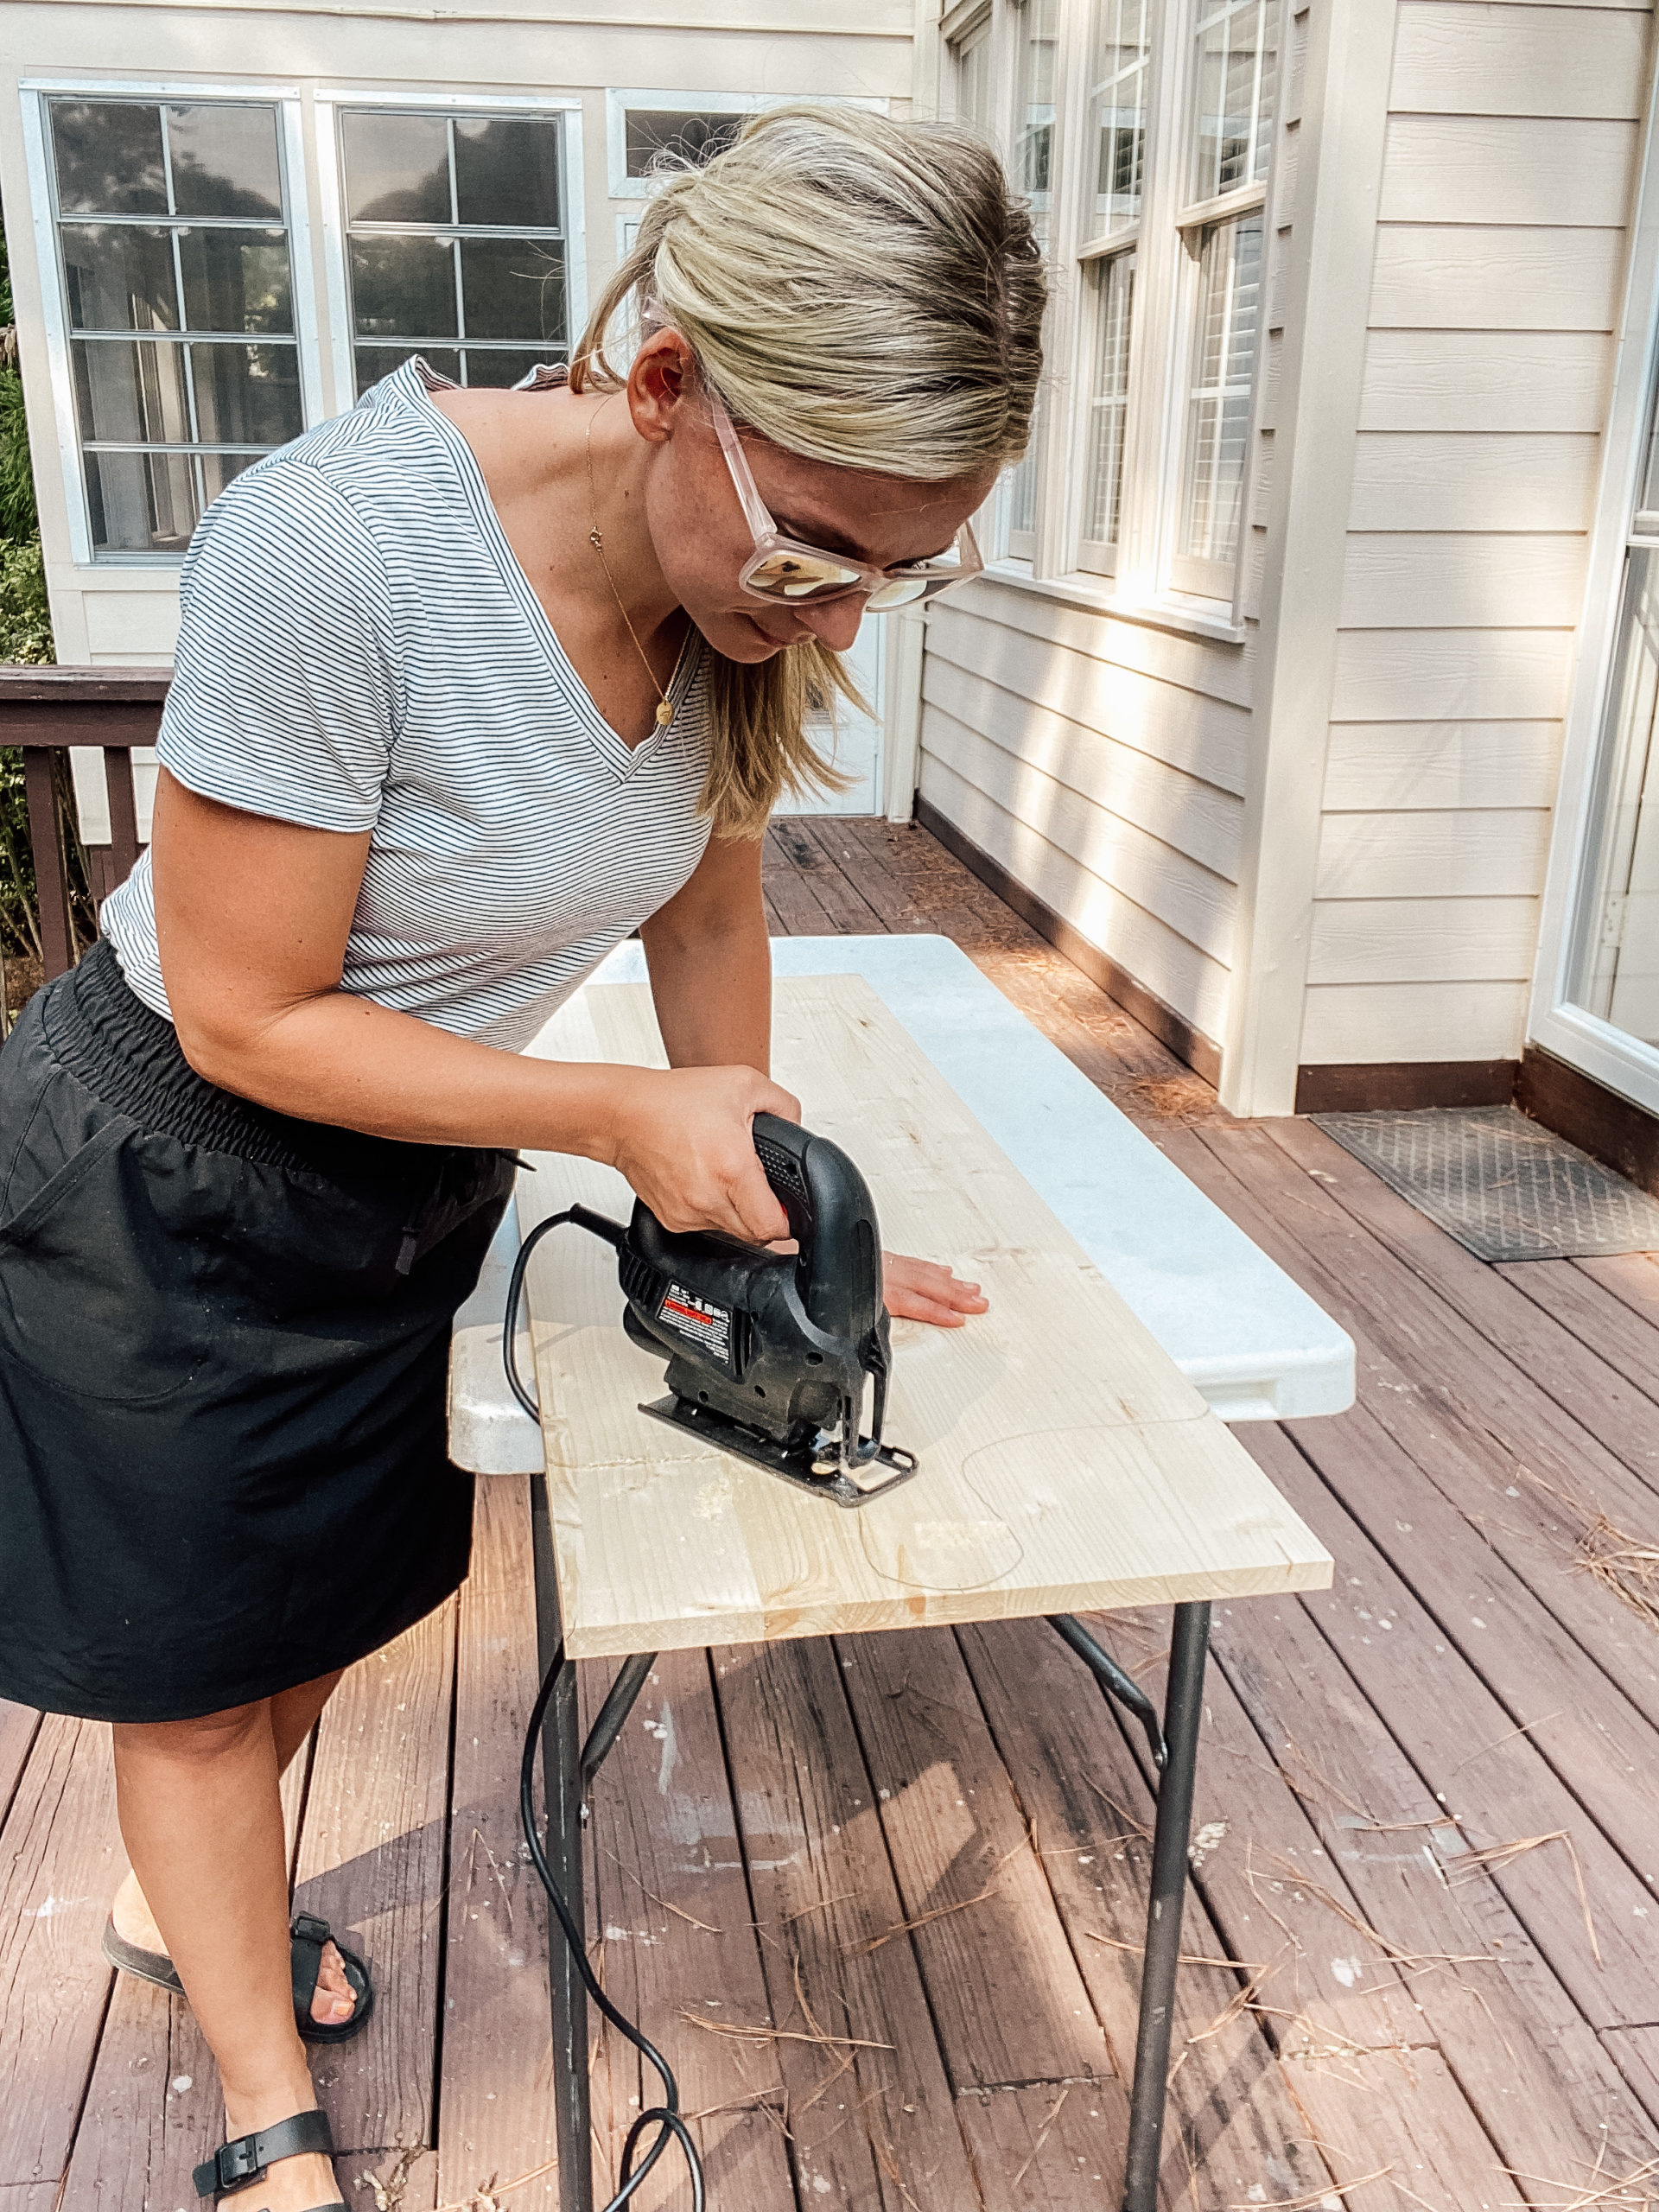
2. Cut the board: Now it’s time to cut along the pencil markings using a jigsaw. You’ll also want to curve the other sides of the board for a more finished look.
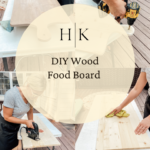
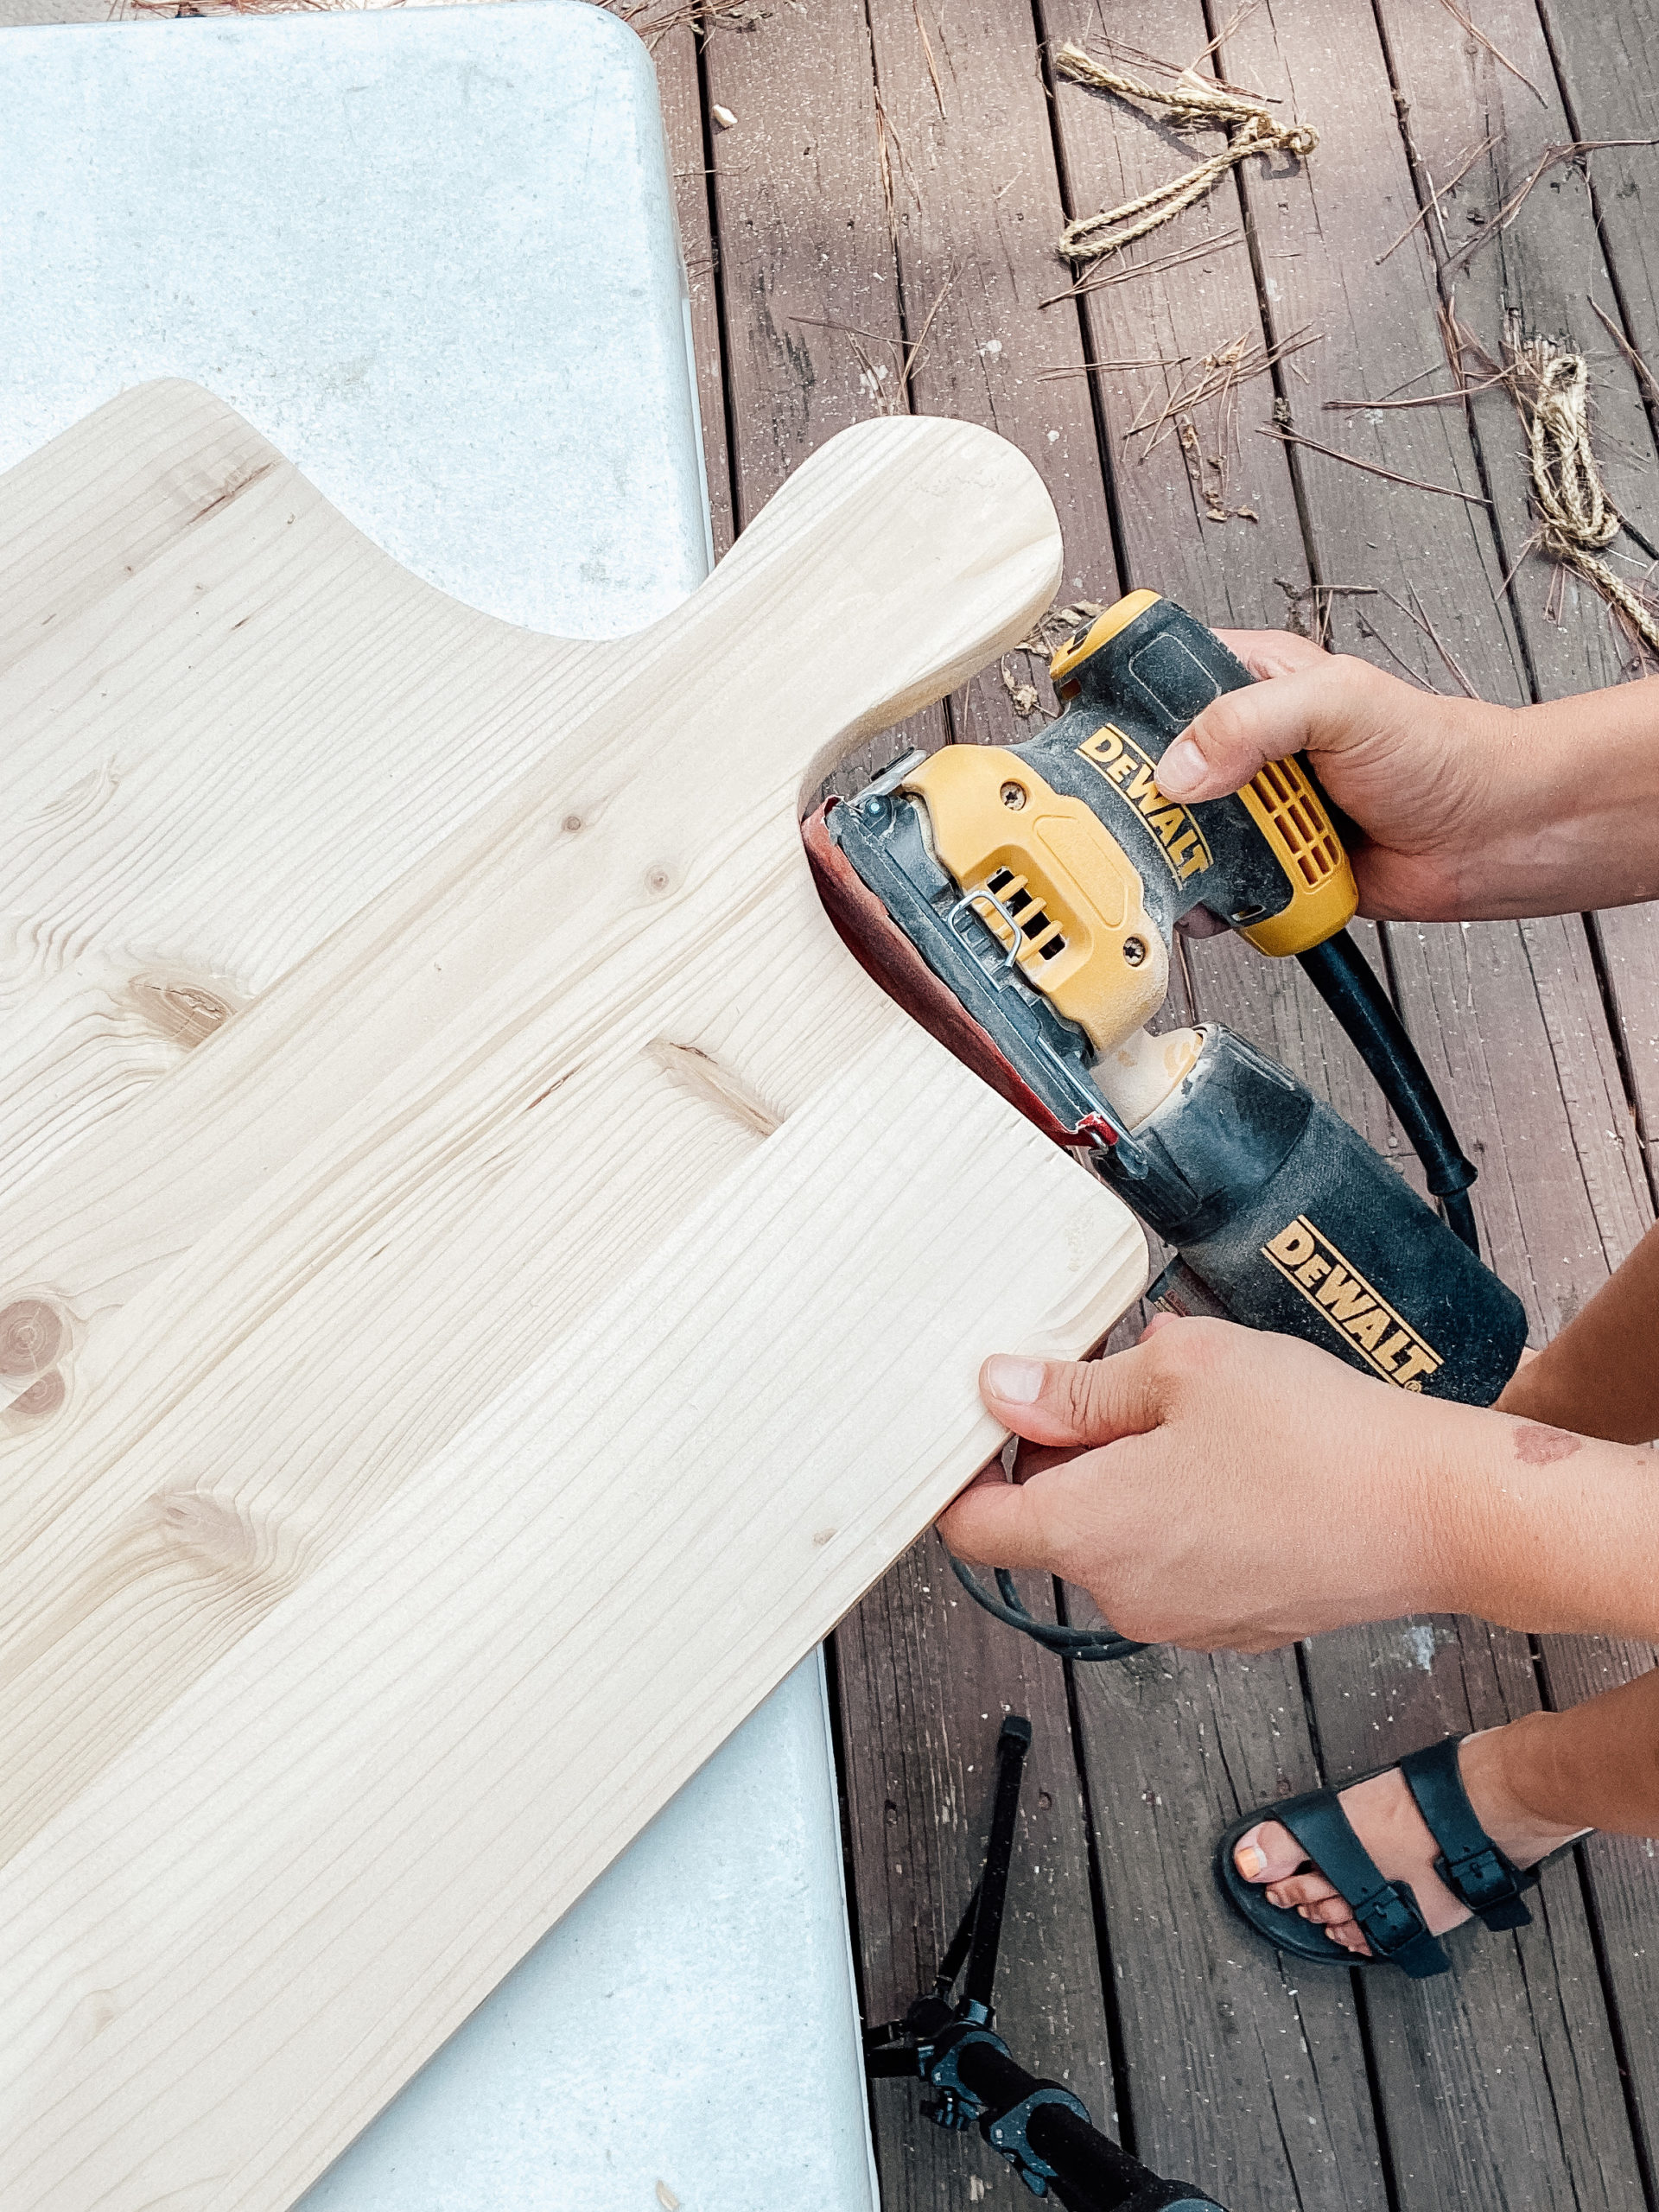
3. Sand the board: With the board cut to your desired shape, it’s time to sand using a 100-grit piece of sandpaper. Smooth the entire board, then repeat with the 220-grit sandpaper.
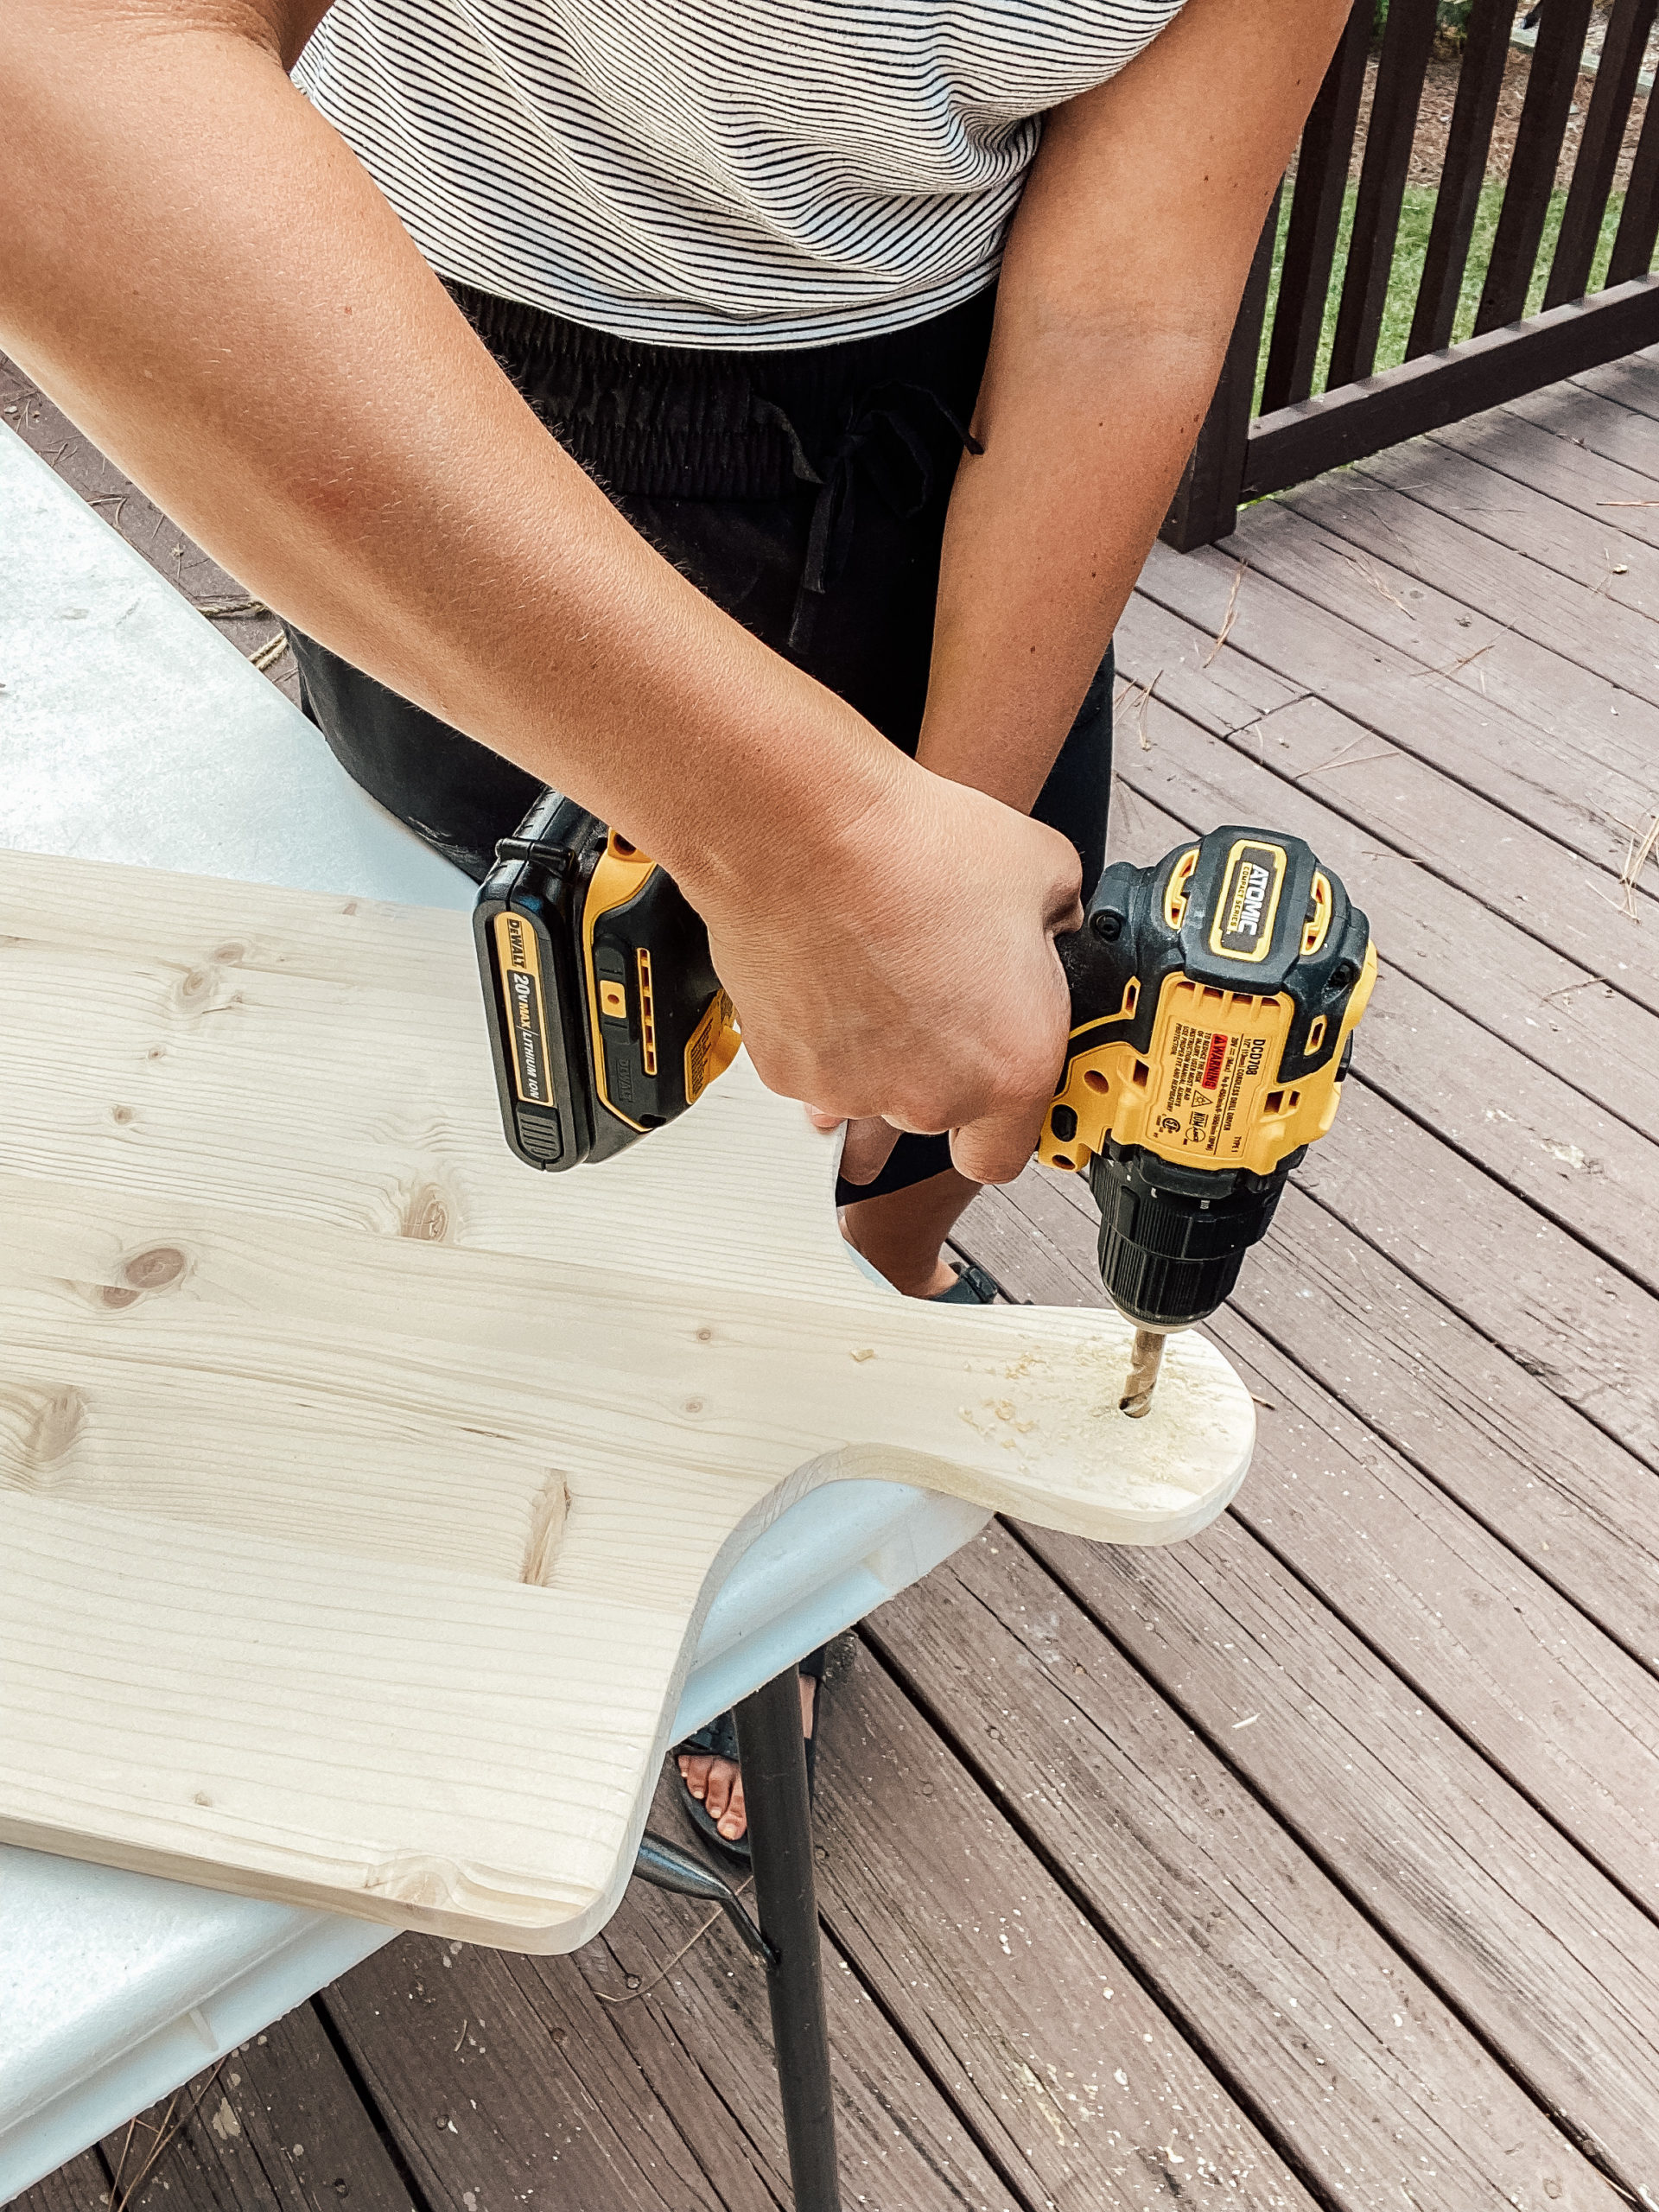
4. Drill a hole in the handle: Next, use the drill and drill bit to make a hole in the handle. The hole will also allow you to hang it on the wall, which doubles as wall decor and space-saving storage.
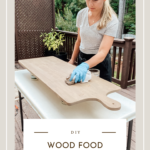
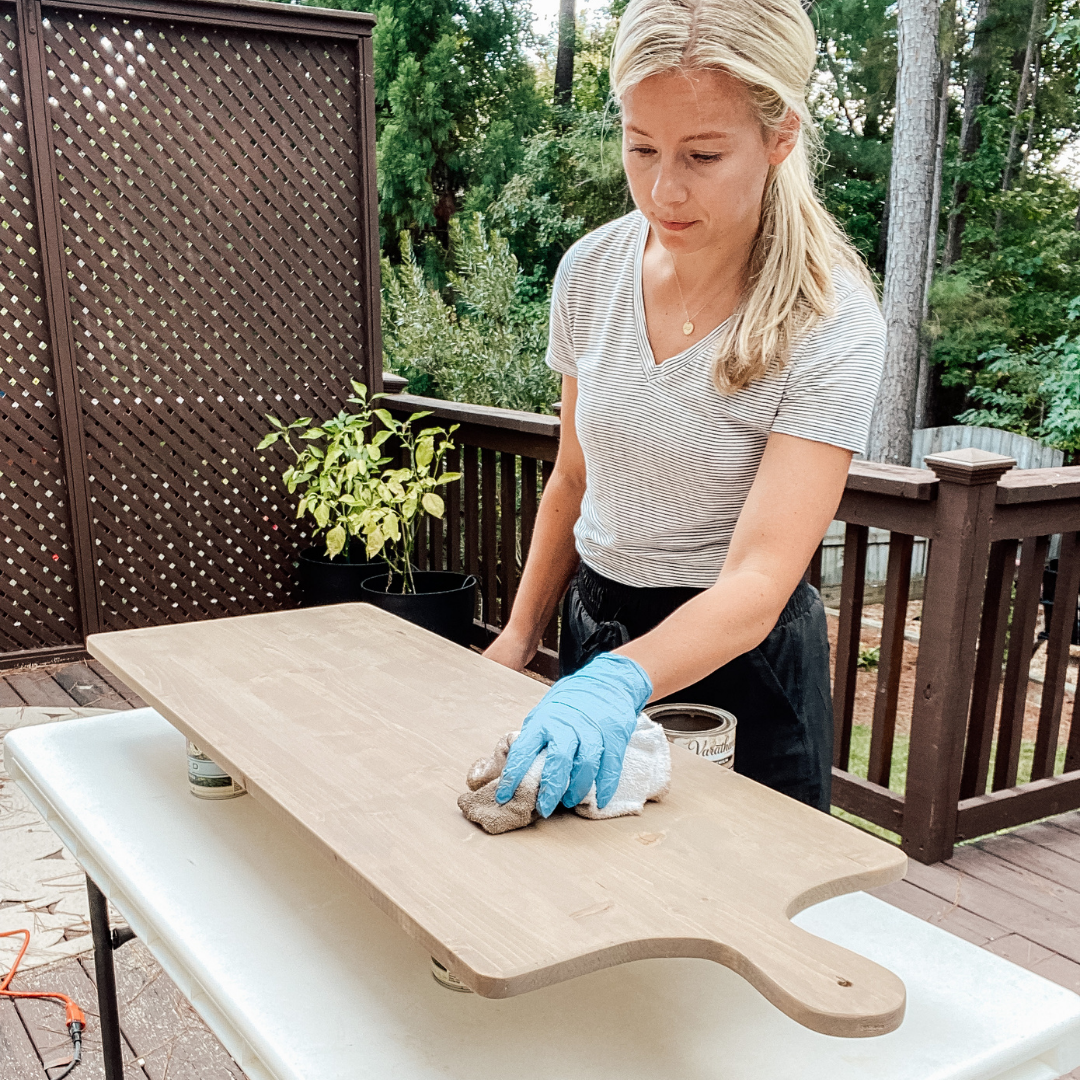
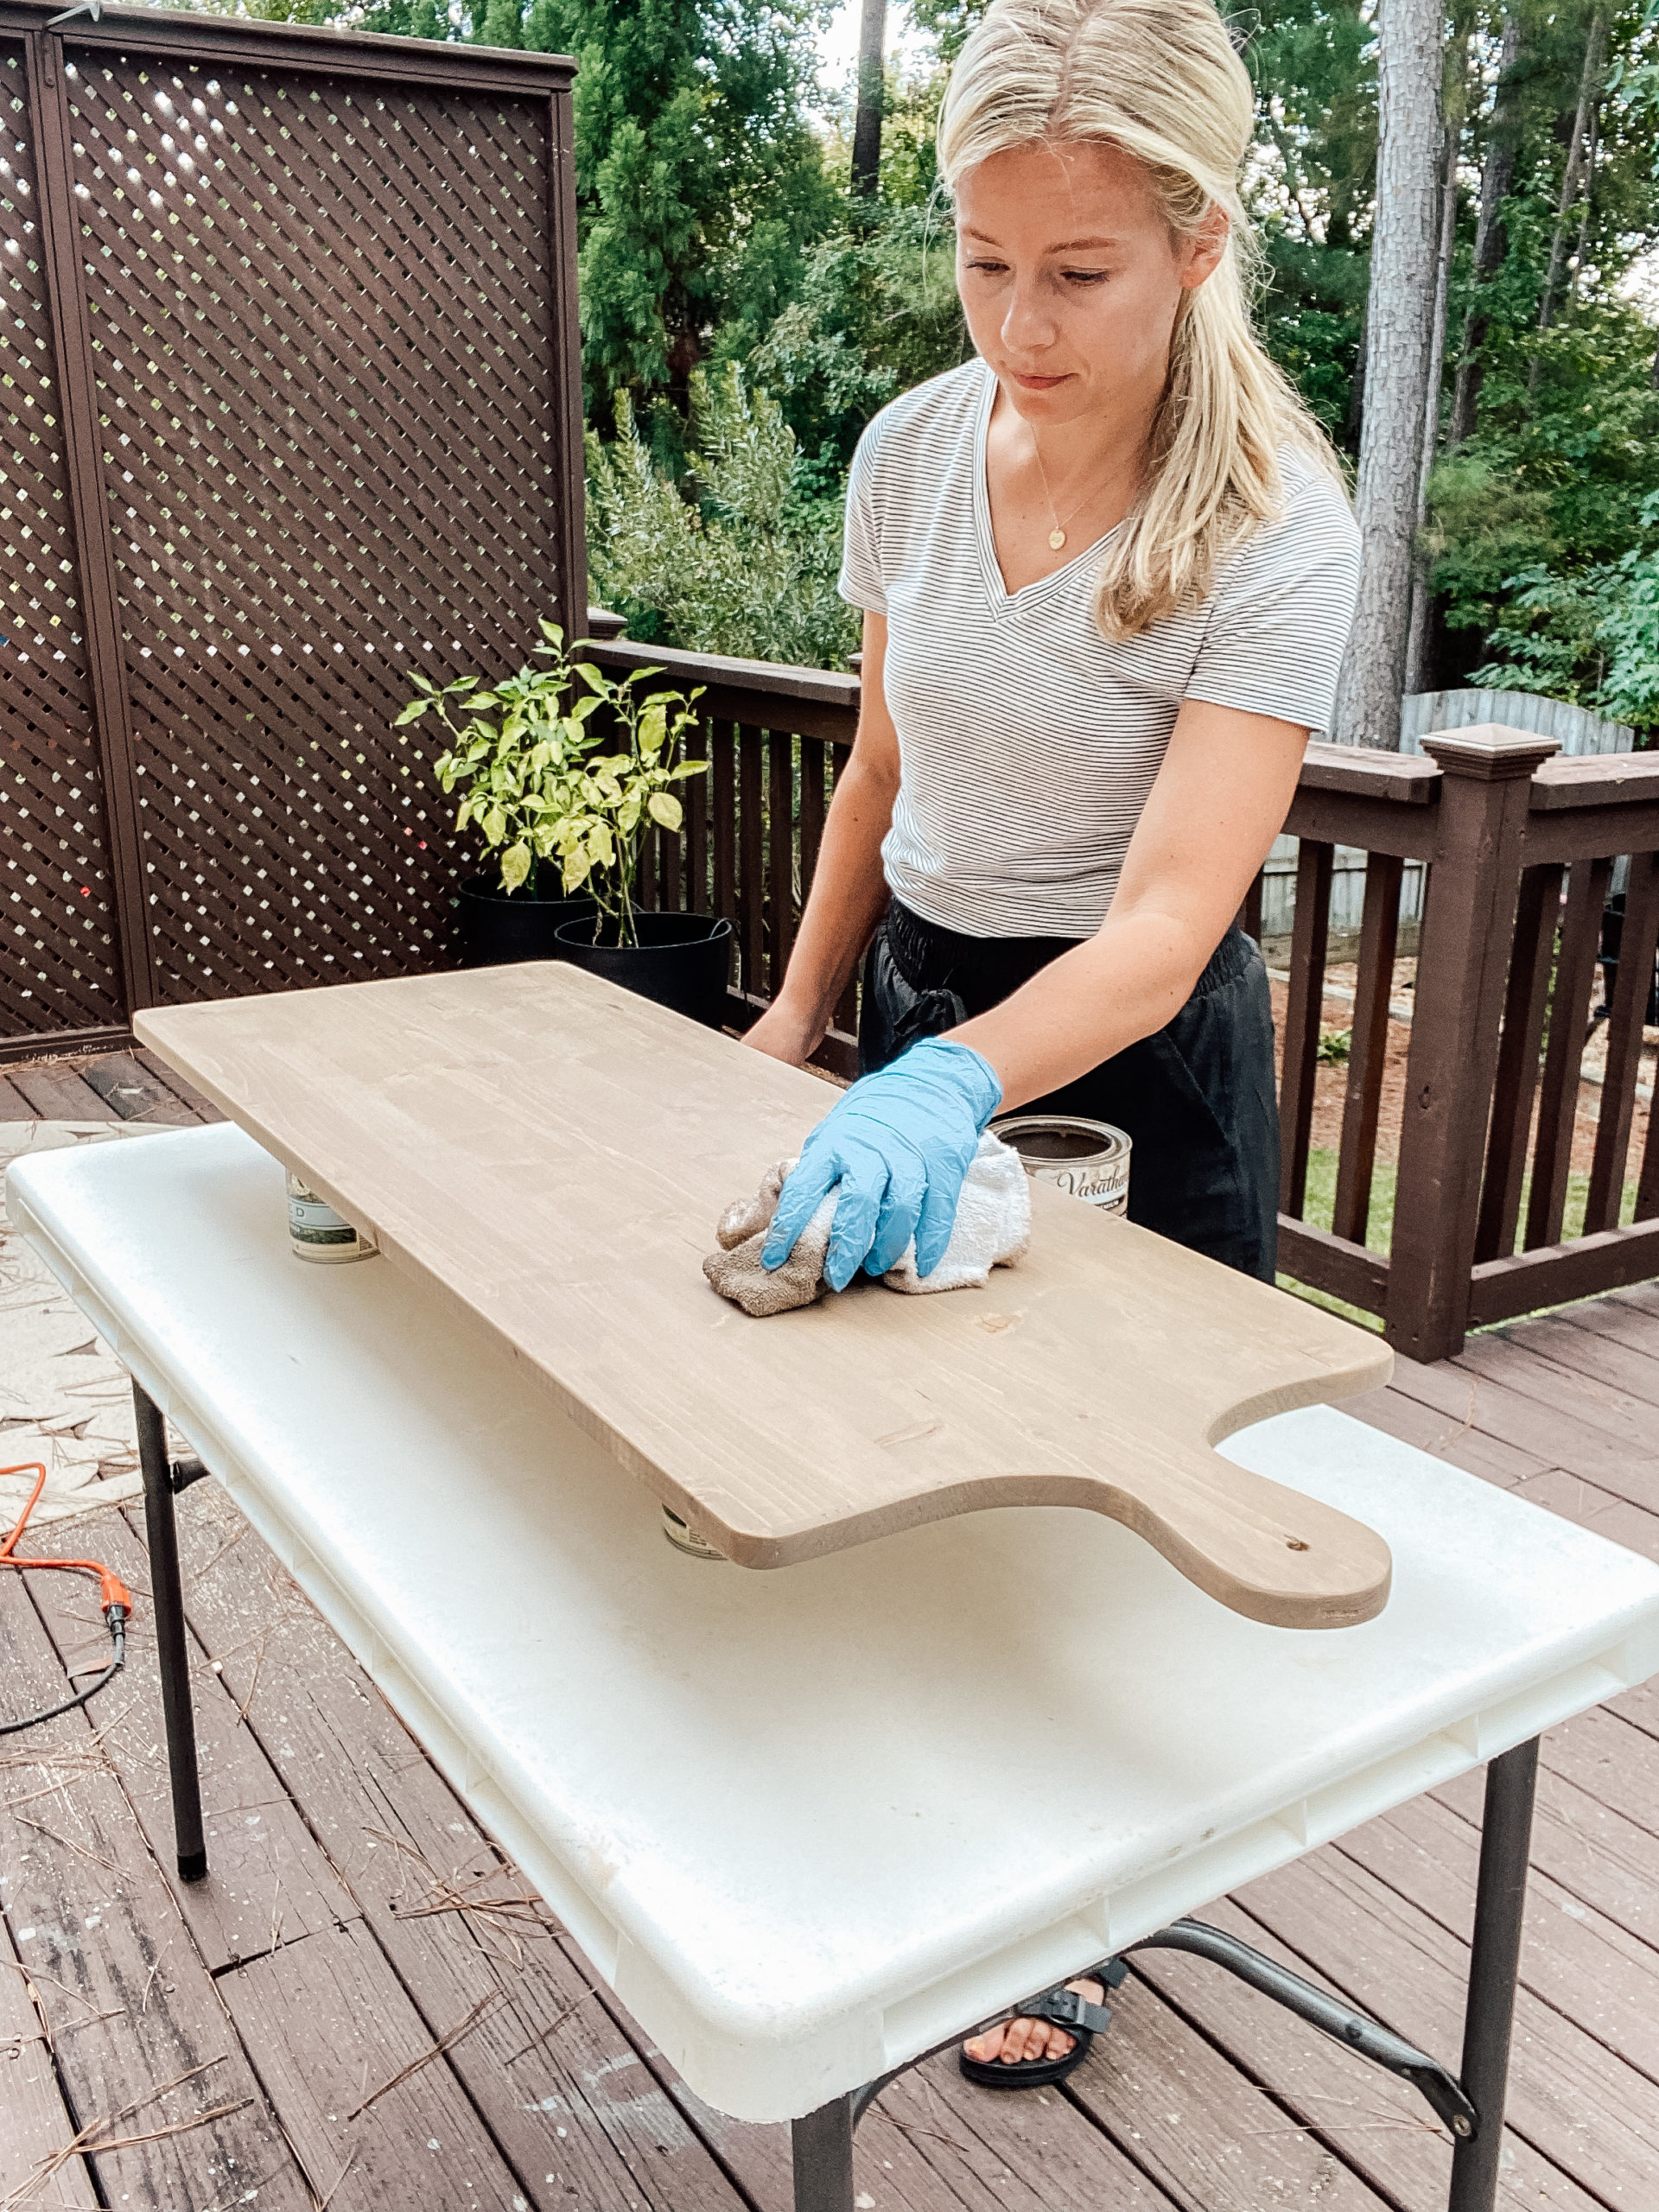
5. Clean the board: Your DIY wood food board is almost complete! Before you stain it, make sure to clean the board with a damp microfiber towel to remove all dust.

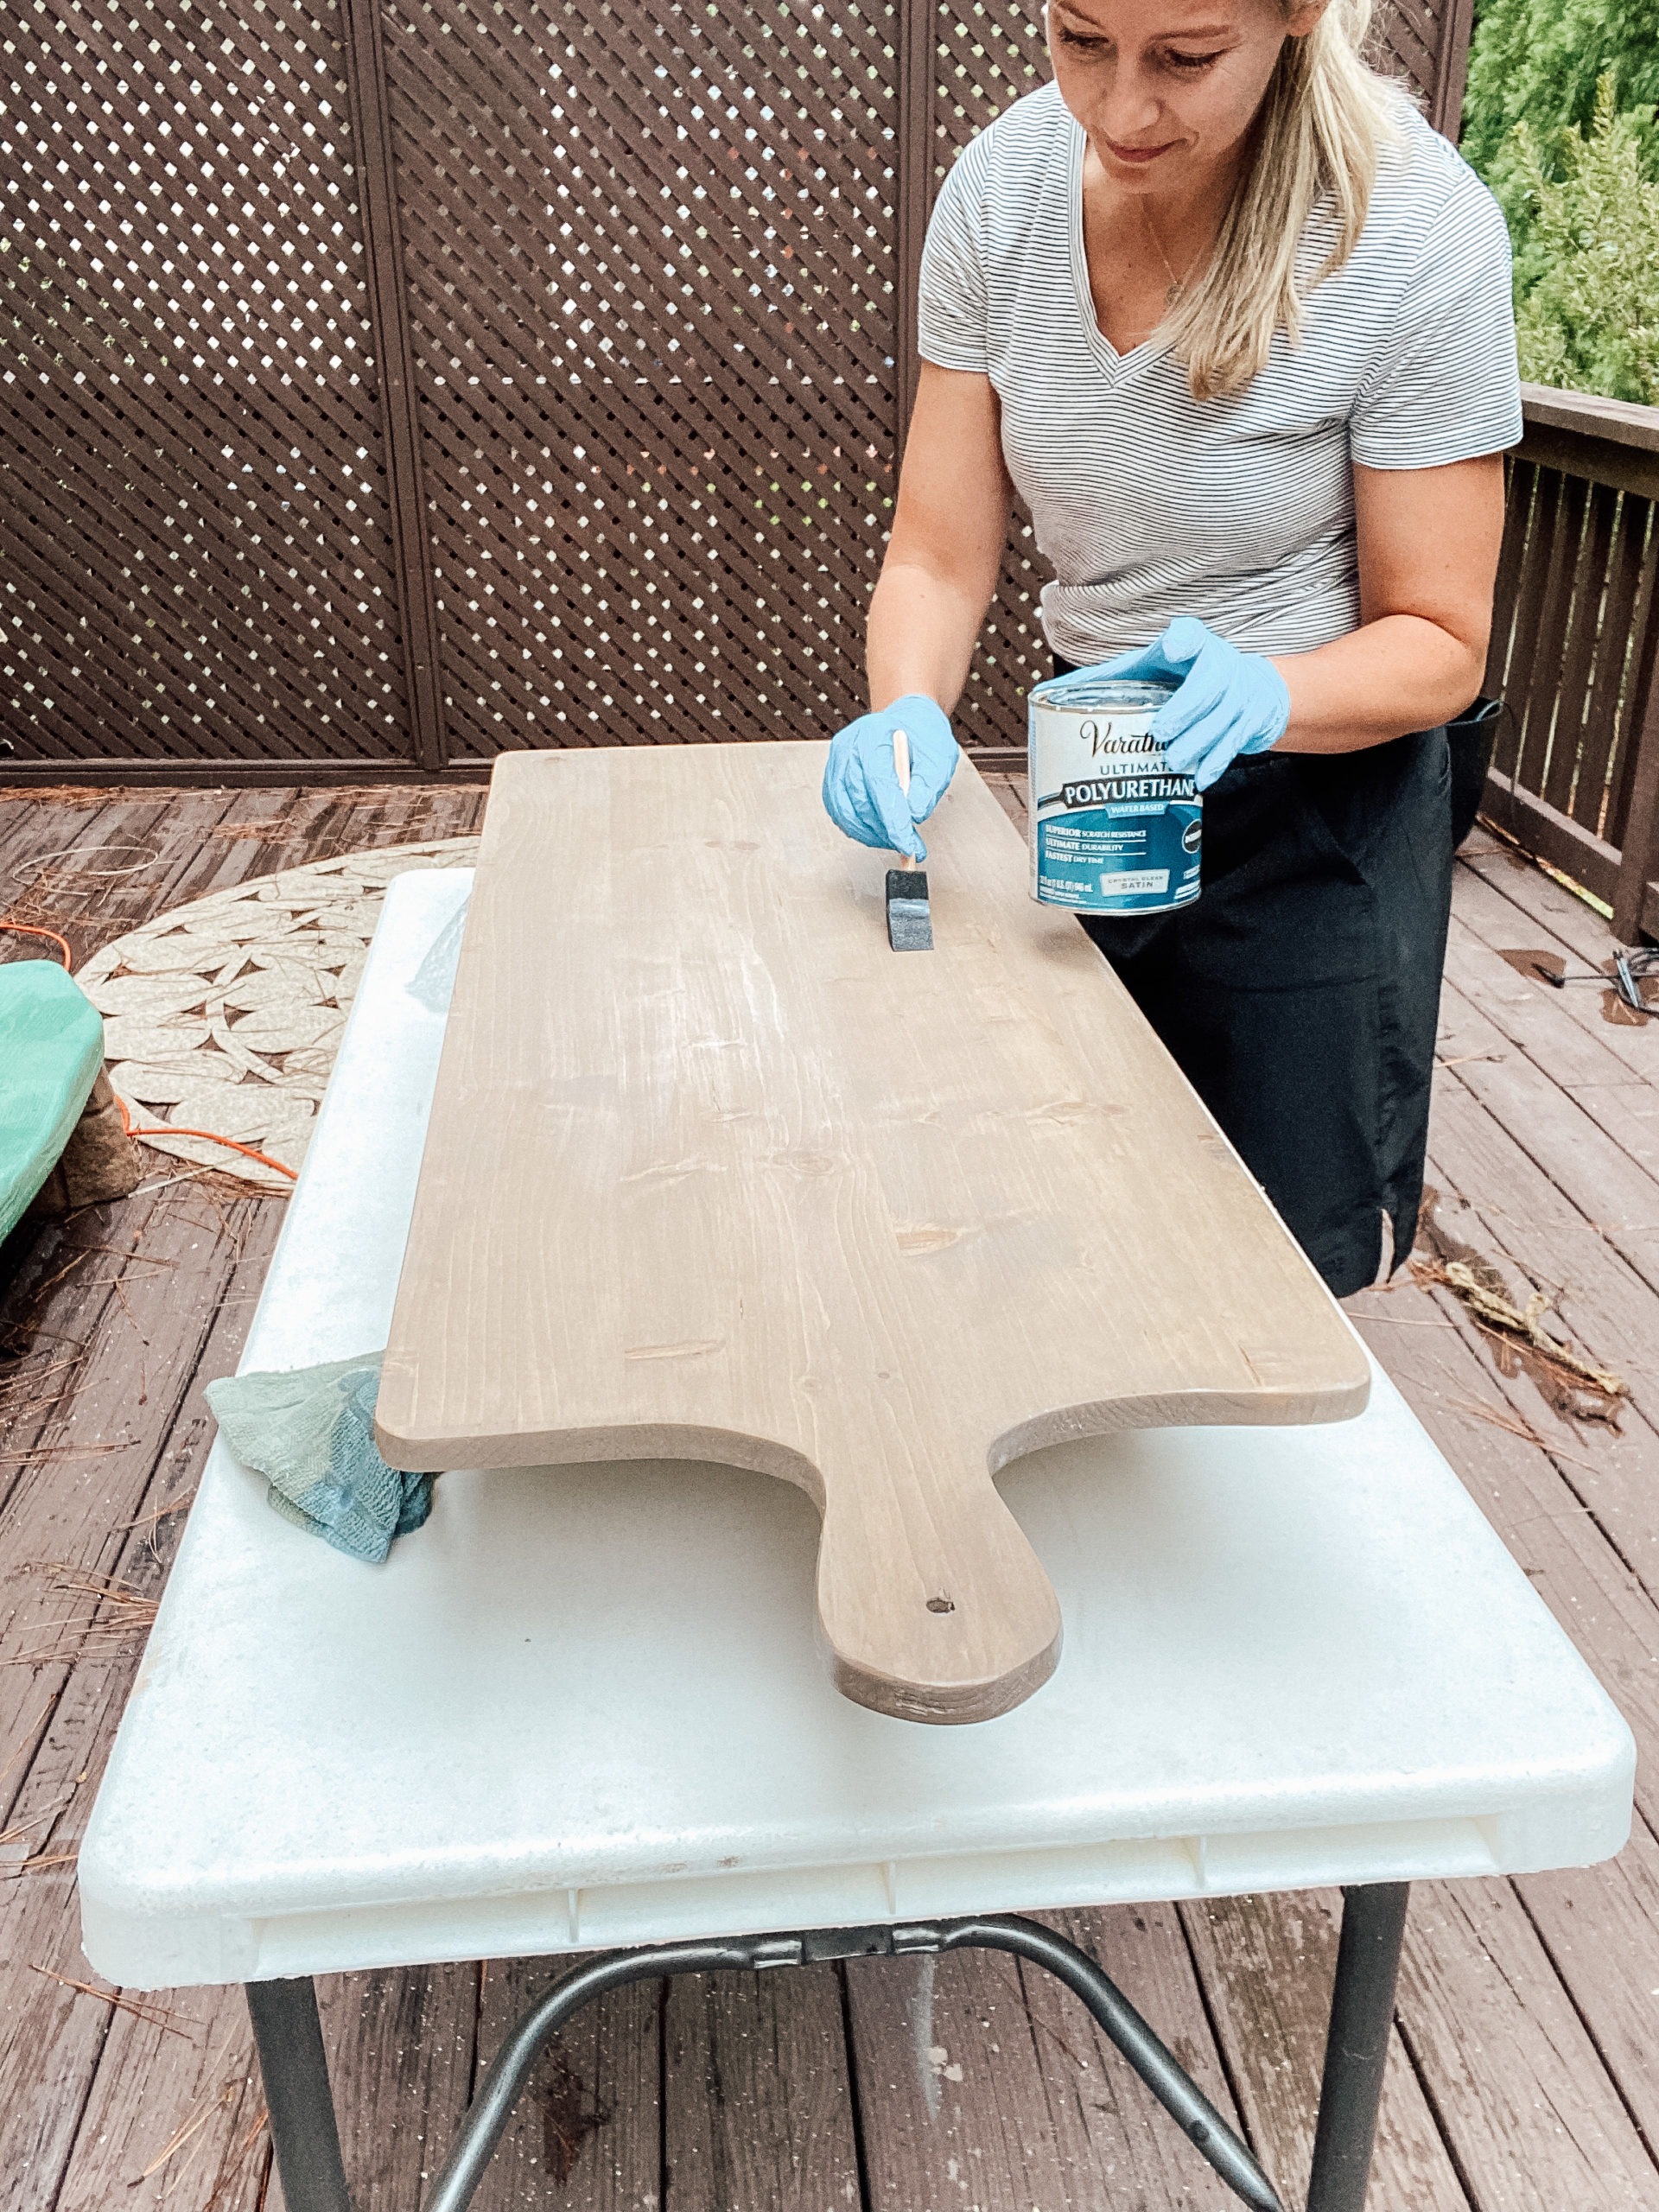
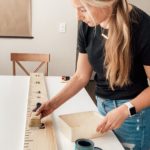
6. Stain the board: Next, use a brush or rag to apply the stain to the board. I propped my board up on cans so I could better apply the stain to the edges. Remember to let one side dry completely before moving on to the next side.
7. Protect the food board: Finally, it’s time to protect the food board by brushing on a polyurethane coating. Let it dry between sides and lightly sand the board with 220-grit sandpaper in between coats. (I recommend applying 2-3 coats for adequate protection!)
And now your DIY wood food board is complete! Pull out the cheese and crackers and find a reason to host a gathering, because this massive food board is sure to be the star of the night. (And don’t forget to tag @homeandkind on Instagram to show off your handiwork!)
Shop the Post

I like to hang out on Instagram and share more in-depth tutorials on everything I make, create, and organize. Come be a part of our Home & Kind Instagram community.
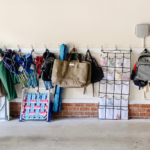
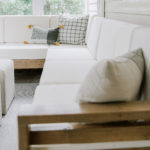
You Might Also Like ...
Previous Post
Next Post
Grab the PDF of 30 of our favorite family games that use
things you already have around the house.
30 games you can play
with your family that take
5 minutes each

Free Download
+ Show / Hide Comments
Share to: