


")
Did you know it’s scientifically proven that kids grow an inch every time you blink? Ok, maybe that isn’t actually a fact, but I think my kids are out to prove it’s true! I swear they each grew a foot over the summer, so I decided to tackle a project that has been on my to-do list for a while: a wooden growth chart!
I chose to make it out of wood rather than on a wall or door frame so that it can grow and adapt along with us and all of life’s stages. It was actually very simple to pull together, and all you need are a few materials and a little bit of time.
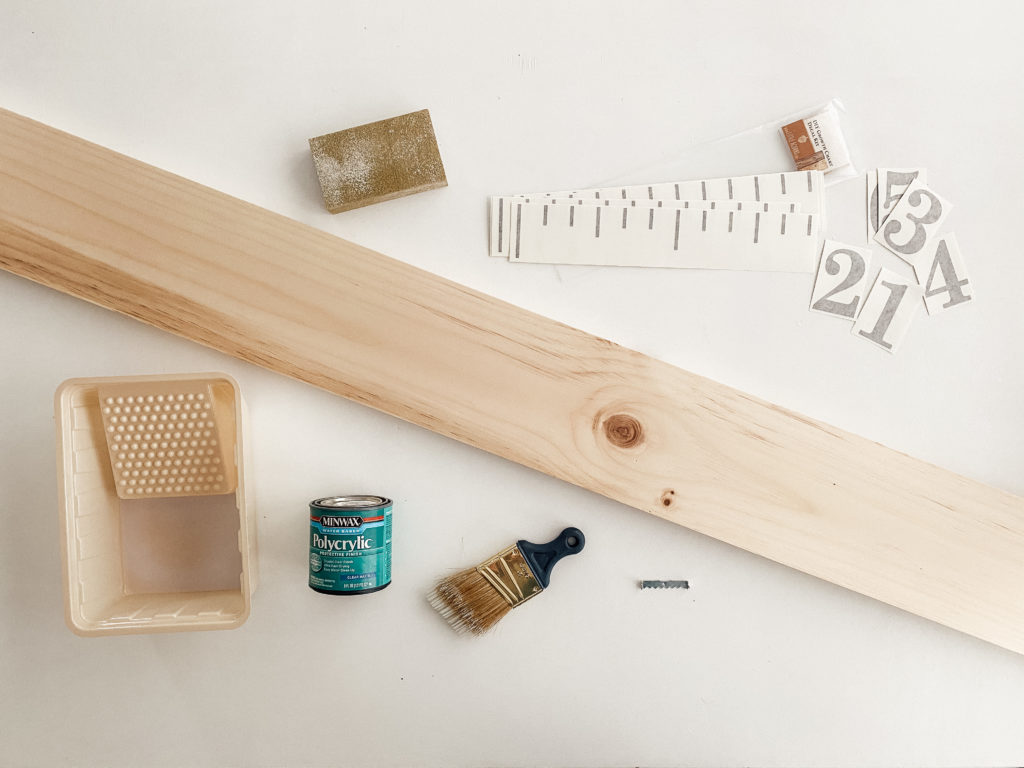
Wooden Growth Chart Supplies
- 6” x 6’ Board
- Polycrylic
- Paint or Stain (optional)
- Paint Brush and Tray
- Sandpaper
- Rag
- Measuring Tape
- Pencil
- Vinyl Decals (I ordered the large size)
- Plastic Card
- Sawtooth Picture Hanger
- Nail or Drywall Anchor
Prep the Wood
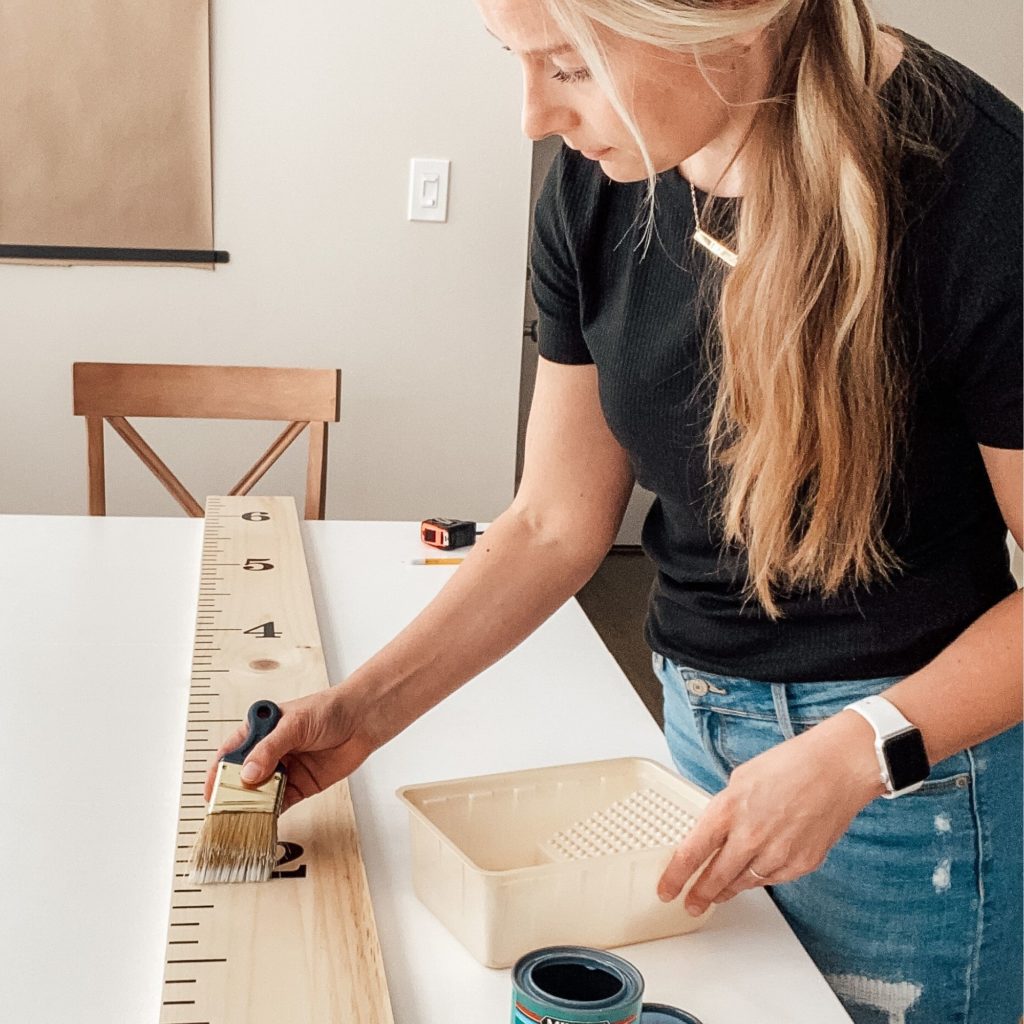
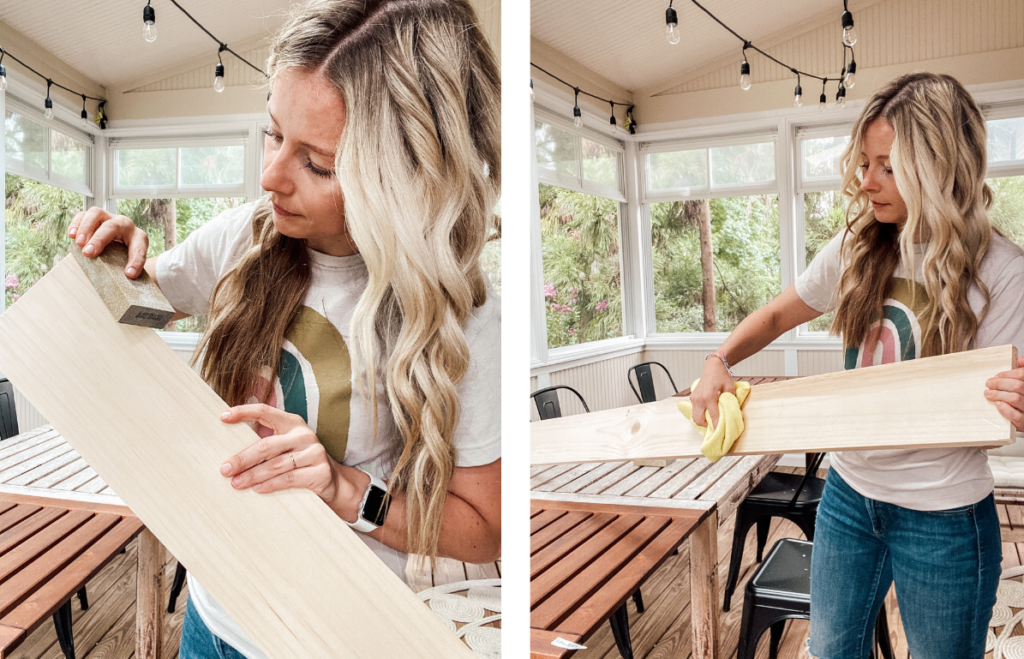
Before we can get to any of the fun stuff, it’s important to prepare everything properly. First, sand the wood in the direction of the grain to even out any rough spots. Then wipe it down with a rag to remove the sawdust. Layout a drop cloth if you need, or choose an area where you can apply the finish without worrying about dripping. Place the board on top of a few cans so it’s easier to paint the sides.
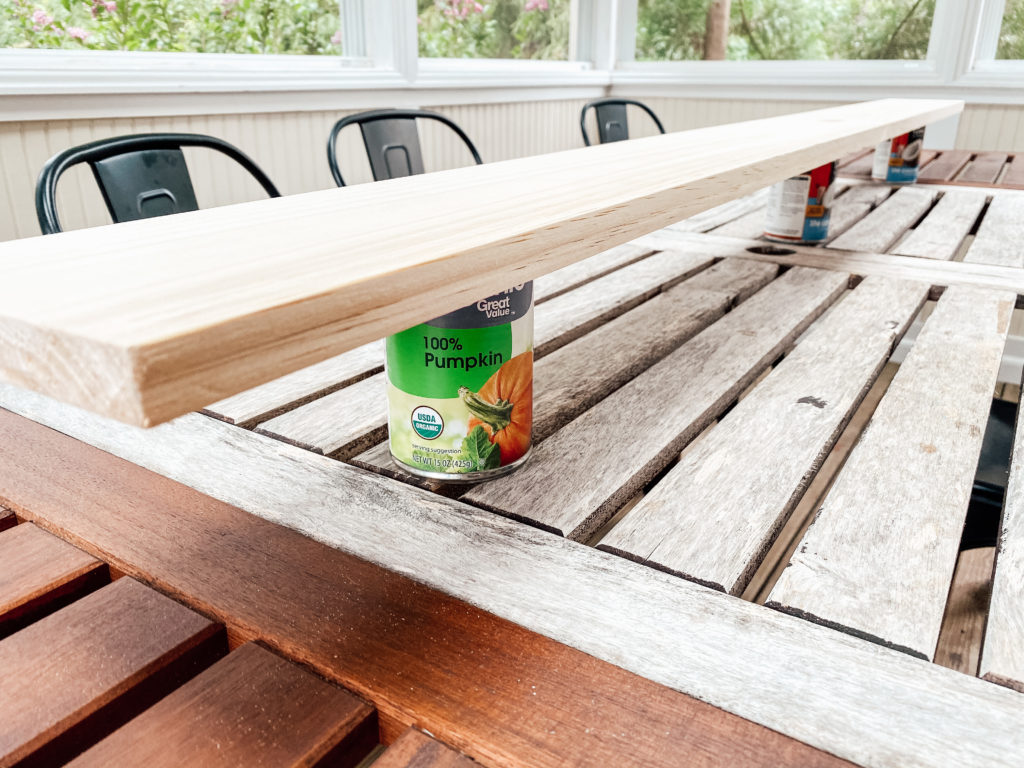
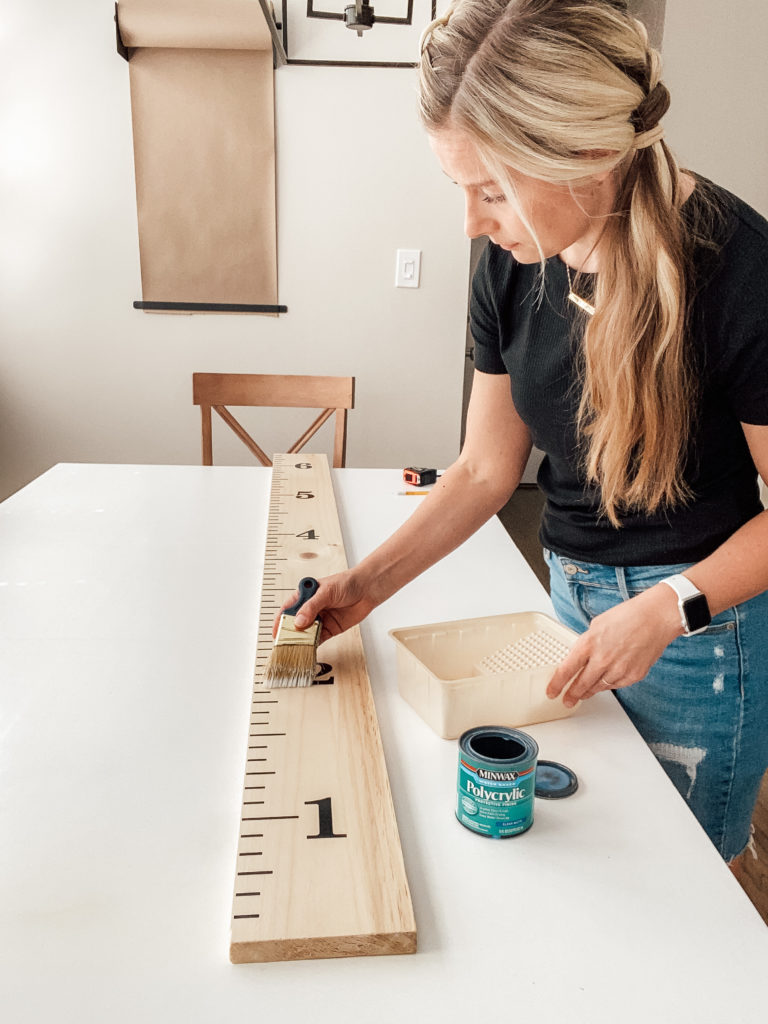
At this point, you can choose to apply a paint color, but I like the look of the natural wood. If you decide to paint, apply a couple coats and allow them time to dry. Then, seal it with a layer of polycrylic. I applied two coats of polycrylic on the top and all sides.
Then let it dry for 72 hours to fully cure before applying the decals. (Patience is a virtue, right?)
Put it Together
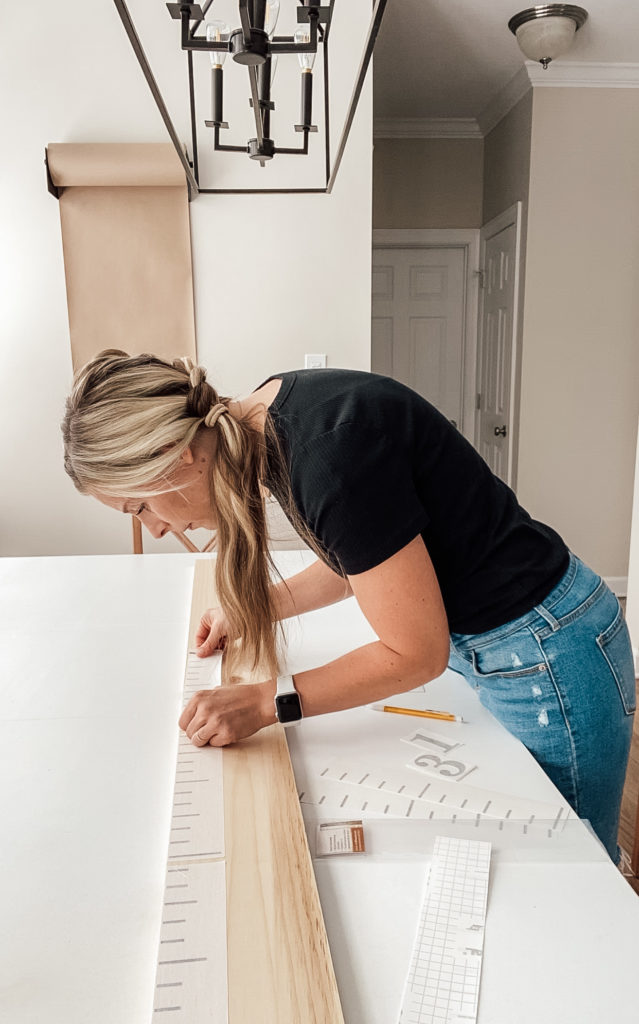
After waiting a couple of days, it’s time to apply the vinyl decals to create the ruler appearance! Before you begin sticking them on, we have to do a little measurement math. Take into consideration how much clearance you need from the floor to the base of the wood on your growth chart, and alter the vinyl tick marks to match. Mine will start six inches from the bottom.
TIP:
Take into consideration how much clearance you need from the floor to the base of the wood on your growth chart, and alter the vinyl tick marks to match.
Measure six inches from the bottom of the wood and then mark every 12 inches up. Each strip of decals measures exactly 12 inches to make application easy. Simply peel off the backing of the decals, and line up the biggest vinyl tick mark at the one foot line (which is technically six inches from the bottom of the board).
Lightly press the decal on and continue up the board in one foot increments until the top. Cut the last decal strip in half to use for the top and bottom six inches. You can remove the very lowest strip if it is right on the edge of the board.
Press every vinyl piece down with a plastic card and remove any bubbles. Then peel off the white paper.
Next up? The numbers!
Choose how you want to orient the numbers (I like them vertical) and then repeat the same process to apply them. I marked the center of the number on the backing to make it easy to center on the tick mark.
TIP:
Mark the center of the number on the backing to make it easy to center on the tick mark.

You can also apply another thin layer of polycrylic on top to really secure the decals in place. (This is optional, but I want this to last forever!)
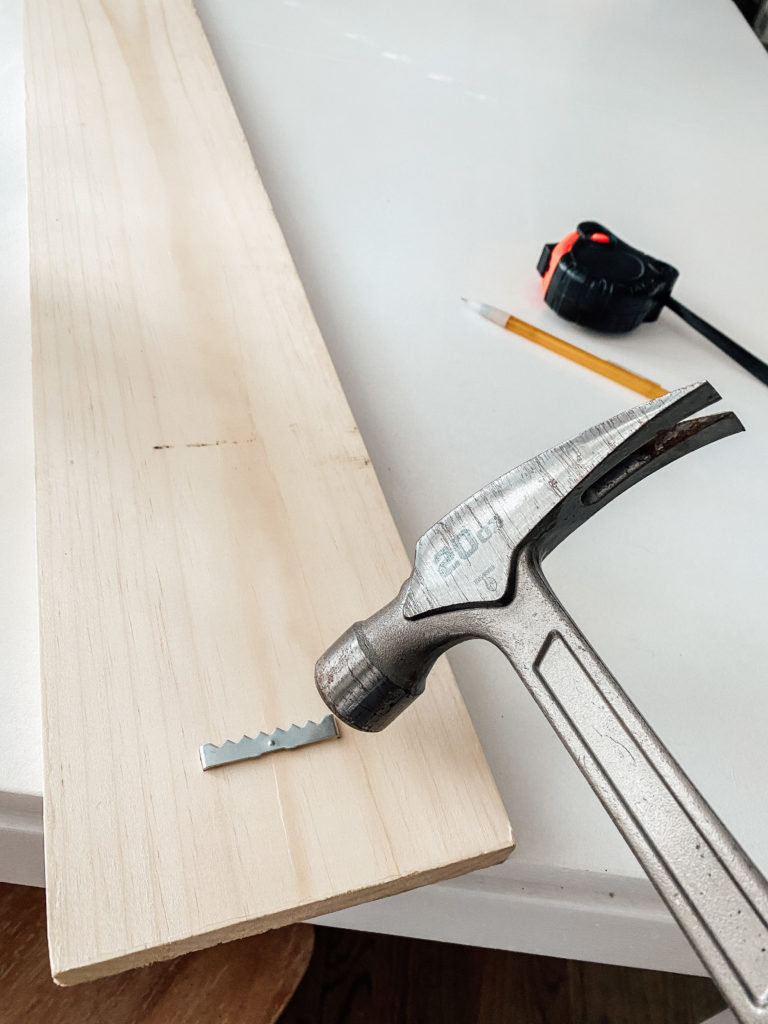
Once that is dry (no need to wait 72 hours this time!), turn it over to attach a sawtooth hanger at the top. Find and mark the center of the board two inches down. Then, line up the center of the sawtooth hanger with the center mark on the wood and tap the nails into place.
Hang it Up
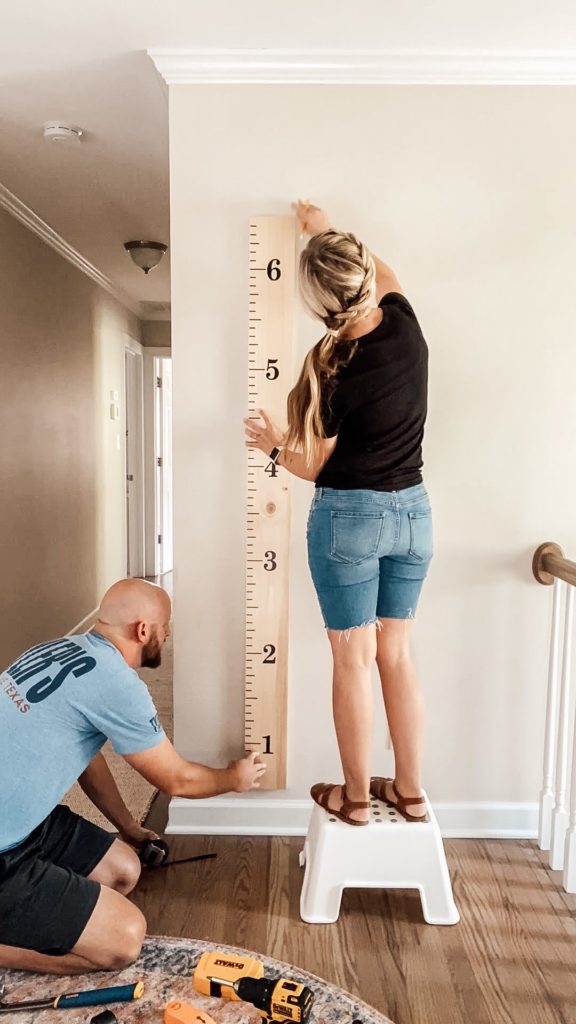
Time to put it on the wall! Find a stud to put the nail into or use a drywall anchor. It isn’t very heavy, but you don’t want it crashing down if it is bumped (because, you know, kids are kids).
This is a two person job: have one person measuring six inches up from the bottom and another person marking the top. Then measure the hanger placement and tap the nail into place. Don’t forget to double check your measurements and make sure it’s accurate.
Add Heights
Now for the fun part – adding your kids’ measurements! If you have done regular well-visits at the doctor’s office, you’ll have a yearly record of their height. Even if you lost the printable they give you, call your pediatrician’s office and ask for another. This means you can add the heights retroactively! If you haven’t had regular doctor’s visits, you probably won’t be able to add past heights. But that’s fine! Starting now is the next best option.
TIP:
If you have done regular well-visits at the doctor’s office, you’ll have a yearly record of their height for past heights to add retroactively.
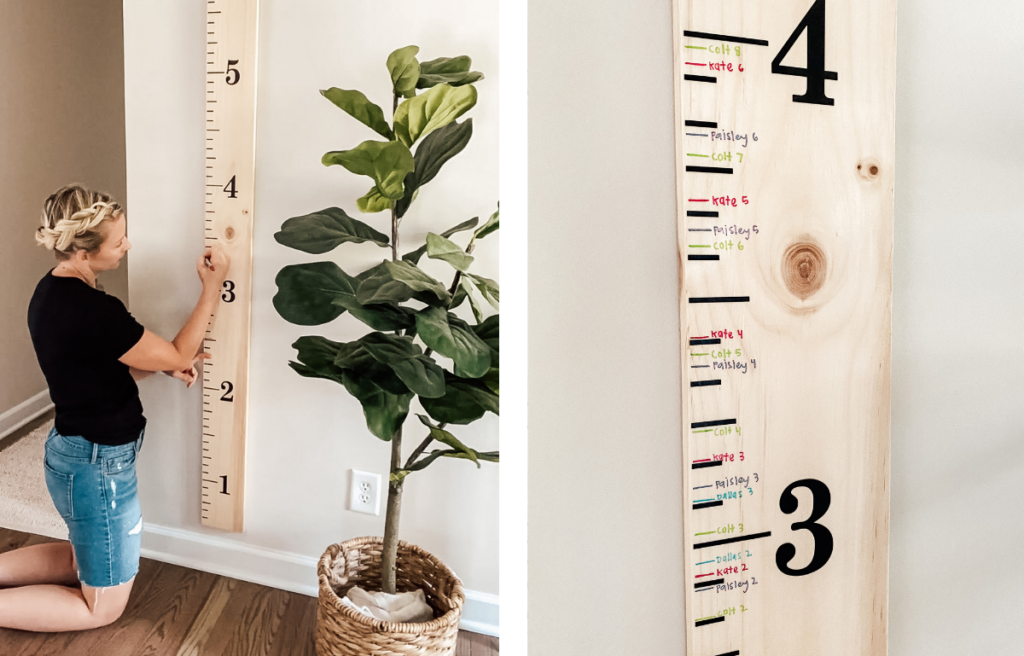
I have a different sharpie color for each kid, and I’ll mark their height from each year. Making one mark per year (on their birthday) is something manageable to do and makes it easy to see growth at a glance. Now I can see if they really are growing like weeds or if that’s just my imagination. (I wish it was!)
If you don’t already mark your kids’ heights, and even if you do, this wooden growth chart is exactly what you need to preserve those fleeting memories. I’d love to see what you make!
Wooden Growth Chart Materials

I like to hang out on Instagram and share more in-depth tutorials on everything I make, create, and organize. Come be a part of our Home & Kind Instagram community.
Leave a Reply
Grab the PDF of 30 of our favorite family games that use
things you already have around the house.
30 games you can play
with your family that take
5 minutes each

Free Download
Did you order the large or the jumbo numbers?
I ordered the LARGE numbers
Thank you so much for this BEAUTIFUL post using our decals! I’m so glad you loved our product and your growth chart turned out perfect! Enjoy watching your family grow!
All the best,
Ro
They were the perfect thing to make this project so fun and easy!