

I'm so excited to share our DIY bench seat reveal and cost break down with you all today!
As I've mentioned a few times on Instagram Stories, we're in the very initial stages of a full kitchen remodel using IKEA cabinets. And it's overwhelming, to say the least!
IKEA stock is very limited right now and there's just so much to think about with the kitchen design. We're still waiting for a lot of our cabinetry to arrive. So in the meantime, we decided to kickstart the project with something fairly straightforward: the DIY bench seat!
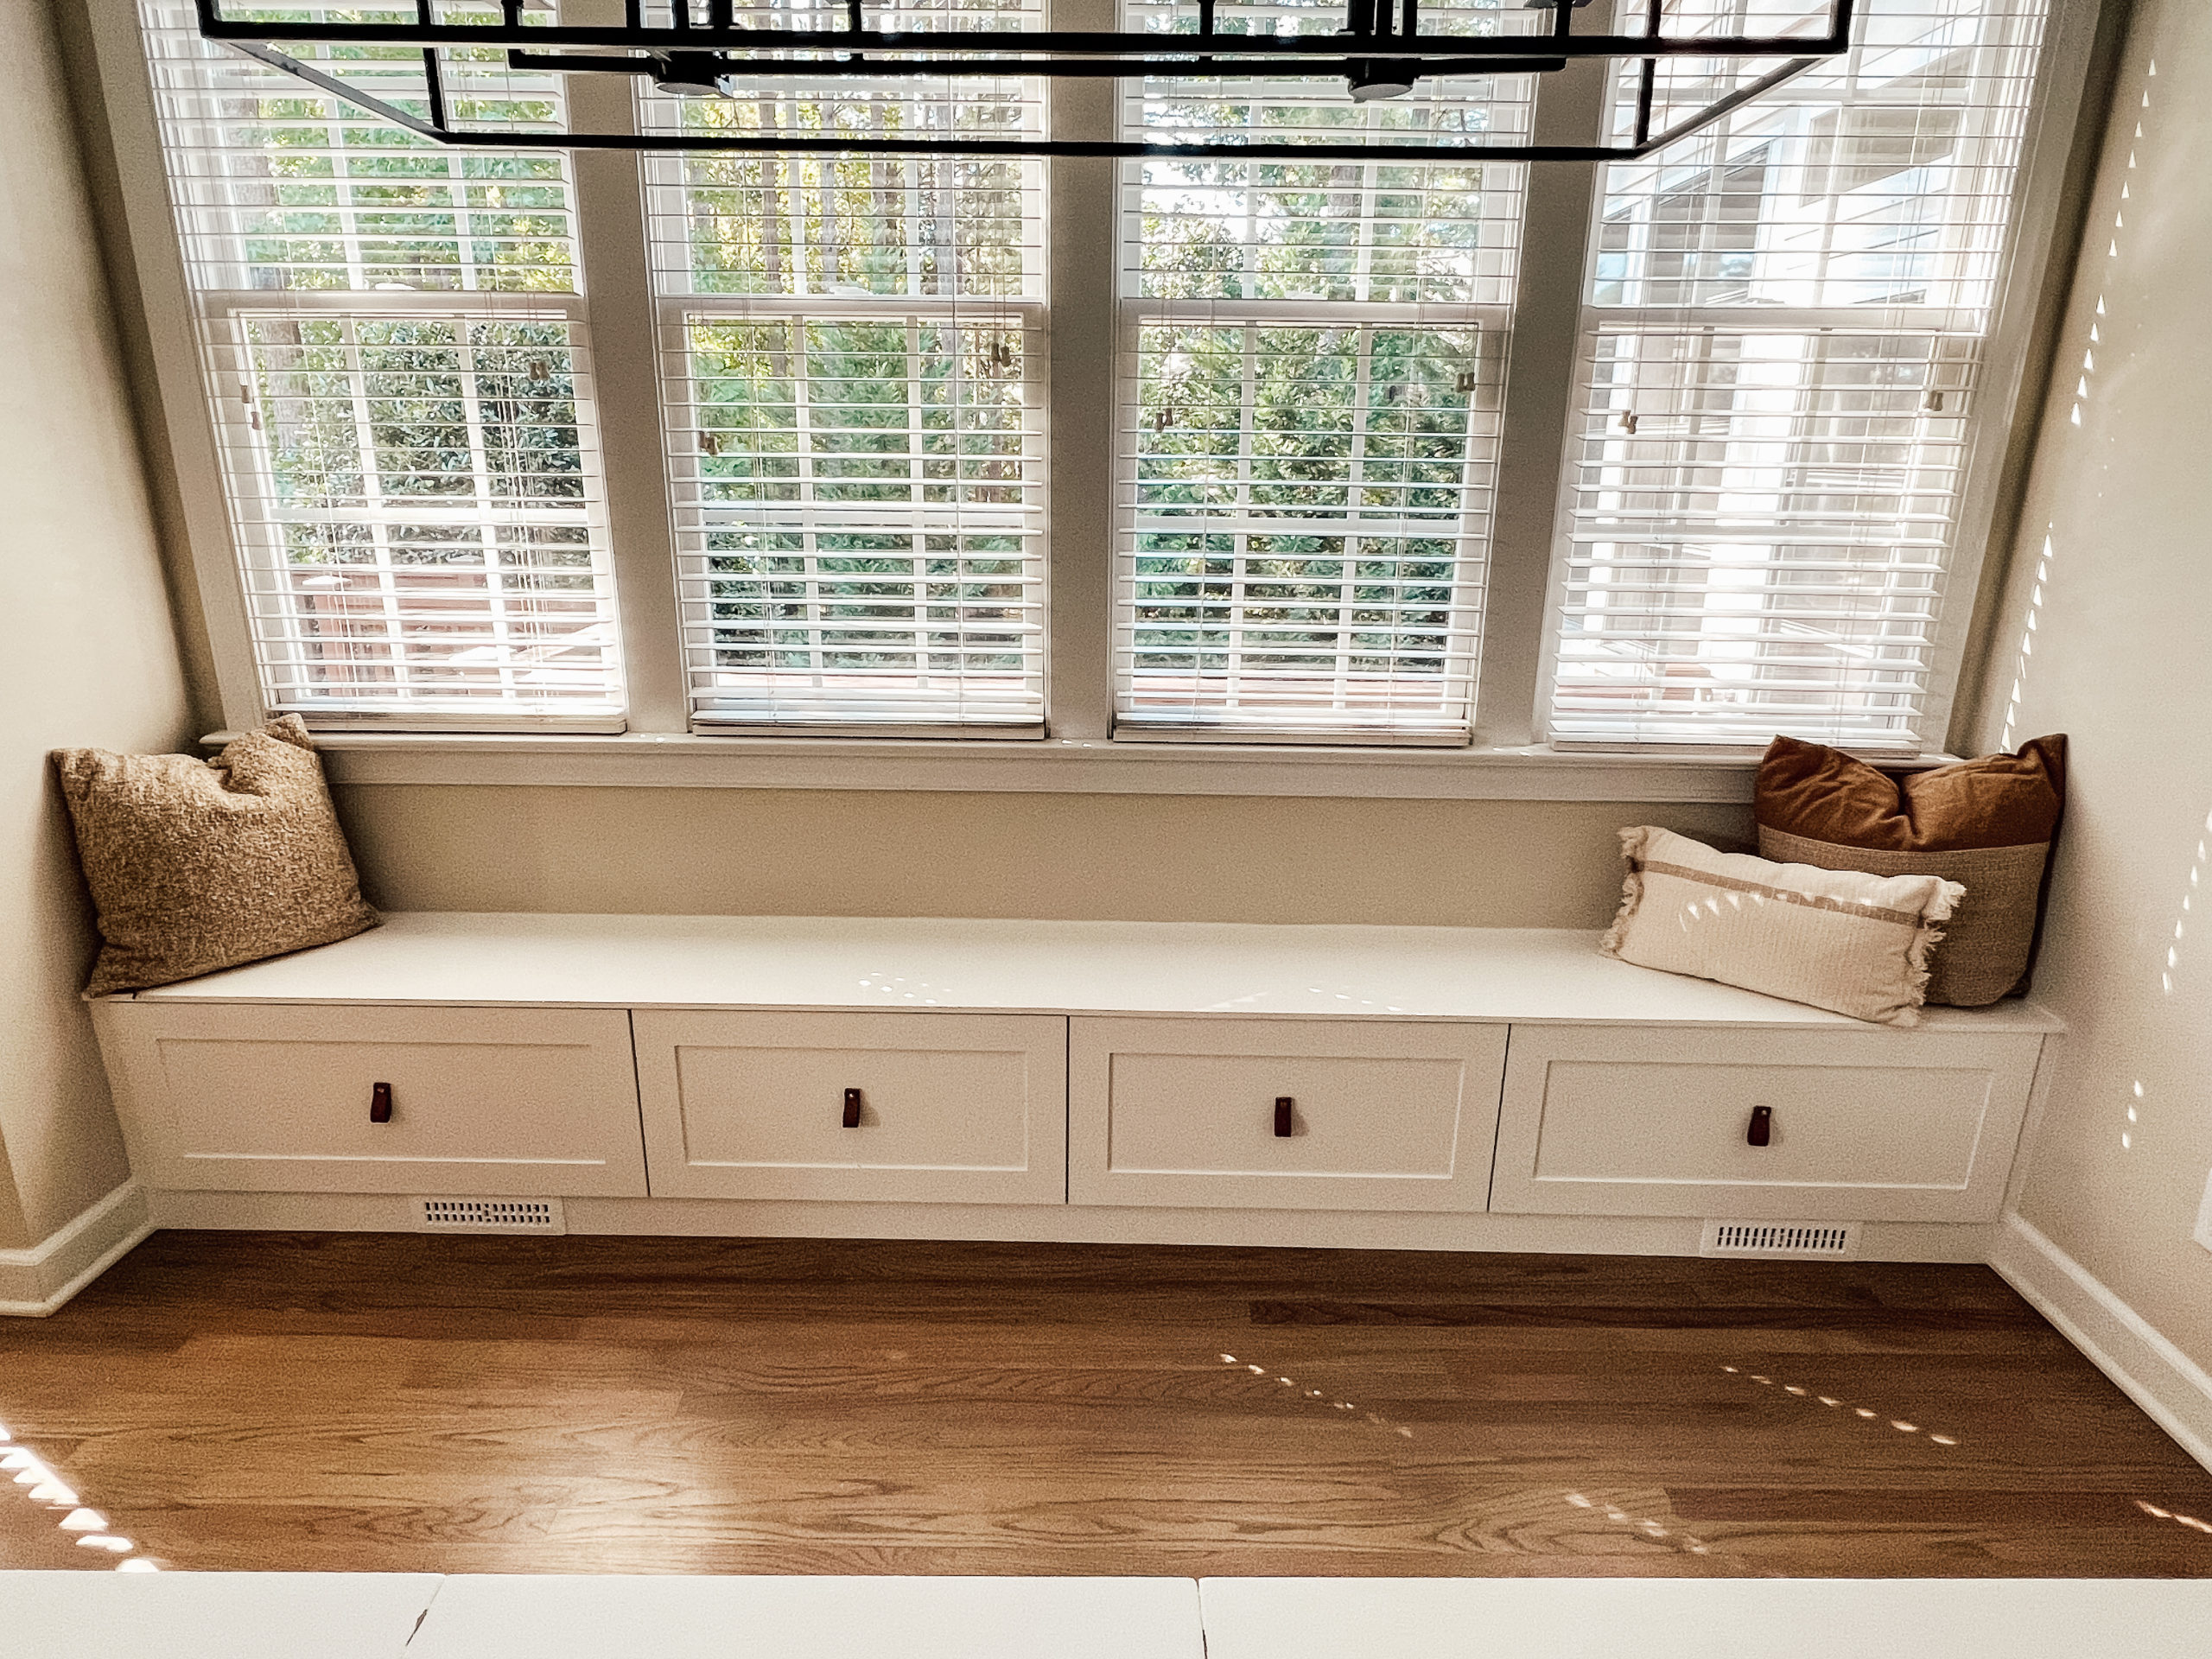
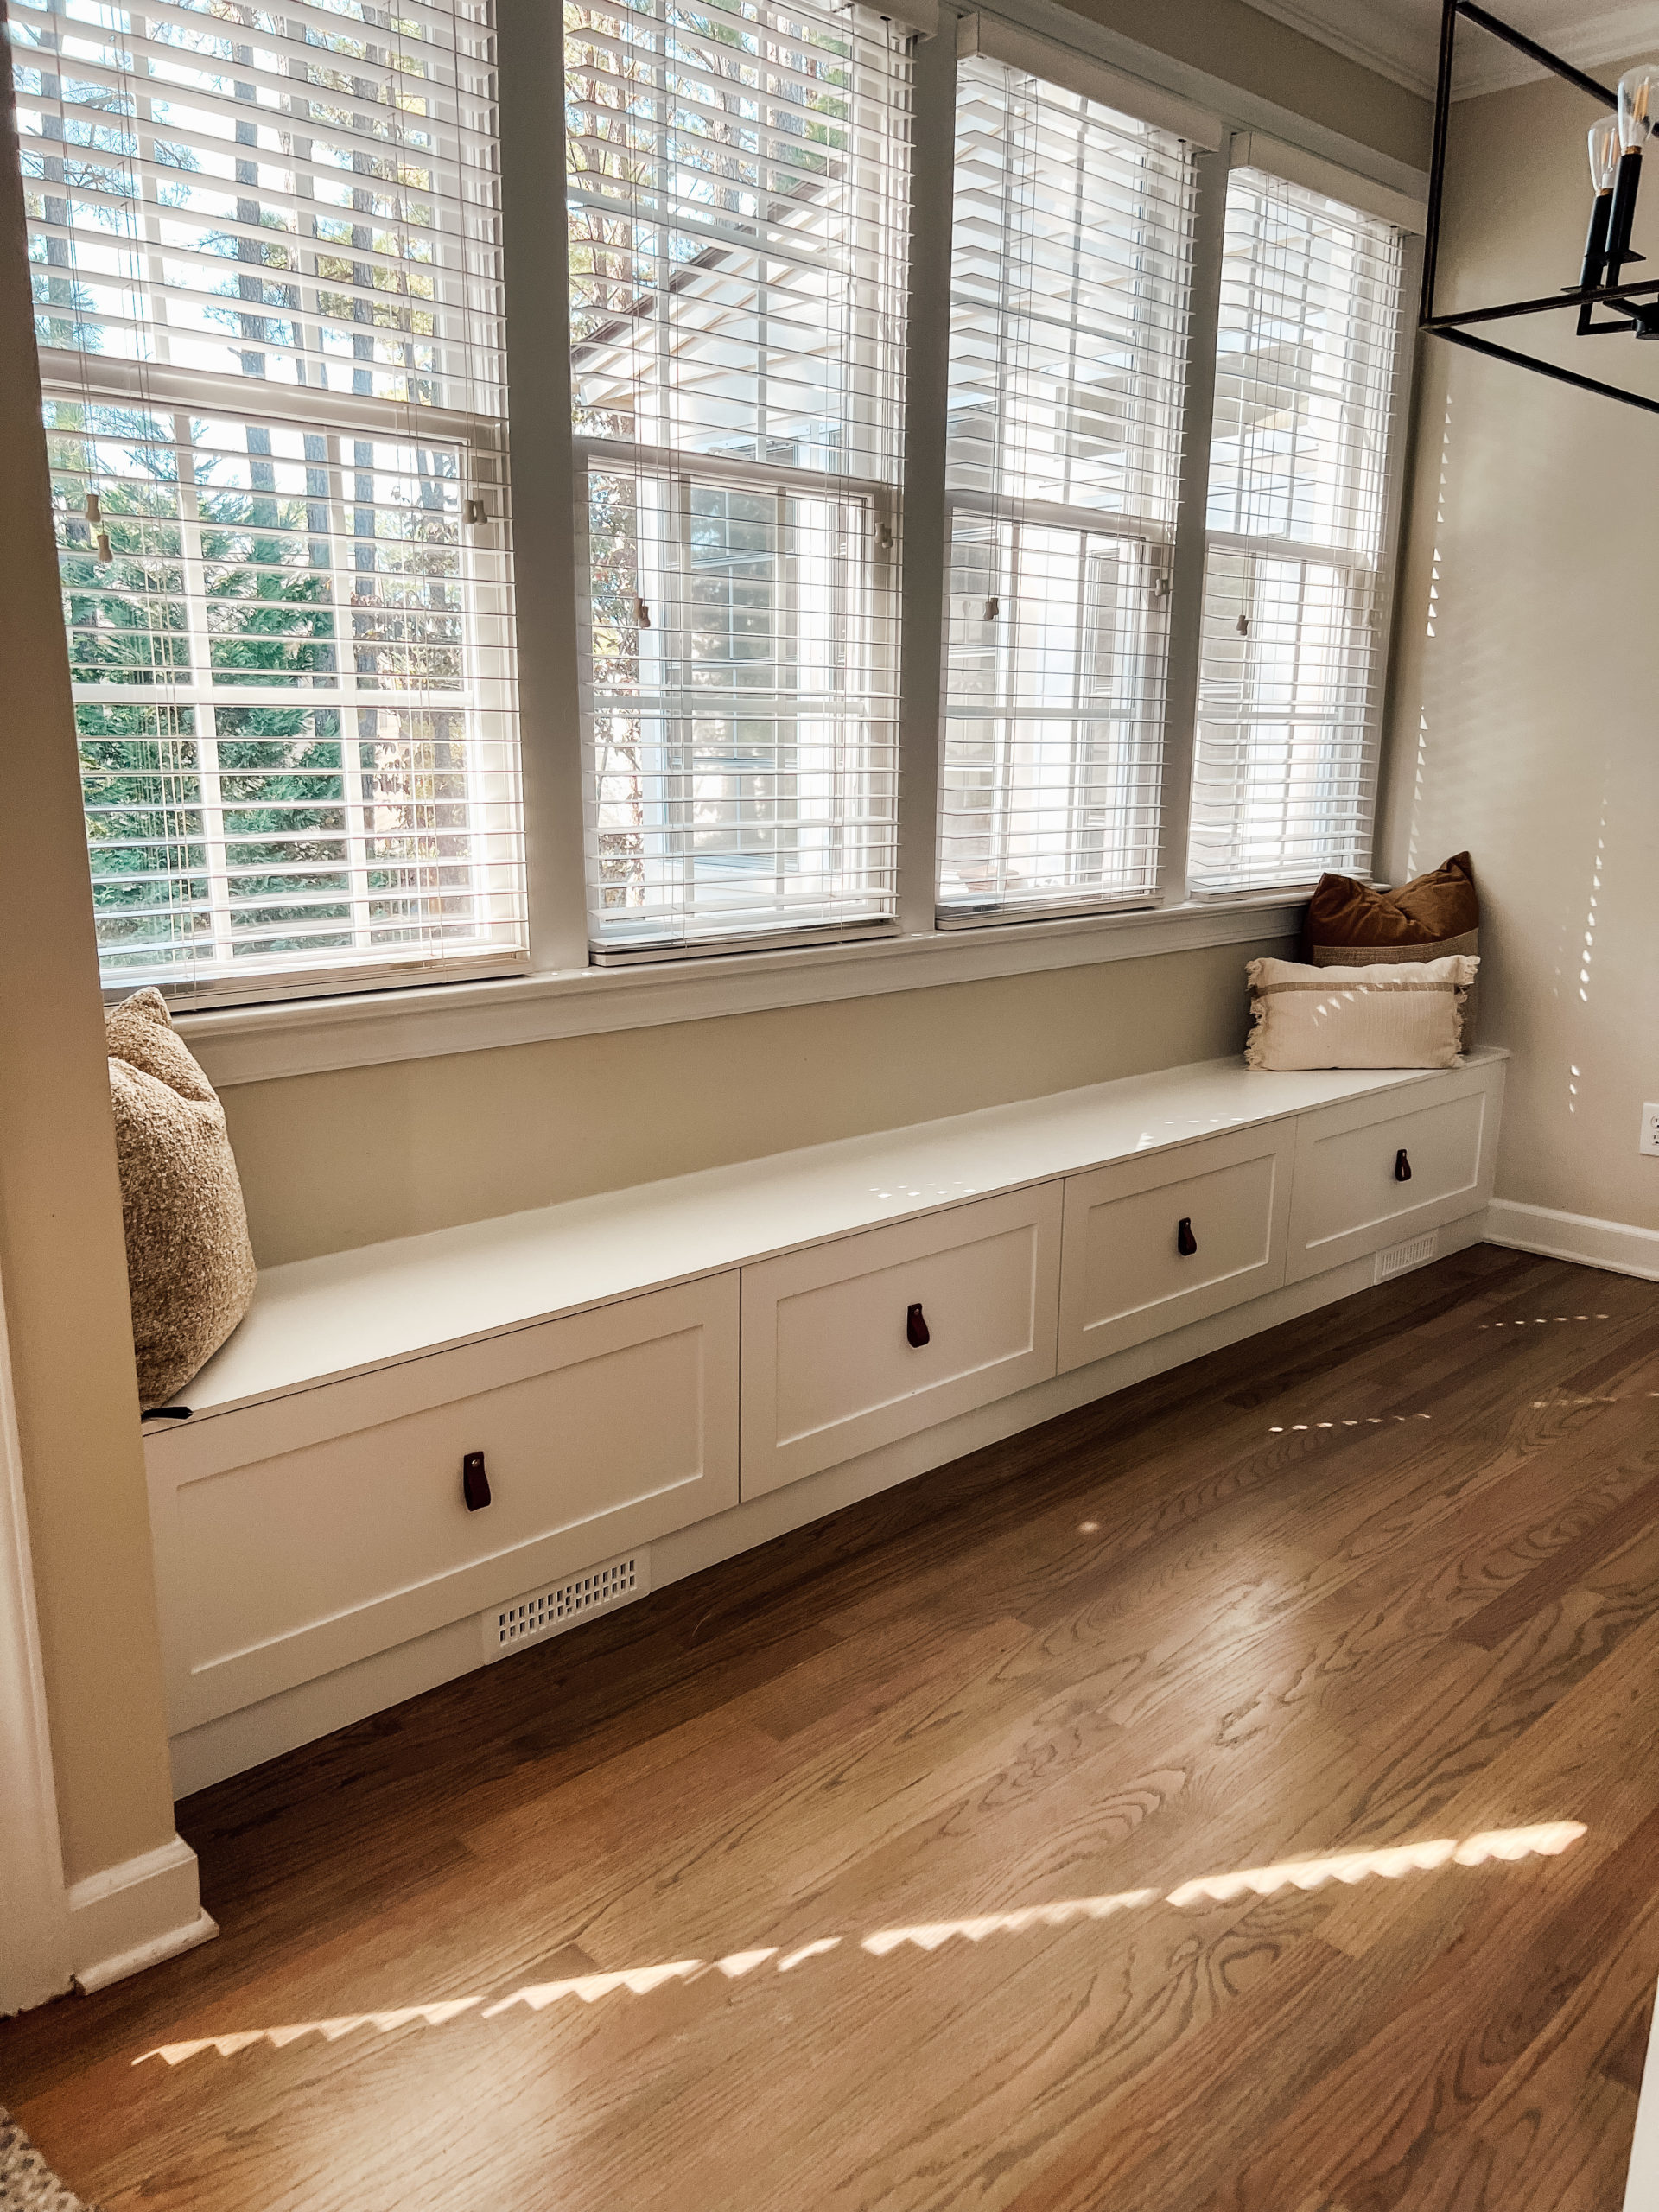
This long window bench seat has been a dream of mine for a long time. It's going to be amazing for both seating and storage, since it's made using four IKEA cabinets with pull-out drawers.
So without further ado, let's dive into the process and cost breakdown of our DIY bench seat!
Supplies Needed for the Bench Seat
First things first. Here's a complete list of all of the supplies needed to complete this project, along with the cost of the materials. When it comes to materials like wood glue and paint, I adjusted the cost for the actual amount we used.
| Item | Cost | Cost adjusted for amount used |
| 2 30" Ikea cabinet boxes | $116.00 | $116.00 |
| 2 36" Ikea cabinet boxes | $120.00 | $120.00 |
| 2 30" Ikea drawers | $100.00 | $100.00 |
| 2 36" Ikea drawers | $116.00 | $116.00 |
| 2 30" Nieu drawer fronts | $207.64 | $207.64 |
| 2 36" Nieu drawer fronts | $249.32 | $249.32 |
| Filler piece for baseboard | $214.28 | $214.28 |
| 2x4's | $15.92 | $15.92 |
| Particle board for top of bench | $45.98 | $34.49 |
| Air vent return | $15.52 | $15.52 |
| Wood filler | $9.28 | $1.16 |
| Sanding block | $9.28 | $4.64 |
| Caulk | $3.98 | $2.63 |
| Primer | $15.00 | $3.75 |
| Paint | $70.00 | $8.75 |
| Polyurethane | $25.68 | $6.42 |
| Wood glue | $9.98 | $2.50 |
| Leather pulls | $14.85 | $7.43 |
| Woven stripe lumbar pillow | $22.00 | $22.00 |
| Color block throw pillow | $30.00 | $30.00 |
| Boucle throw pillow | $22.00 | $22.00 |
| TOTAL | $1432.71 | $1300.43 |
Tools Needed for the Bench Seat
Although you don't necessarily have to have all of the tools on this list, they certainly make the job easier. I consider every tool we buy an investment that will pay off in the long run. We've collected tools slowly over time, and luckily we had all of these on hand before starting the project.
- Circular saw
- Table saw
- Miter saw
- Pocket hole jig
- Mini roller tray set
- Cordless drill
- Pocket hole screws
- Screws
- Paint brush
- Air compressor + brad nailer
- Putty knife
- Oscillating multi-tool
How to Build a DIY Bench Seat
Now let's talk process!
We created the bench seat using 15" IKEA cabinets situated on a base made of 2x4s (these are 3.5" tall). We also created add 1/2" to the top, so in the end, the bench is about 19" off the ground.
Here's how we did it:
1. Build the Boxes
The first step in the process was building the IKEA cabinet boxes. I used 15" tall x 15" deep upper cabinets for the window seats, along with two 30" wide and two 36" wide cabinets to fit the space almost exactly. We added a base and seat to the boxes, so the 15" tall cabinets were just the right height!
Once I finished this step, I decided to put together one of the drawers to see how they fit into the boxes. And...whoops! We ran into a problem. The drawers were too deep. IKEA sent us the wrong drawers, but graciously fixed the issue right away. They sent us new drawers and arranged to pick up the wrong ones, but it did set us back a little bit.
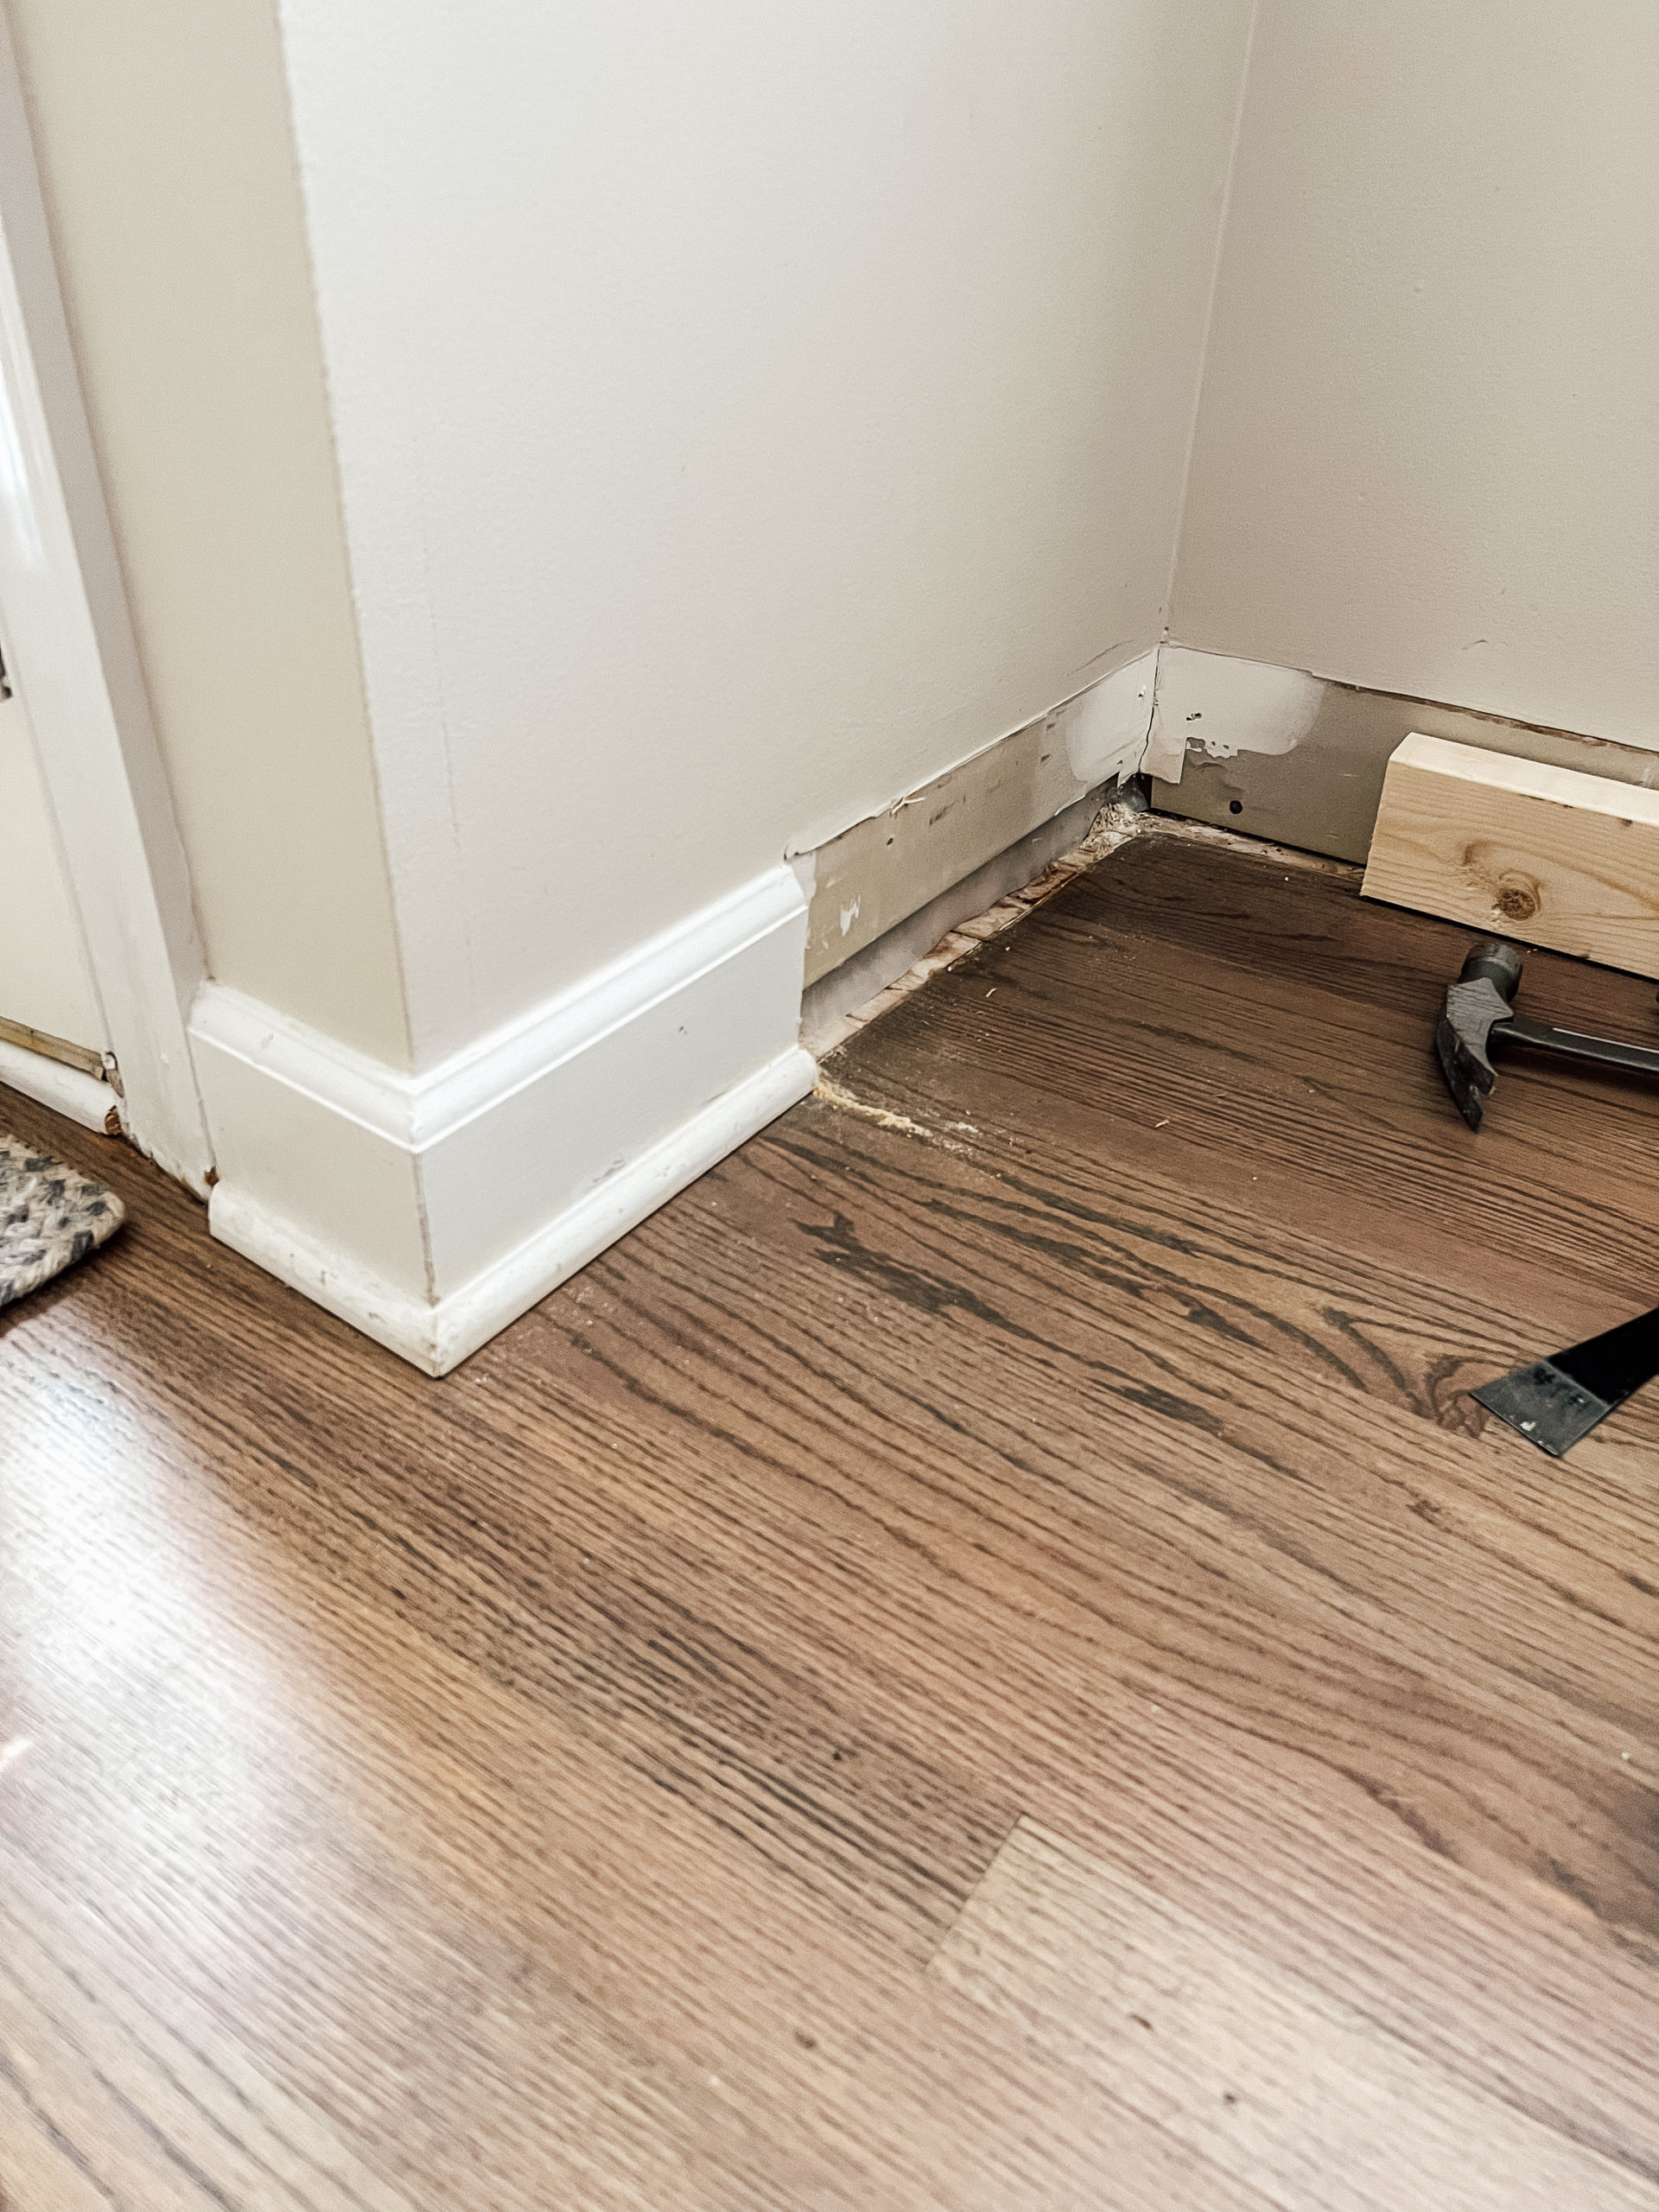
2. Build the Base
While we waited for IKEA to send us the new drawers, we took a trip to Home Depot for 2x4s and got started on the base. We started by removing the baseboard so the bench could sit flush against the wall. (This is where our oscillating multi-tool came in handy!)
Next, we made pocket holes in the boards so it would be easier to connect the center support pieces to the front and back. Pocket screws are a great way to attach two boards that need to connect at 90-degree angles!
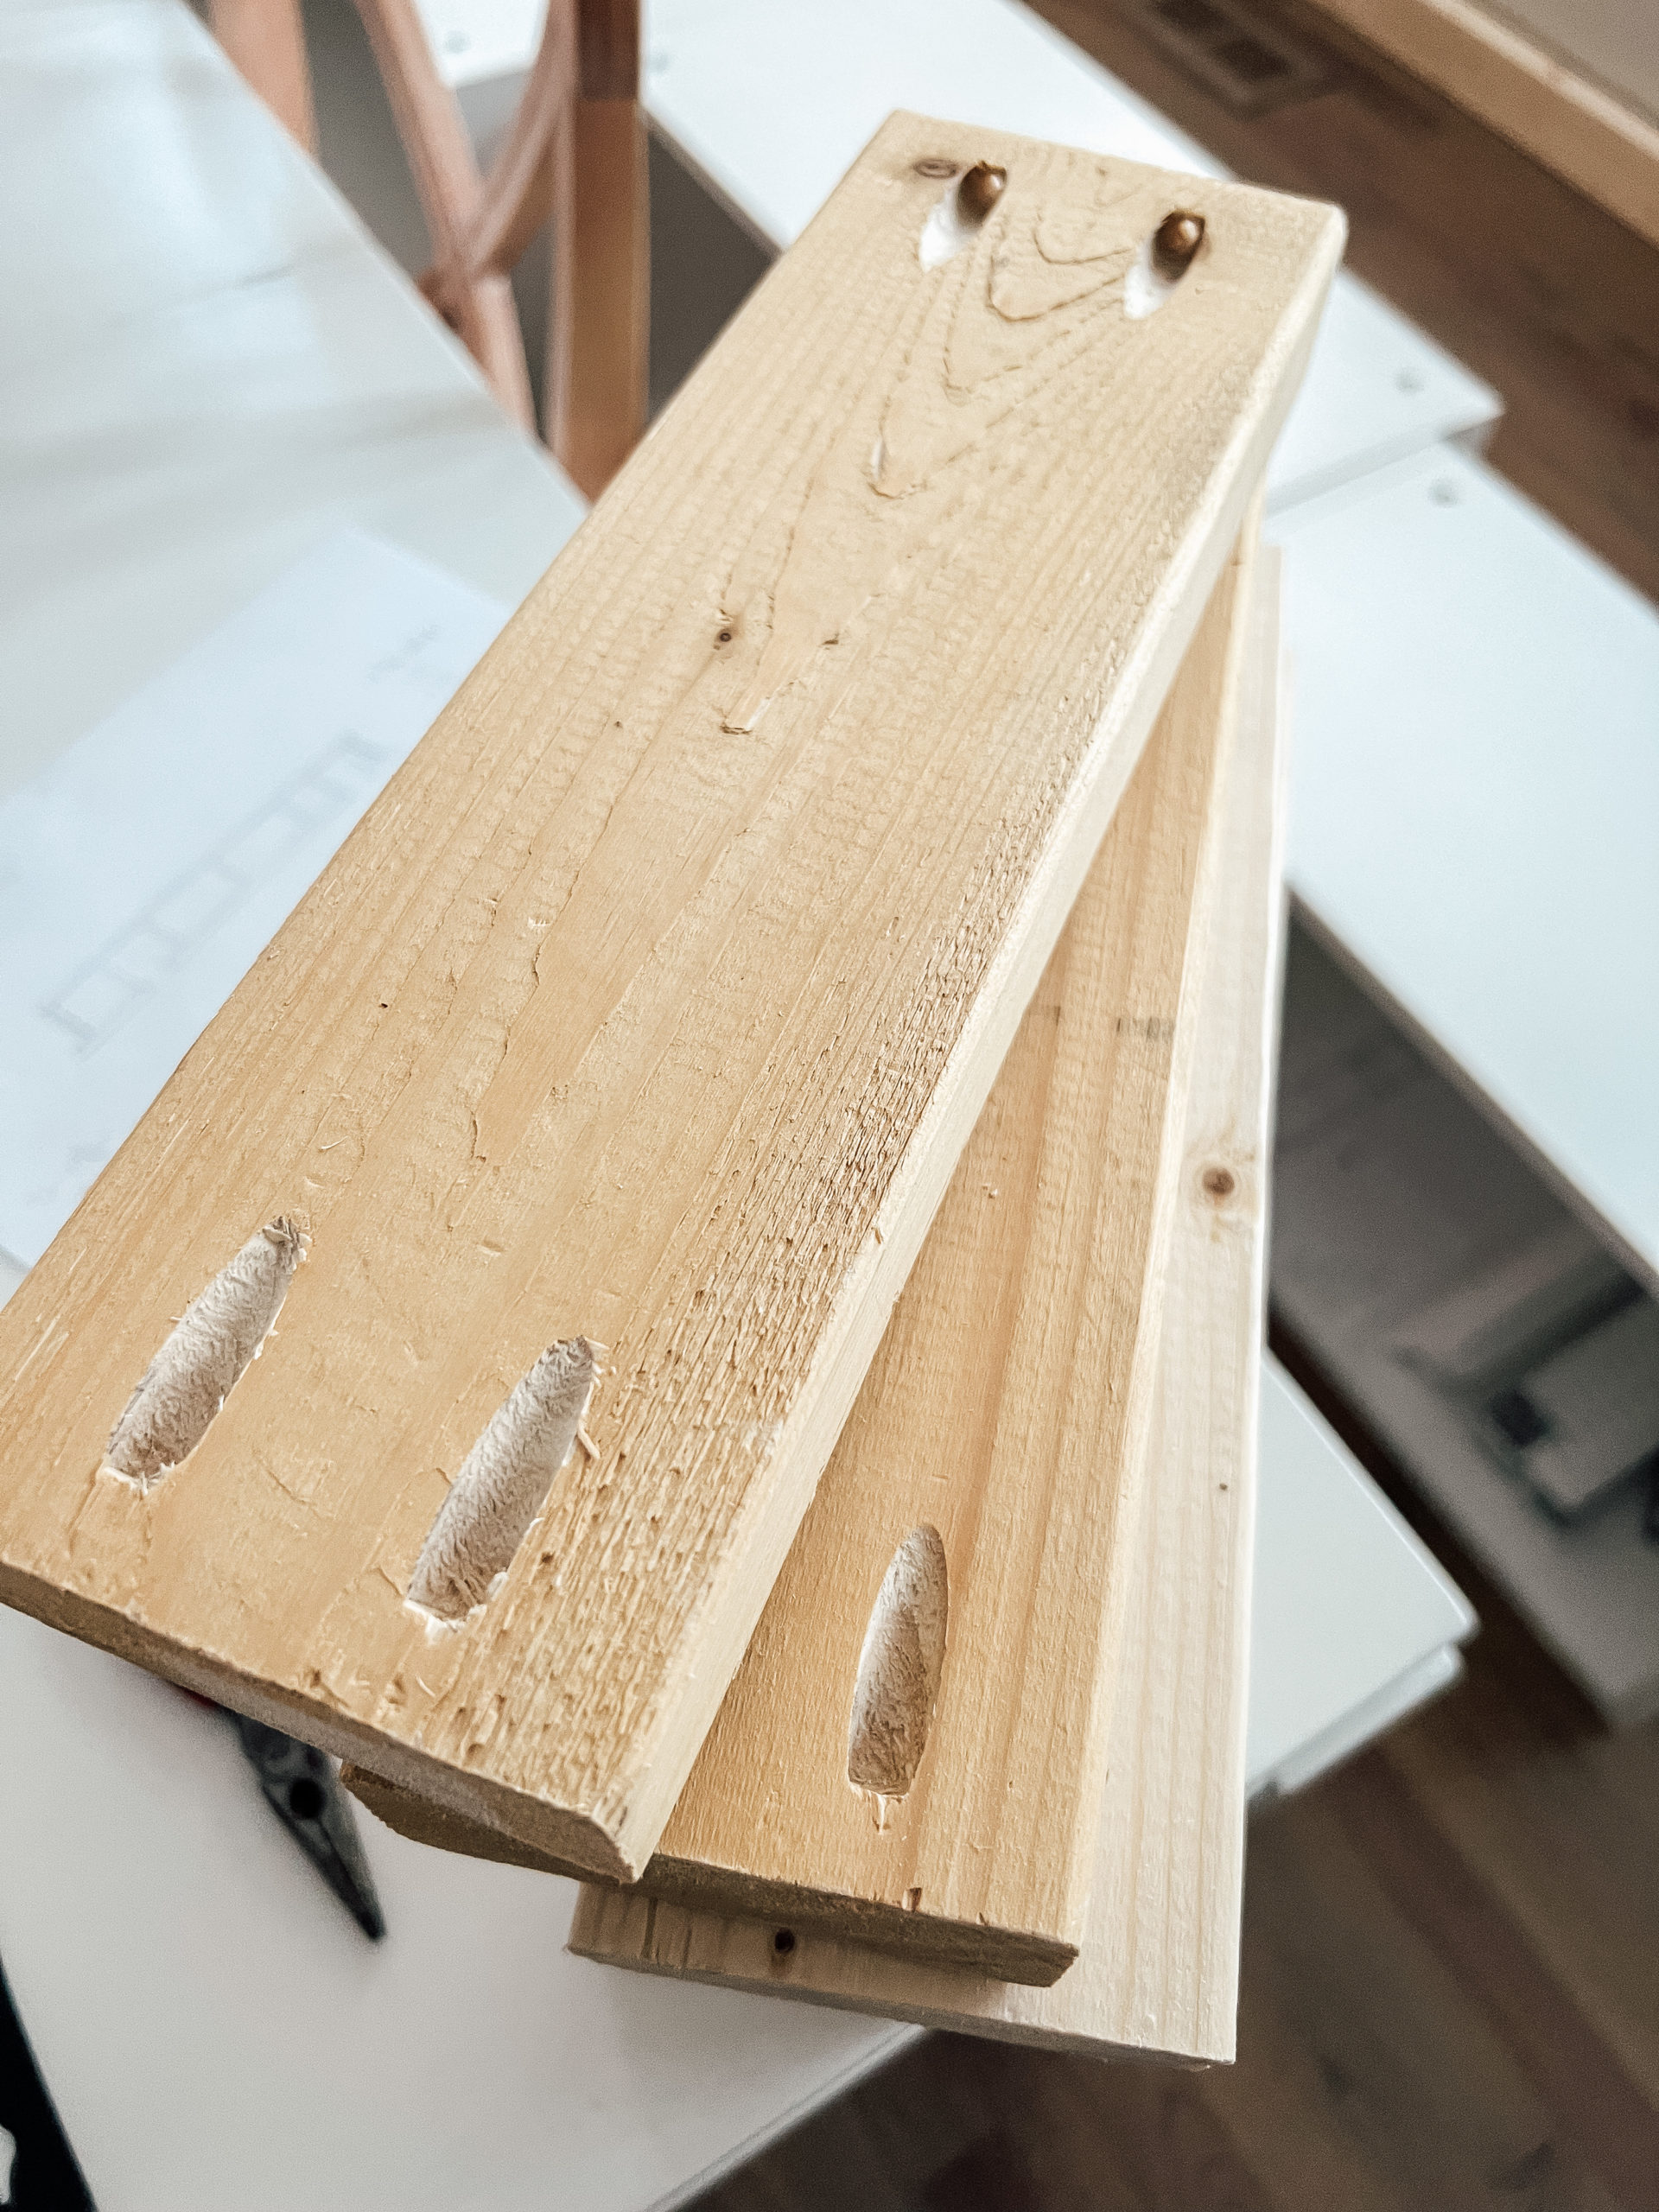
Since the bench seat would be covering up our existing air vent, we also left a space between the boards for a new air vent to go out the front.

3. Build the Drawers
Our new IKEA drawers arrived! At this point, I held my breath and put one together hoping it was the right fit — and it was! It's always amazing how long the first one takes, but then I always end up figuring out a groove and getting the rest done much more quickly.
But the drawer drama wasn't over yet! At this point, I realized we had another problem. The drawer fronts had pre-drilled holes that were meant to work with our original drawers, which were the wrong size. So we had to drill new holes on the back of the door to make them work with the new drawers. Whew!
We made a template for the new holes, and then Justin put a piece of tape on his drill bit to make sure he didn't go too far into the wood.

4. Secure the Bench Seat
Once all of the drawers were assembled, it was time to secure the four window boxes together using screws. Then we attached the cabinet boxes to the wood base of 2x4s, and attached filler pieces to the gaps on the side to give the bench a more built-in look.
At this point, we also cut out the kick board and filler pieces from Nieu Cabinet doors. (With plans to attach them later using finishing nails.)
5. Install the Drawers
Next, we installed the drawers to see how they looked! There weren't instructions on how to do this, so we clumsily worked through it, one drawer at a time. Once we finally got them in, it really started looking like a bench seat!
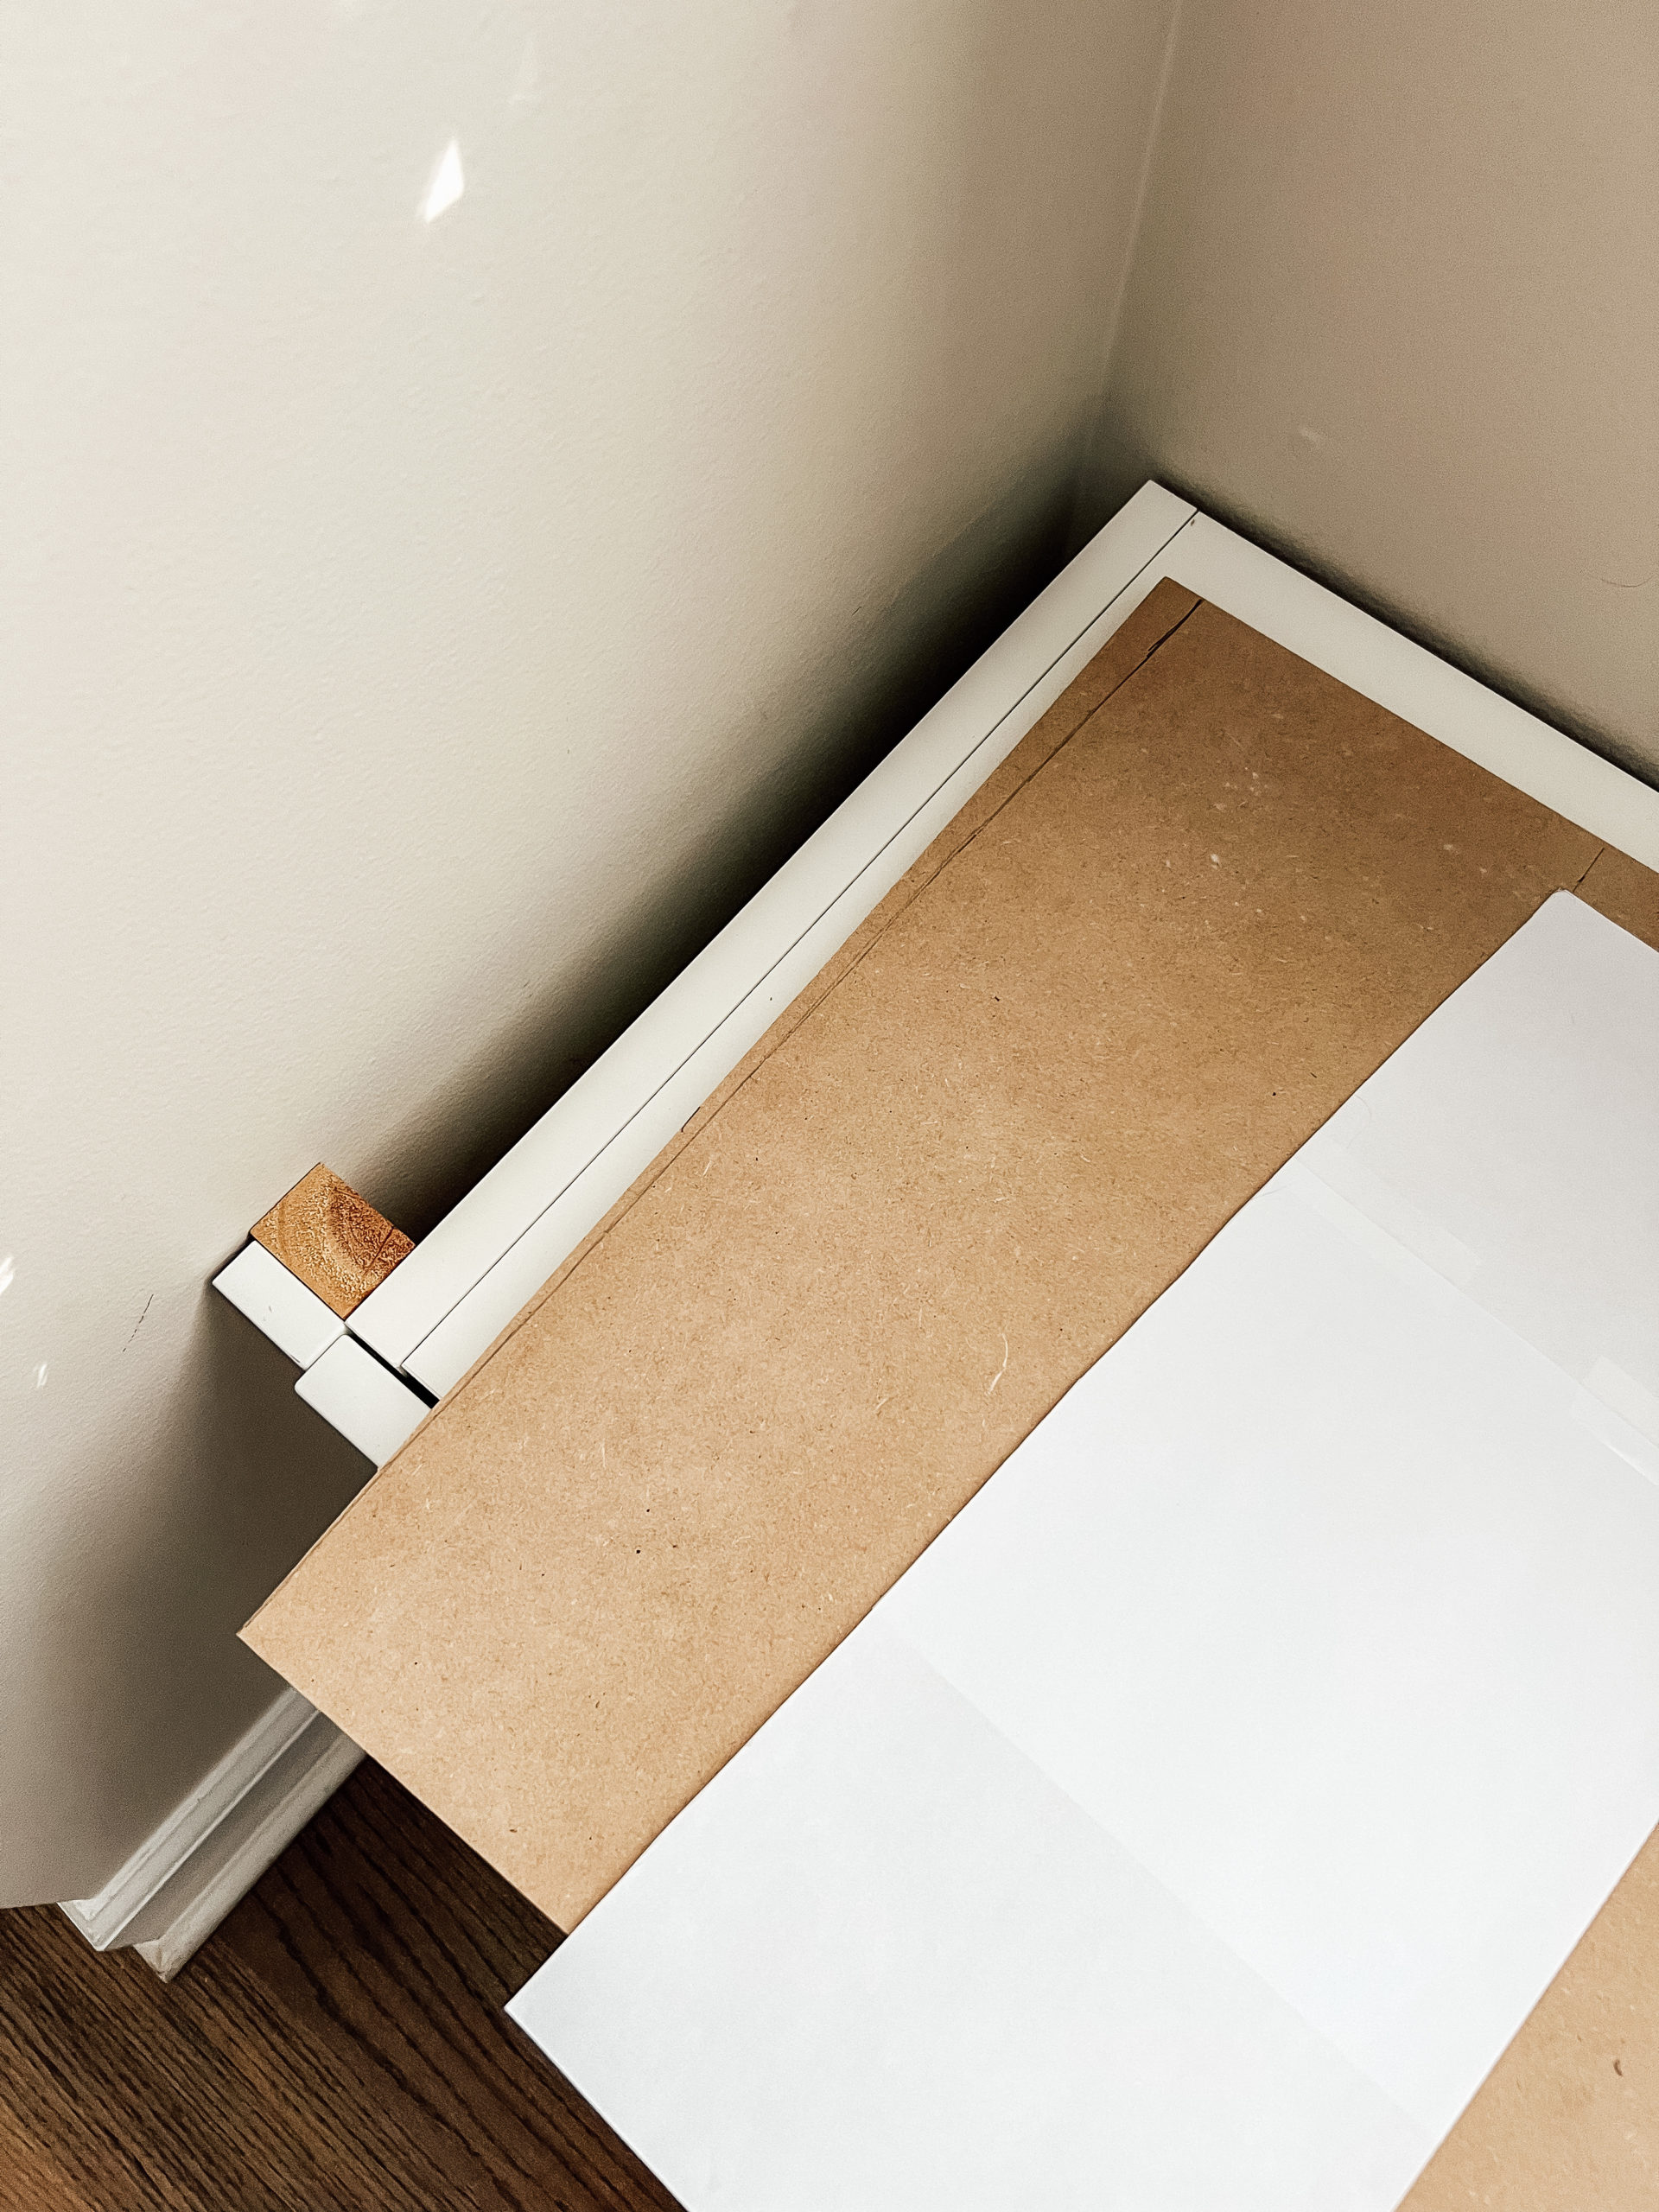
6. Make the Top of the Bench Seat
Then it was time to make cuts in our big sheet of particle board for the top of the bench seat. We wanted to size them perfectly, then paint them, then attach them.
And if you've ever done any home project like this, you know that walls and wood are never perfectly straight! In this case, we had a gap on the side of the bench because the wall isn't straight. Even though we planned to caulk everything, I still didn't want a gap that big, so we got extra particle board to work with. We just trimmed a bit off both ends, then painted the whole thing to match the cabinets.
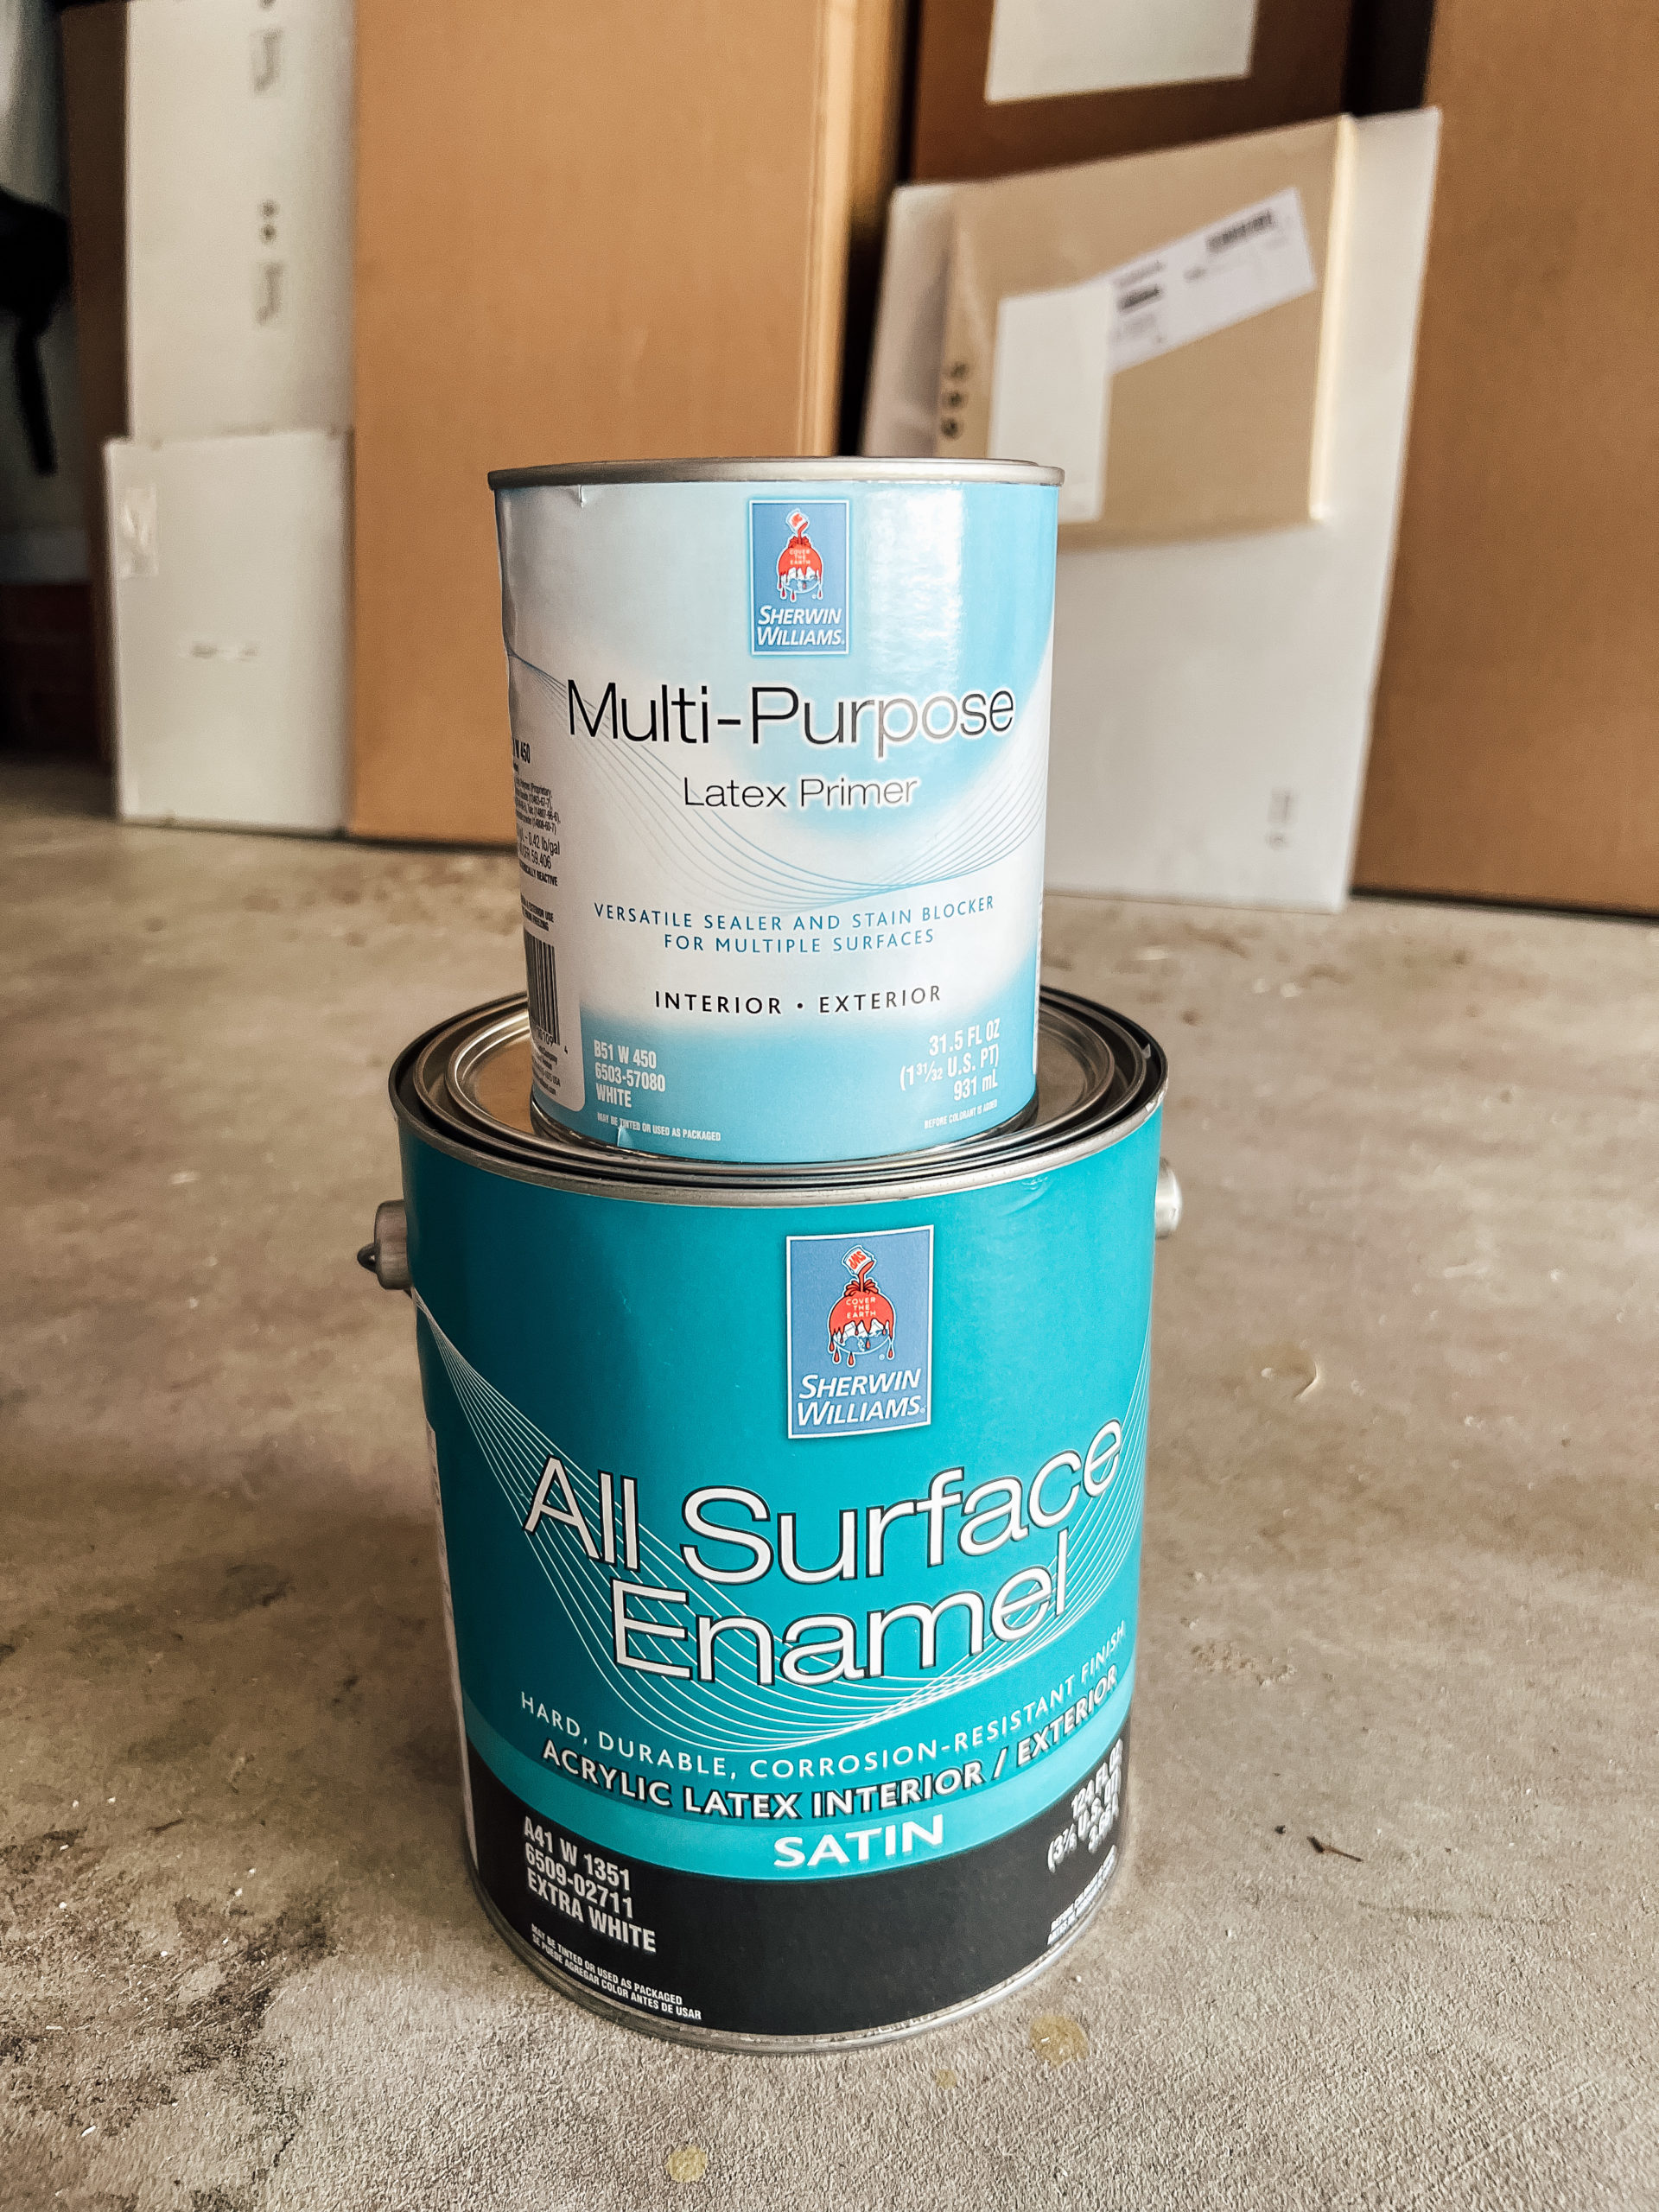
7. Paint the Bench Seat
After filling in the gaps in at the top of the bench, I headed to Sherwin Williams to get primer and paint for the particle board. I got surface enamel in a satin finish, which the paint experts said would be super durable. And since it's water-based, it still easy to work with.
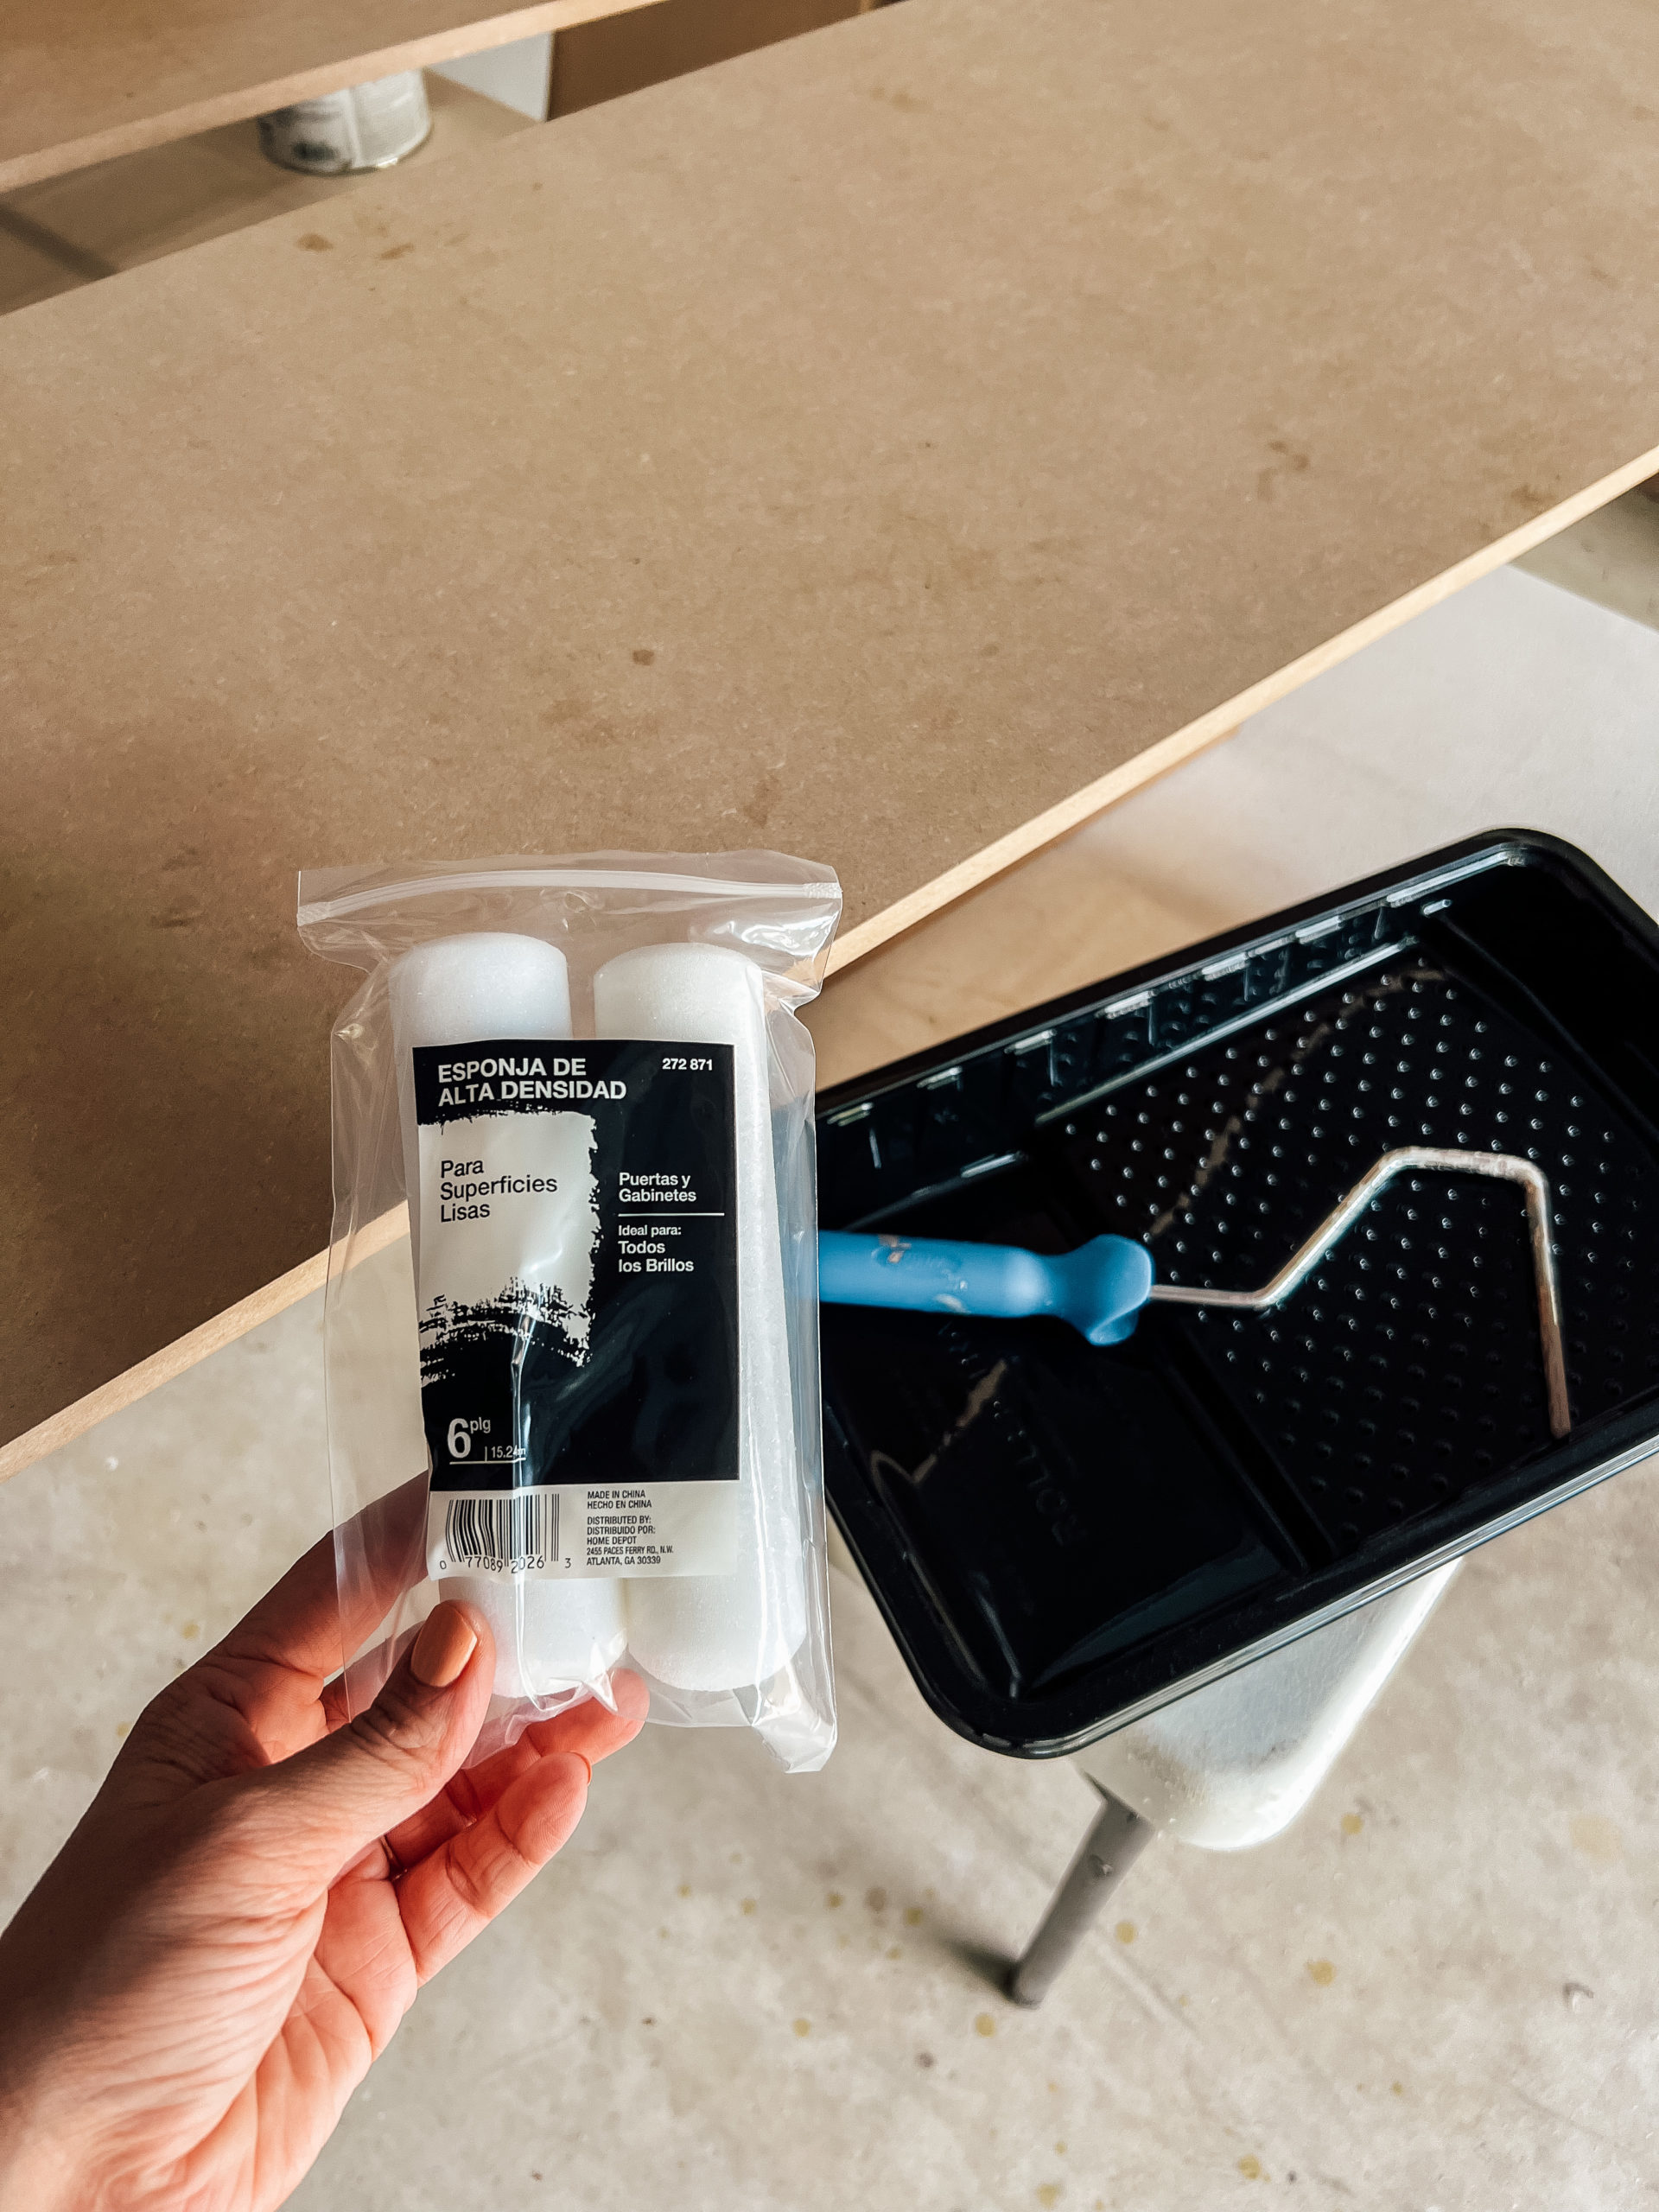
I used a mini foam roller to apply two coats of primer. Then I let it dry fully and then applied two coats of paint, followed by two coats of polyurethane (to make it more durable.)
8. Attach the Boards to the Top
Next, we used wood glue and screws to attach the particle boards to the top of the bench seat. We were so close to the finish line! We also filled the drill holes and seams with wood filler, for a more polished look.
9. Attach Trim Pieces
With the top piece installed, we then attached the trim pieces using our air compressor. We also installed the new air vents, since we had covered the old ones that were on the floor.
10. Add the Finishing Touches
At this point, the bench seat was essentially done. We just had to add the finishing touches to polish it off!
I first applied backer road to the back side of the bench seat. This is a foam strip that you can press down into an area before caulking, to help close the gap and reduce the amount of caulk you need to use.
Then I applied the caulk and used my finder and a wet paper towel to smooth the edges. The caulking is a really important step that makes any DIY project look more professional!
13. Add Hardware
Finally, it was time to add hardware! I installed these beautiful leather pulls to the front of the drawers. And at last, the job was done!
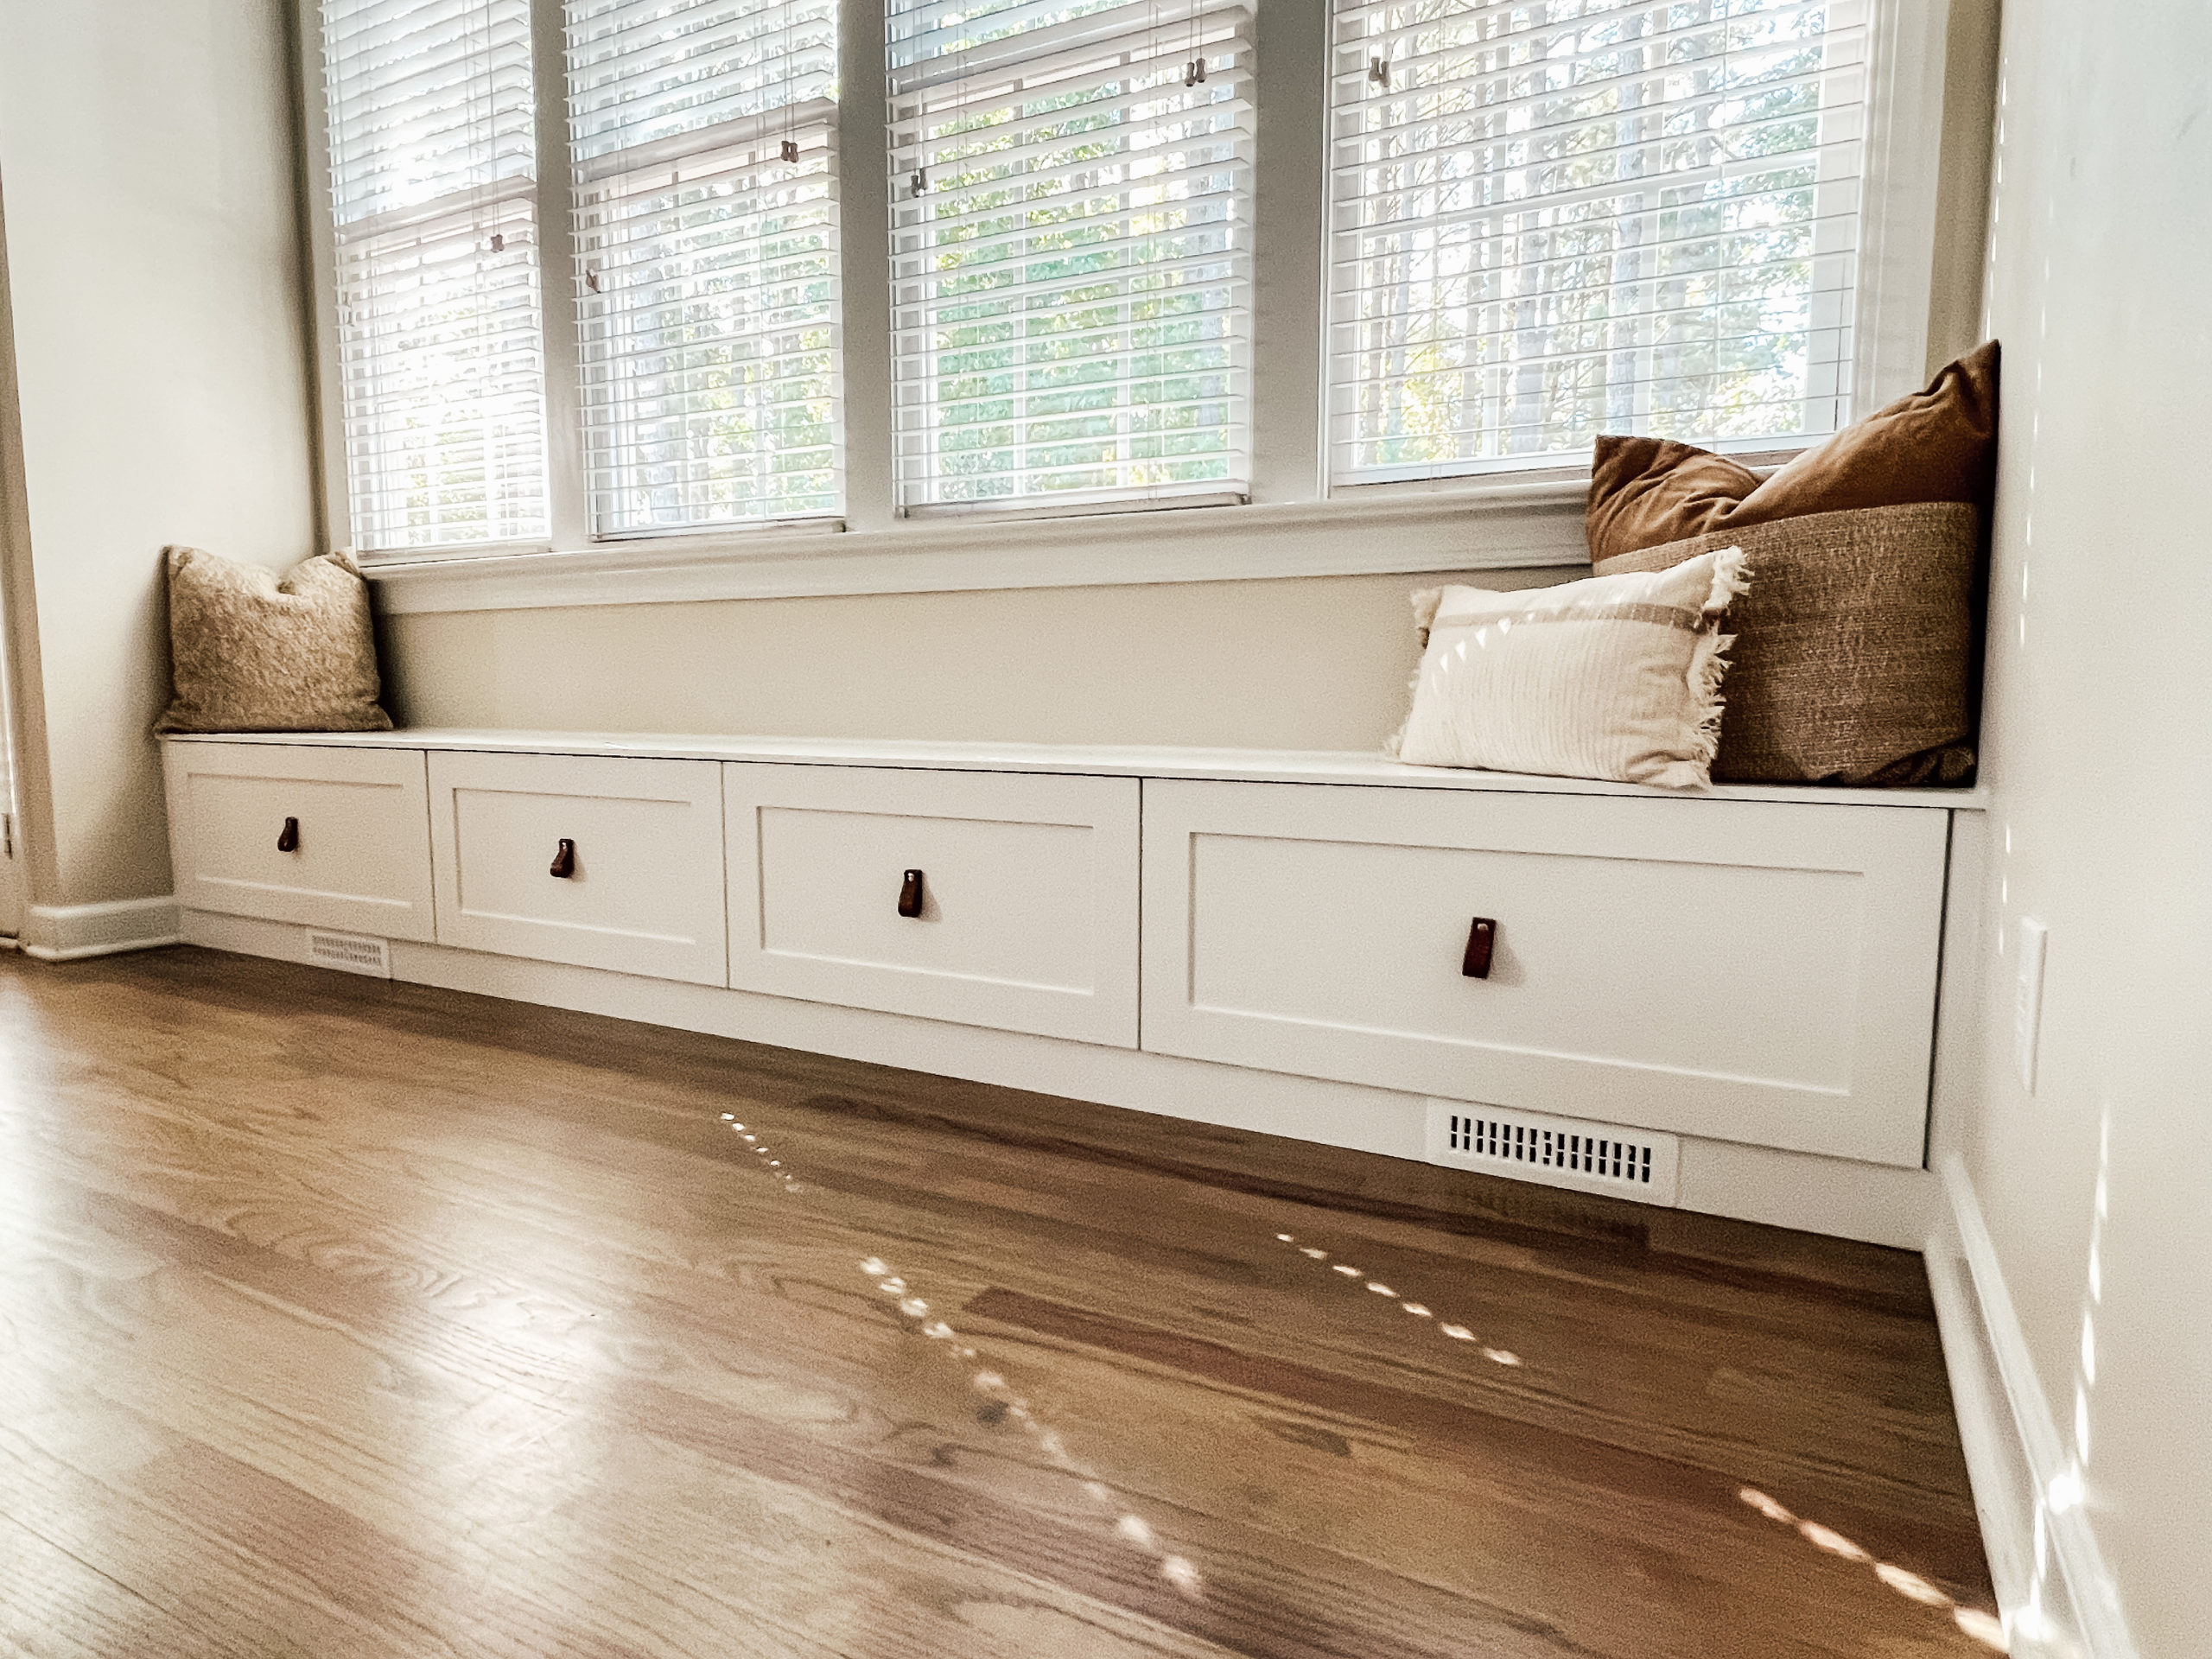
The Final Product
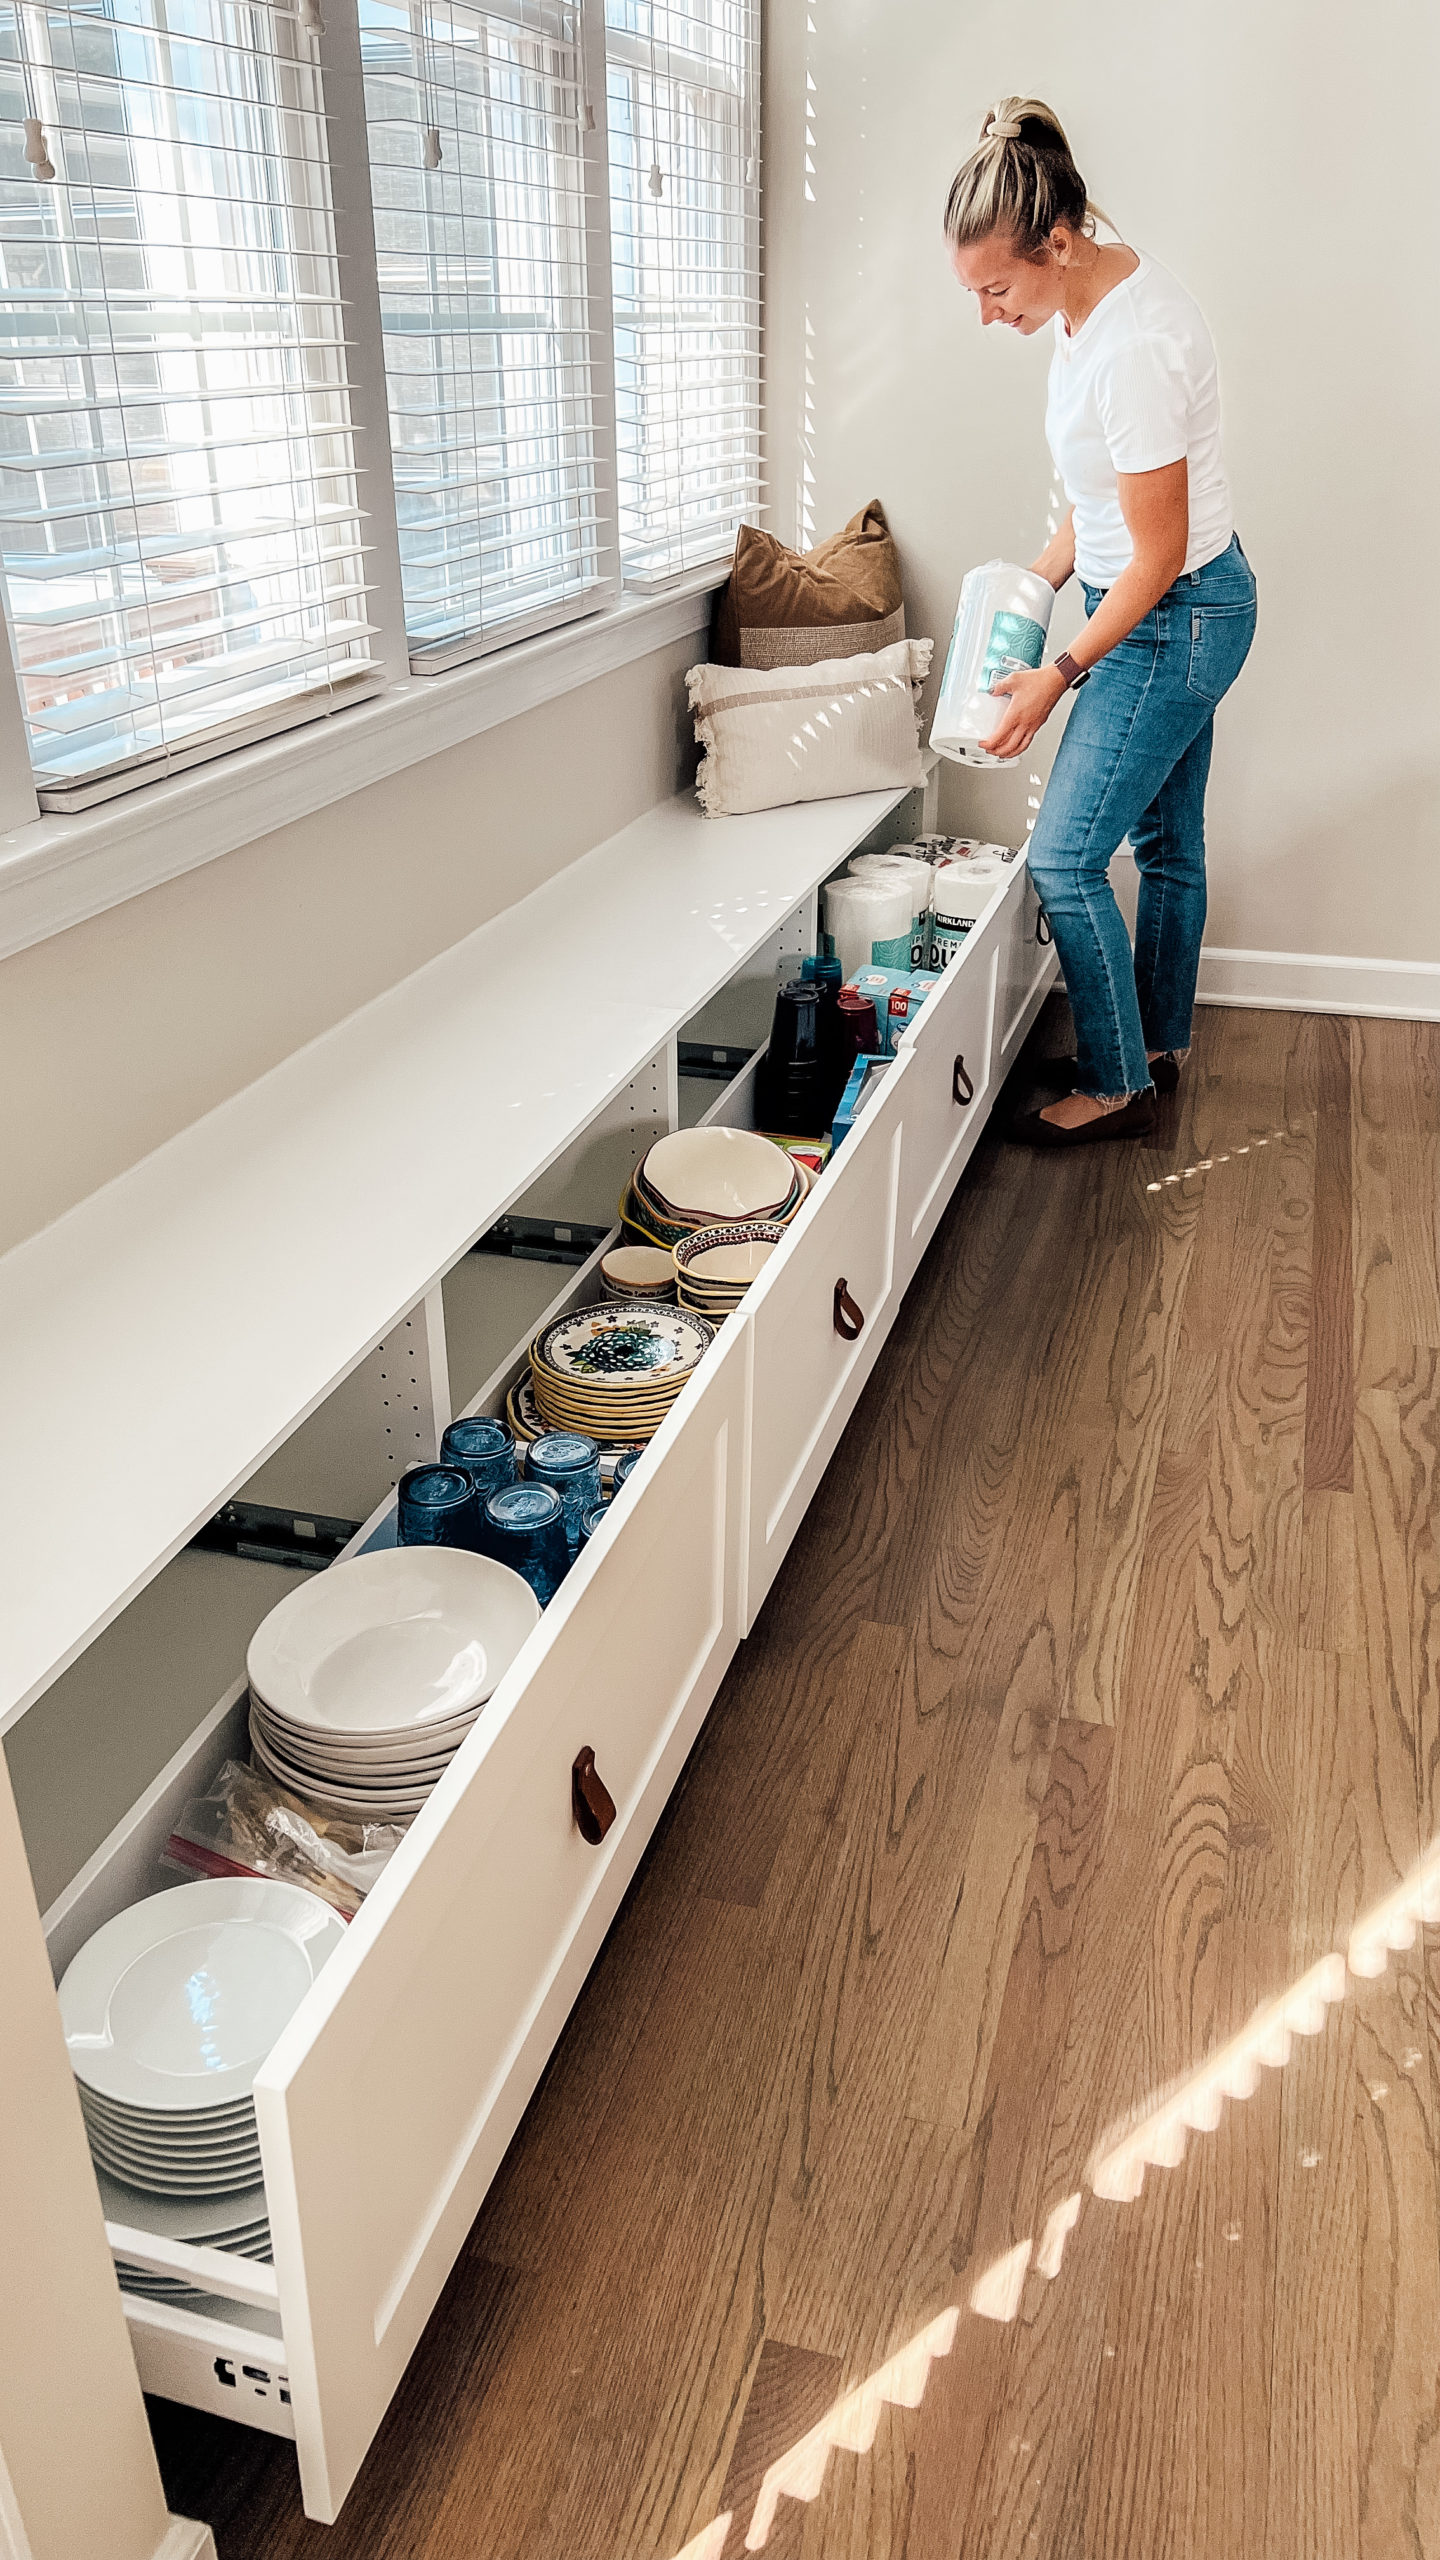
As usual, this project was not without a few bumps in the road. I always expect that something will go wrong when I take on a DIY project like this. Because of that, I'm not too thrown off when it inevitably happens. And it certainly did! But everything came together in the end, and I'm SO happy with the final results!
I've already filled the drawers with our extra dishes and tableware. And now that we can seat an even bigger crowd, I'm excited to eventually buy a bigger table that works better with the space.
Now it's on to the next stage of the kitchen renovation!
Shop the Post

I like to hang out on Instagram and share more in-depth tutorials on everything I make, create, and organize. Come be a part of our Home & Kind Instagram community.


