


")

I love a good paint project! I think it is a simple way to completely transform a room and give it new life. Especially at this time where a lot of the things you used to look forward to are no longer a possibility to do, a good home improvement project can give you something to look forward to. Today I’m sharing the paint process I have learned over the years so your paint project can be something you look forward to doing, too!
Gather Supplies
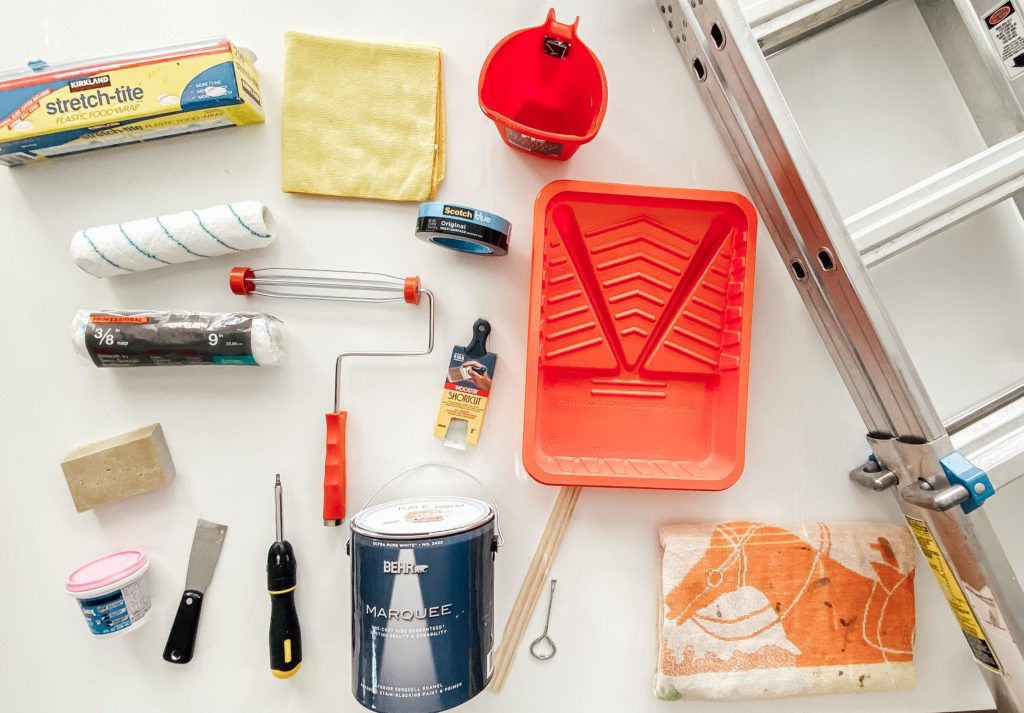
The first thing you need to do is gather supplies so everything is ready when you need it. This list may seem extensive initially, but you probably already have several of the items on hand already or will be able to use them again and again once you get them the first time.
- Paint
- Cutting brush
- Paint cup with magnet
- Paint roller cover
- Paint roller frame
- Paint roller tray
- Microfiber cloth
- Spackling
- Putty knife
- Sanding block
- Ladder/Stool
- Old towel/drop cloth
- Screwdriver
Let’s talk paint for a second. Before you buy a bunch of paint, get samples and paint them on the walls in different parts of the room and look at them during different times of day. The lighting and position will change how it looks and you’ll want to love it at all the different stages. When selecting what kind of paint, I recommend an eggshell or satin finish on walls (matte will show every fingerprint and imperfection). Use a paint calculator online to find out how much you need. I like to spend a little more money to get a higher quality paint that won’t require multiple coats and is more durable. If you are making a drastic change, it’s best to plan on two coats, just to be safe.
Prepare the Walls
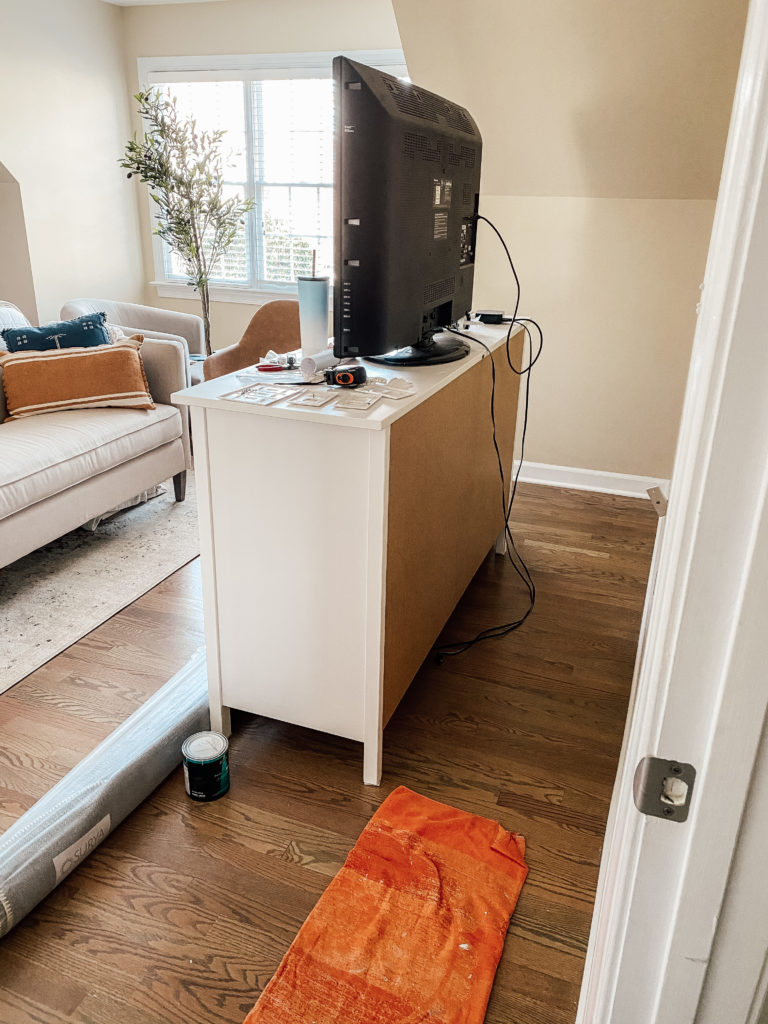
To ensure the best looking paint, you need to get the walls ready. Sometimes the prep process is even more time consuming than actually painting, but it is so worth it! The first thing you need to do is remove anything from the walls (obviously) and clear furniture away to create space.
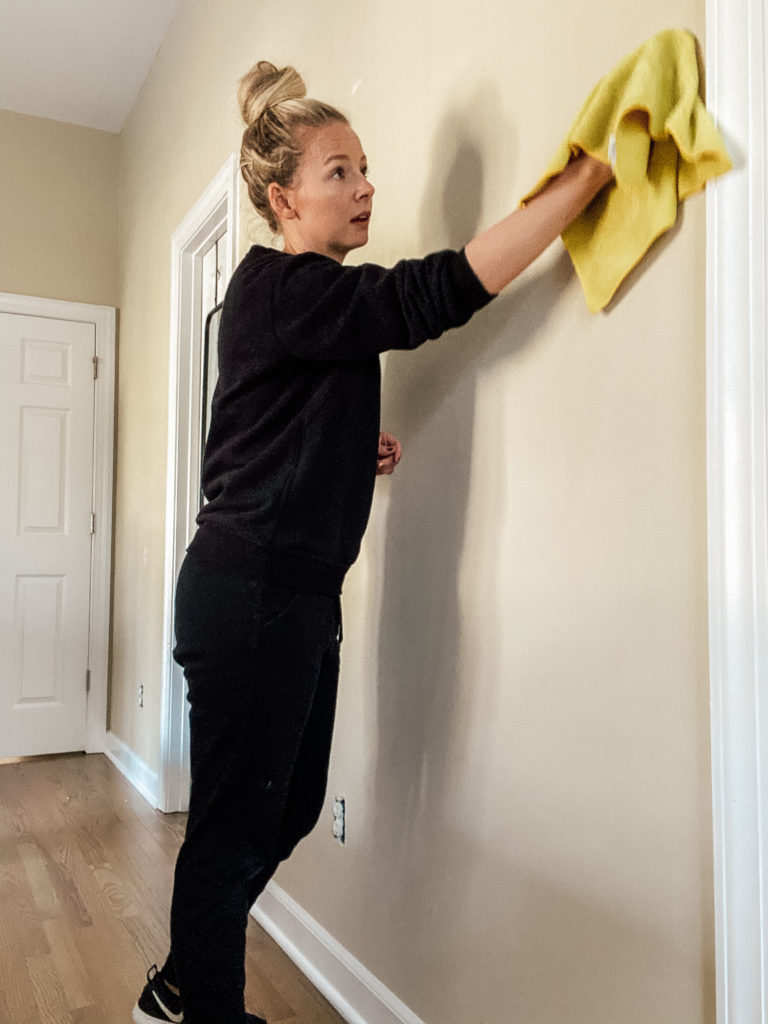
Wipe down the walls with a wet microfiber cloth to remove any dirt, dust, and debris. This will allow the paint to apply evenly.
Then patch holes in your wall. Take spackling on the putty knife and press it into the hole from different directions. You’ll want good coverage without being too excessive to save time sanding.
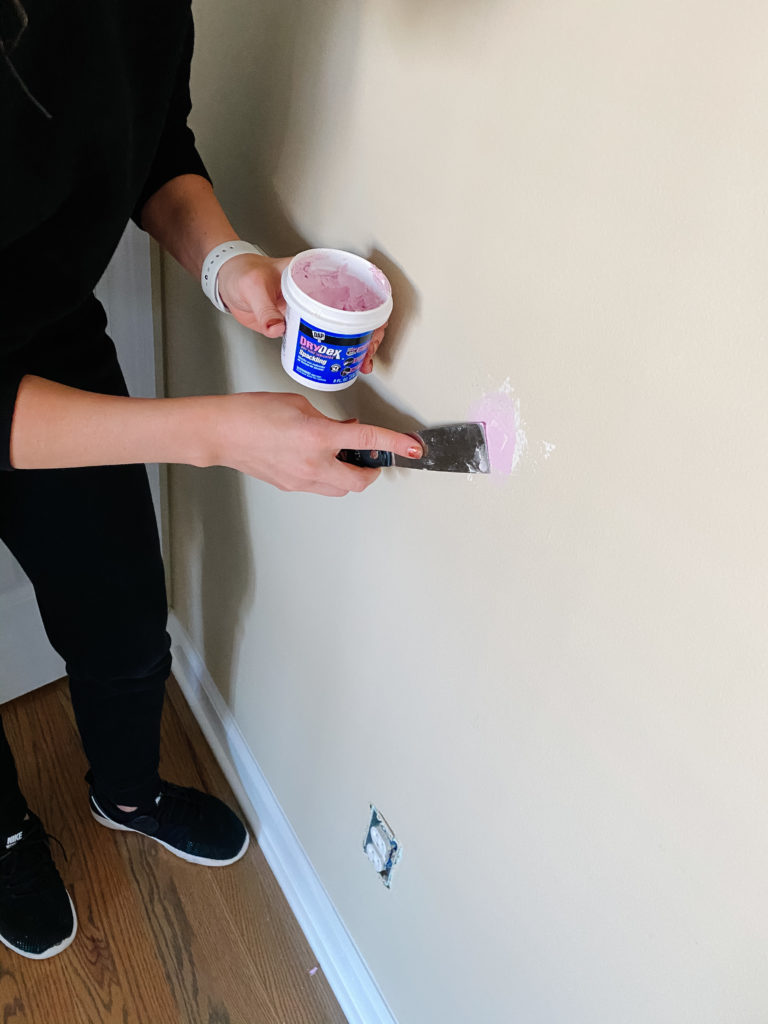
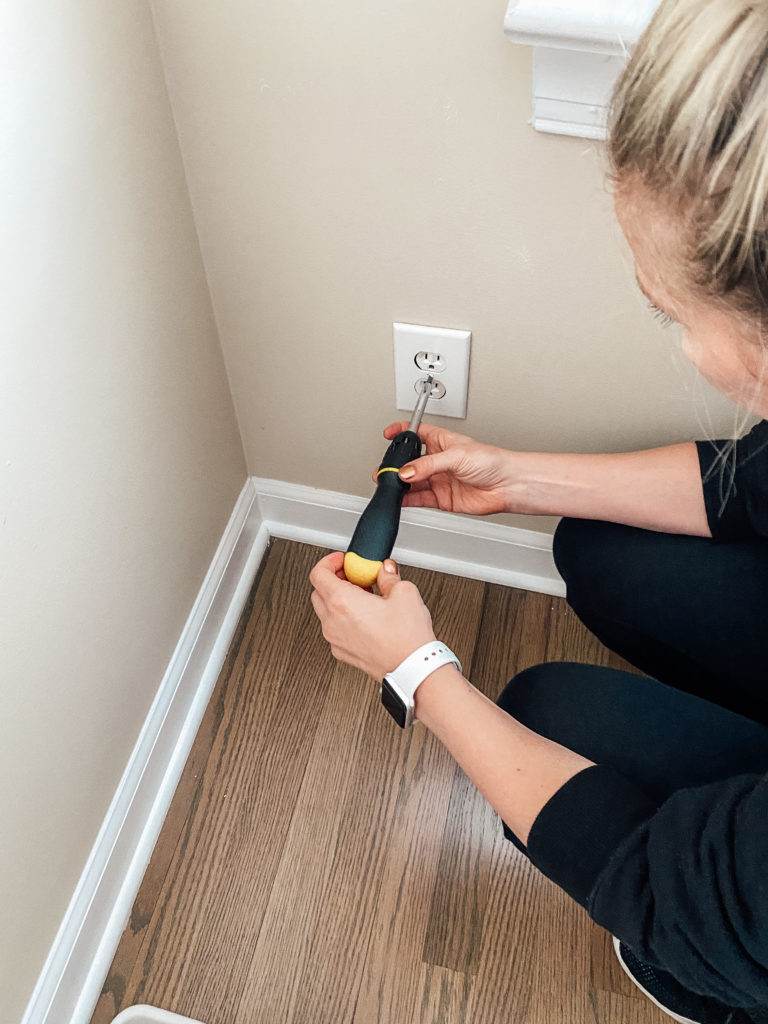
Be sure to also remove any outlet and light switch covers while you are at it.
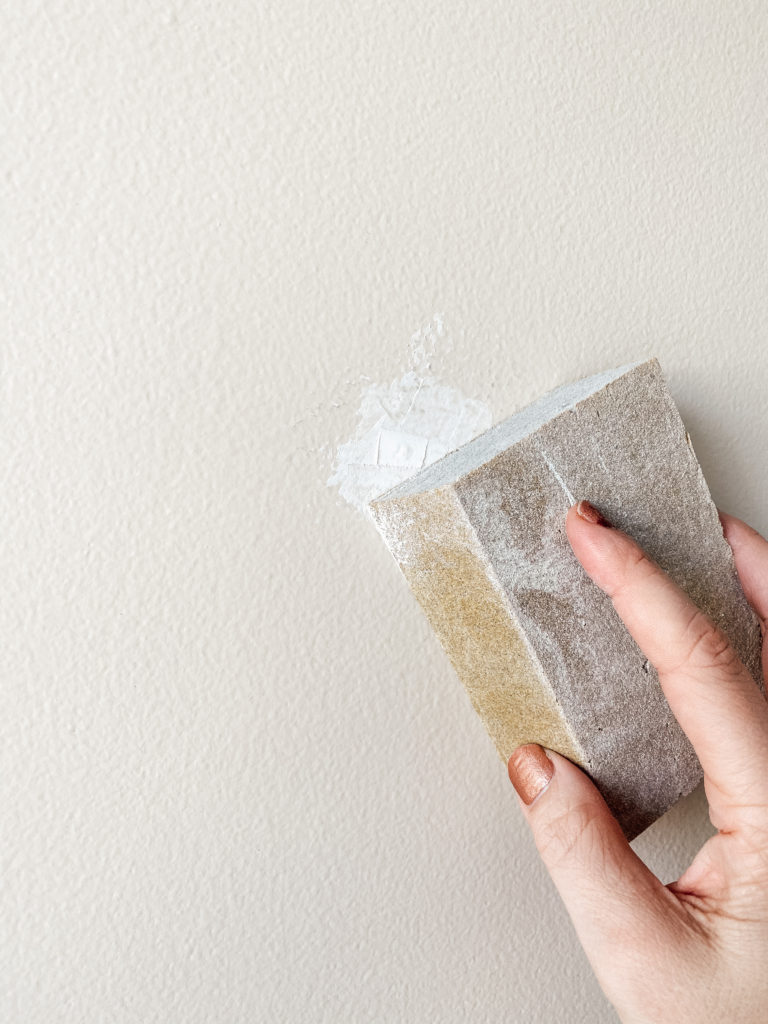
Then sand down the dry spackling and dust with a dry microfiber cloth.
And to finish it off, you can tape off edges if you choose. I prefer not to tape – with a great cutting brush it’s actually not too hard to get a good edge.
Painting Process
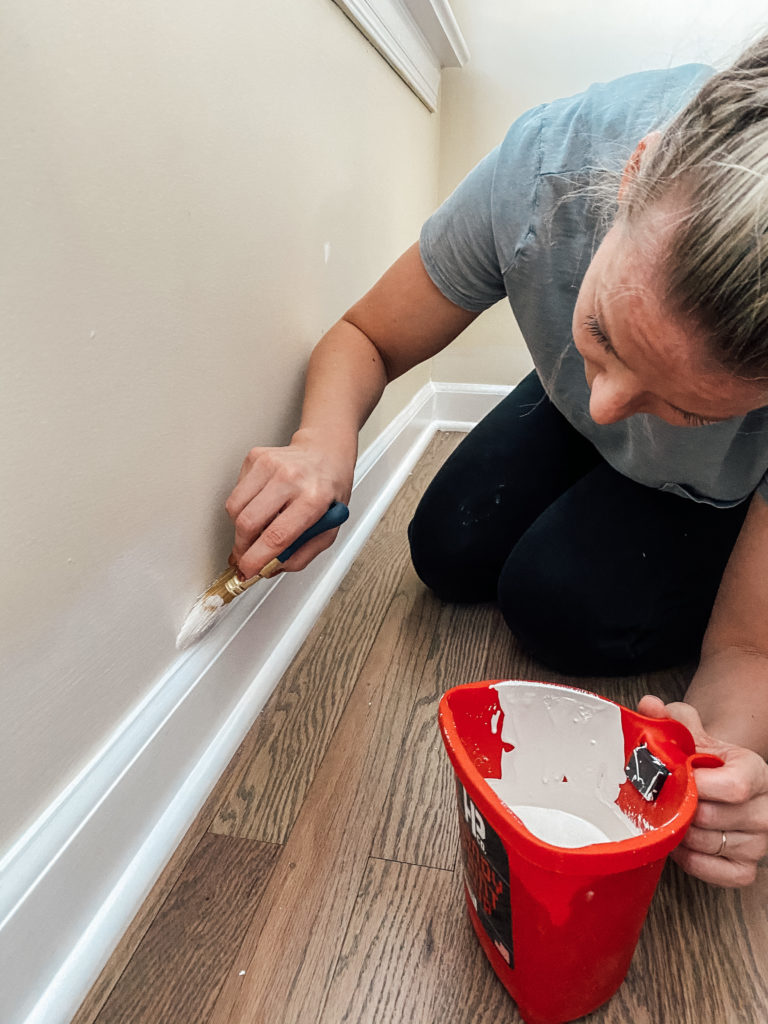
I begin painting by cutting. Use your cutting brush to paint all edges and corners where your roller can’t reach. Make sure to blend the paint into the wall so it doesn’t leave obvious strokes. My favorite paint cup makes that so handy and is magnetic to keep the brush from taking a dive and getting too full of paint.
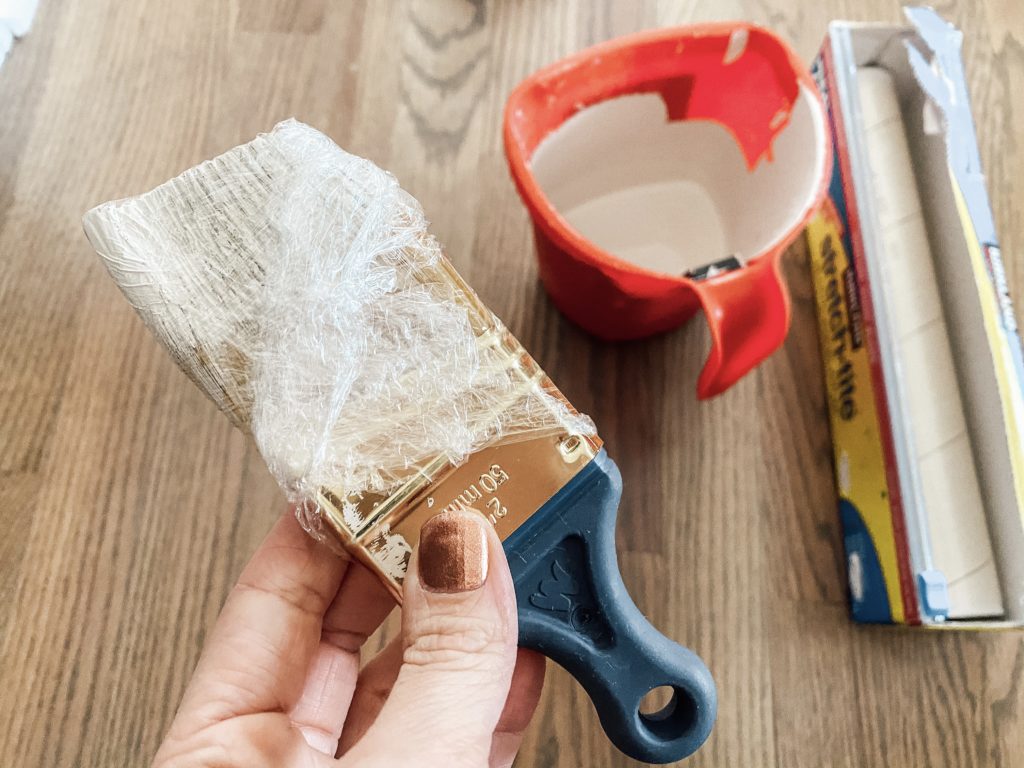
In between coats or if you need to take a break, be sure to use the plastic wrap to cover your brush. This keeps the paint wet and saves you an unnecessary cleaning step. It’s a win-win! If it’s a long break you can wrap the brush and put it in the fridge or freezer to increase the lifespan as well.
My favorite part of the entire painting process (and the most fun, might I add) comes after all the prepwork – and that’s rolling! Rolling out paint allows you to get great coverage quickly and truly see the transformation take place.
If you are using an old paint or one that you have had for a while, you are going to want to make sure to mix it really well. You can also take it back to a home improvement store and they can remix it for you in their paint shaker.

Use a ladder, stool, or extension handle for hard to reach places. I prefer a shorter handle for more control and just get up on a ladder to reach the top. Roll the paint in an X pattern to make sure paint is blending well.
Oh, and don’t forget to have a drop cloth or towel under the area you are painting!
Additional Tips
- You can have paint lightened by 25% increments at any home improvement or paint store. So if you love a color, but want it lighter, you can get the same tone at 75%, 50% or 25%. So it’s just like mixing 50% of a color with 50% white (for that percentage).
- If you have solid surface floors and paint drops onto them, let it dry. If you try to wipe it while it’s wet, it will spread. But if you let it dry, you’ll be able to peel it right off.
- Don’t attempt to rinse out a roller when you’re done – it’s way too much paint to make it worth saving.
- Don’t throw away extra paint – it’s actually illegal in most places. If you’ve got a bunch of extra paint you can donate it, use it for a different project, recycle it, or find out how to dispose of it responsibly.
Were there any tips that surprised you? Or better yet, are there any steps in your painting process I need to know? I’m all ears! Happy painting!
Shop the Post

I like to hang out on Instagram and share more in-depth tutorials on everything I make, create, and organize. Come be a part of our Home & Kind Instagram community.
Grab the PDF of 30 of our favorite family games that use
things you already have around the house.
30 games you can play
with your family that take
5 minutes each

Free Download
+ Show / Hide Comments
Share to: