


")
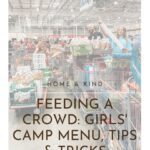
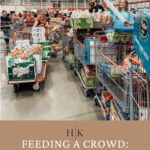
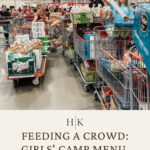
As promised, today I’m sharing a COMPLETE roundup of my experience as a girls’ camp head cook. I’m including a FULL 4-day menu, including breakfast, lunch, dinner, and dessert. I’m also sharing ingredients lists, plus helpful tips and tricks I learned along the way!
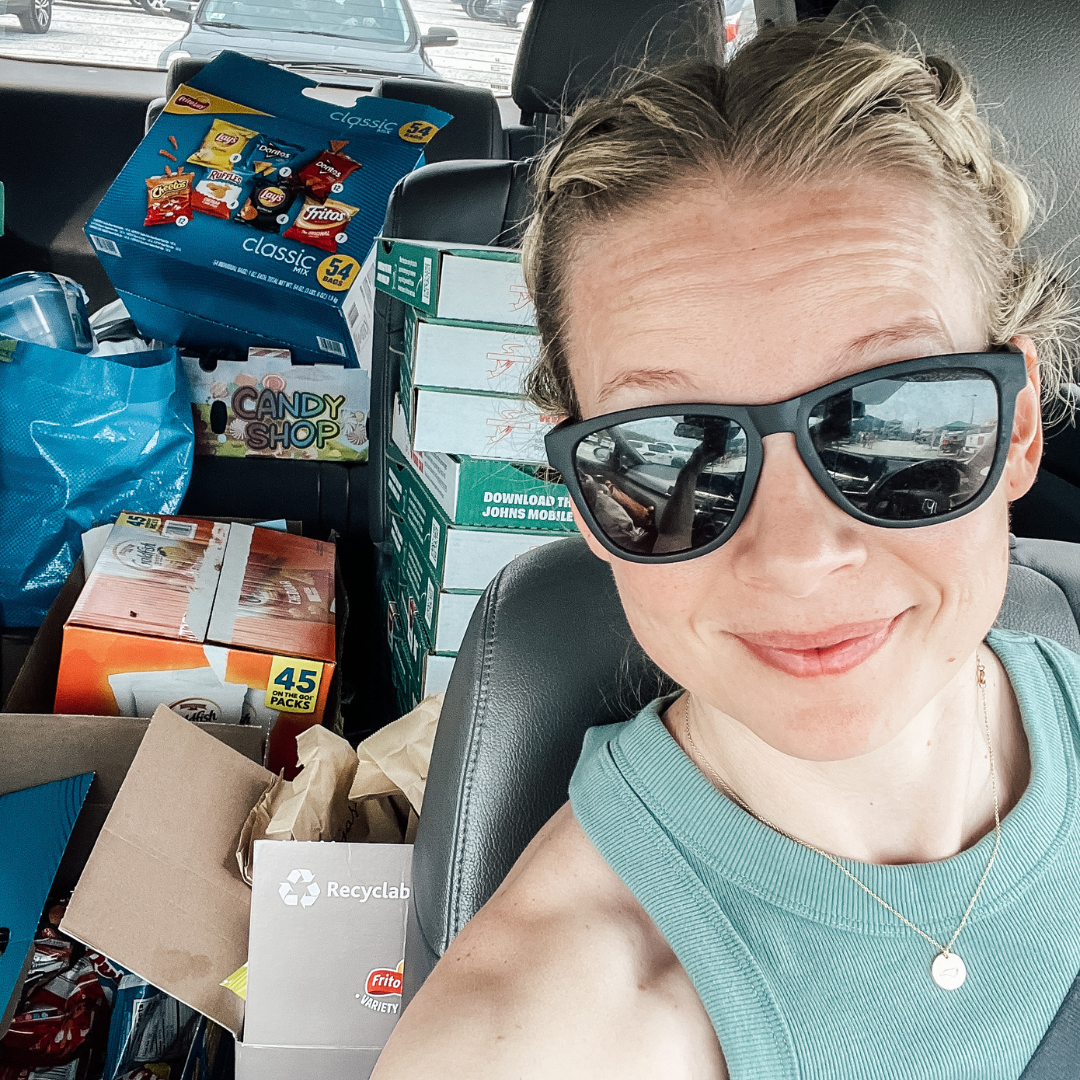
I’ll be honest, this was an extremely difficult job. I’m crossing my fingers I’m not asked to do it again anytime soon! Cooking for a crowd of 100+, navigating allergies and food sensitivities, grocery shopping … it was all a lot of work.
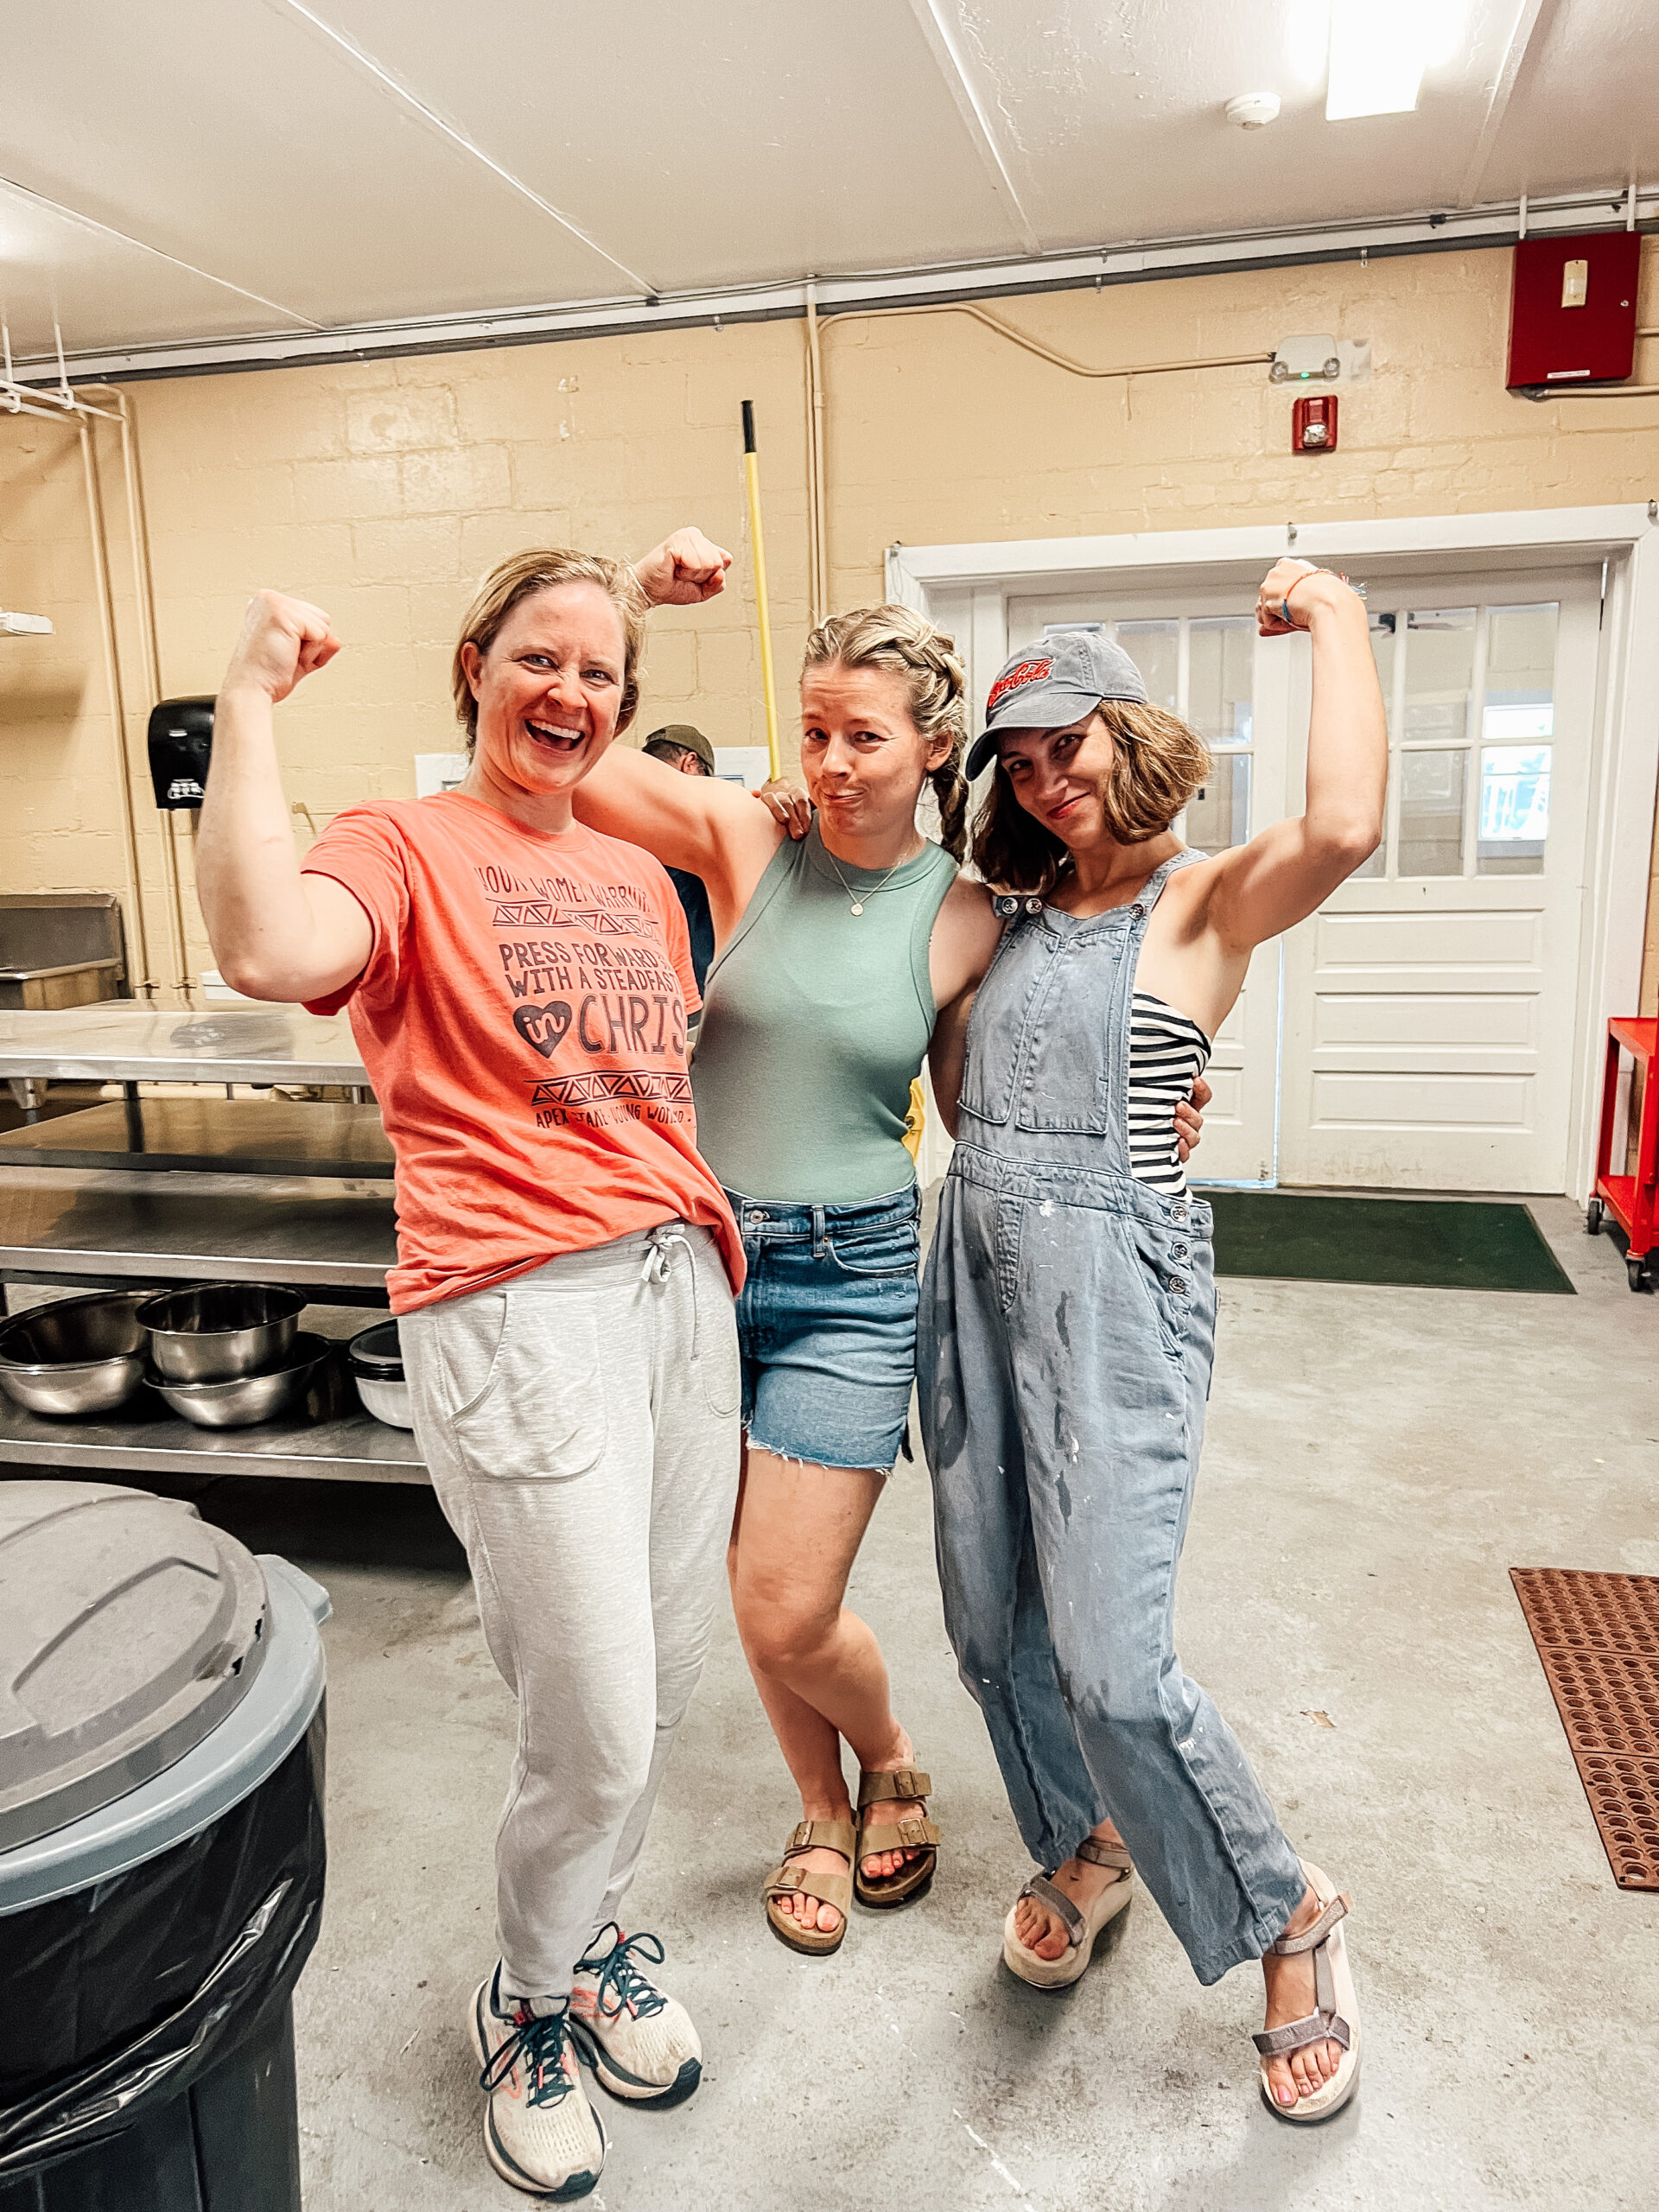
Thankfully, I didn’t have to do it all alone. I’m so grateful for my family, friends, and fellow camp cooks who helped pull this off!
What Is Girls’ Camp?
First off, let’s answer a question some you may have: what is girls’ camp?
Girls’ camp is a summer camp for the young women of the LDS church. It happens every summer and includes girls ages 12-18. Arrangements for girls’ camp vary depending on where you live. But in our area (North Carolina Apex Stake/Region), girls’ camp is a 3-day affair at a church-owned campground complete with cabins, a mess hall, and a commercial kitchen.
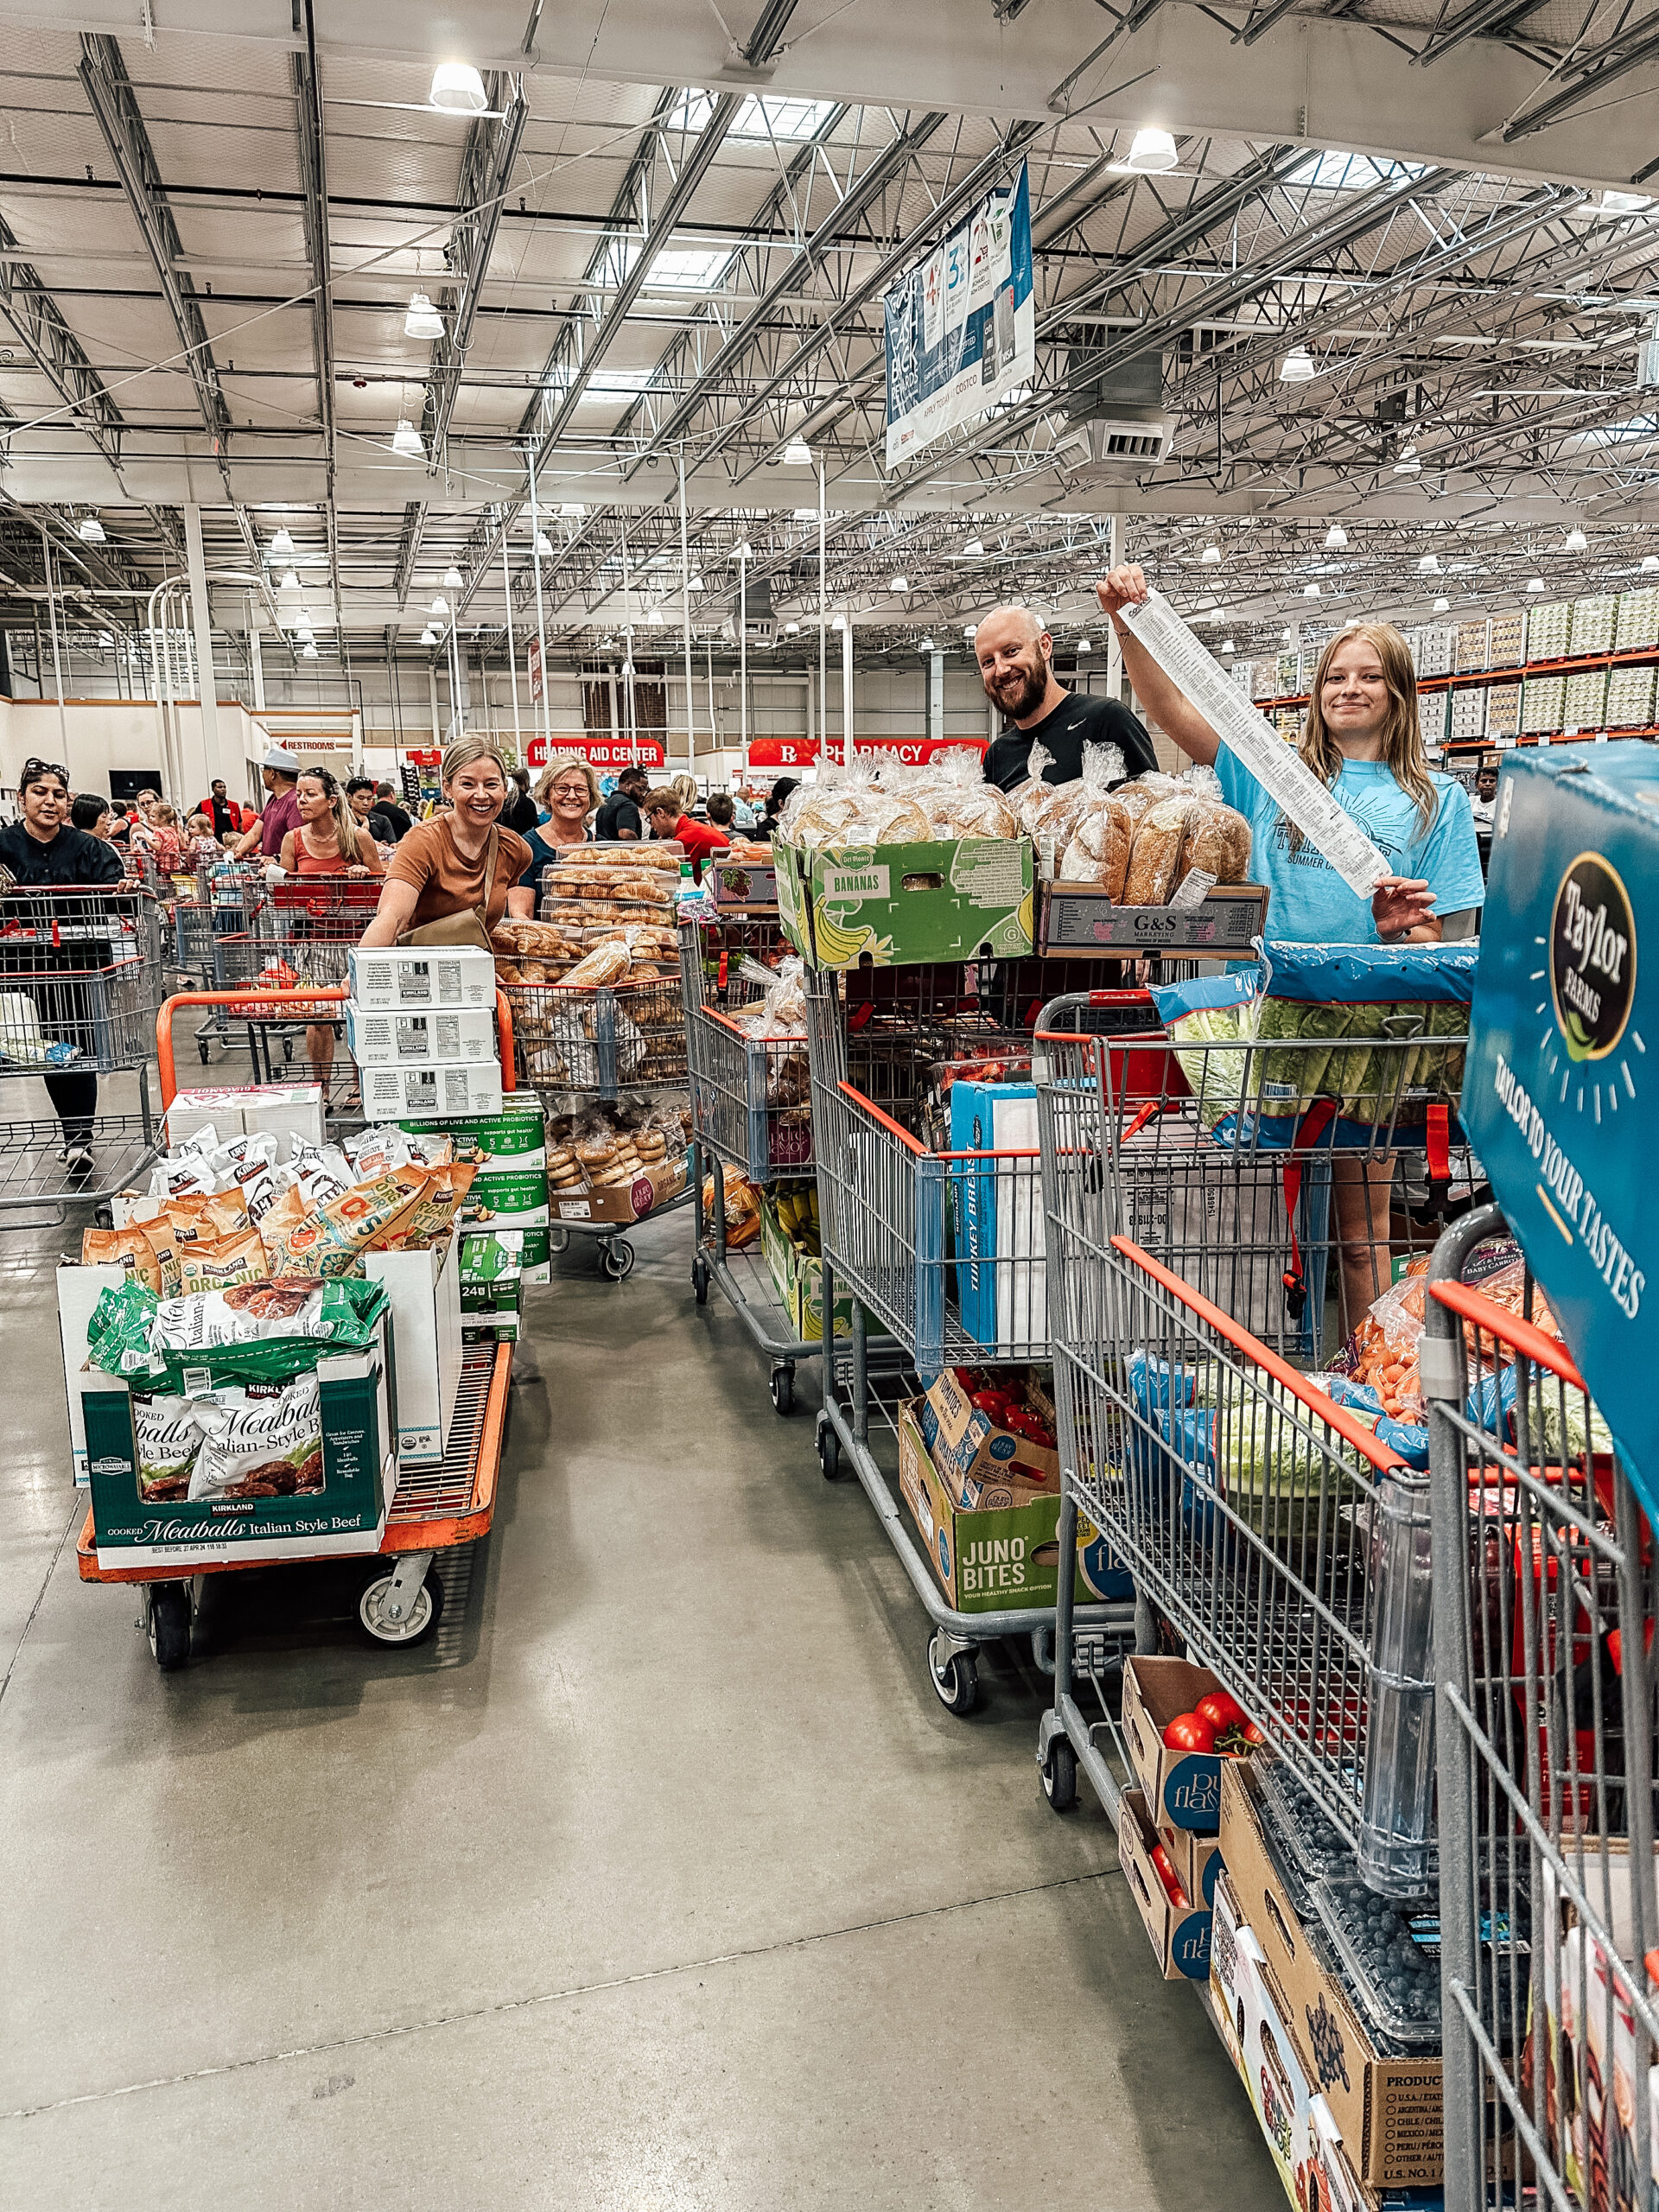
This year, I was asked to tackle the job of planning meals, shopping for groceries, and preparing food for a crowd of 180 people at girls’ camp.
Camp started on a Wednesday afternoon and ended Saturday afternoon. In total, I needed to plan nine meals, plus snacks, dessert, and drinks. I was given a budget and used church funds to purchase everything.
Even though this post is about girls’ camp meals, the ideas can really be applied to any situation where you’re feeding a crowd. Think: family reunions, parties, group travel, and more!
Now let’s dive into the details!
Girls’ Camp 4-Day Menu
This four-day girls’ camp menu includes two full days of meals and two half days of meals. We arrived on a Wednesday afternoon, so I only had to worry about dinner and dessert for that day. Then we headed home on a Saturday afternoon and ate dinner on the road, so I only had to plan breakfast and lunch.
Below I’ve broken the menu down by each day, then included notes about the process below the menu for the day.
Day 1
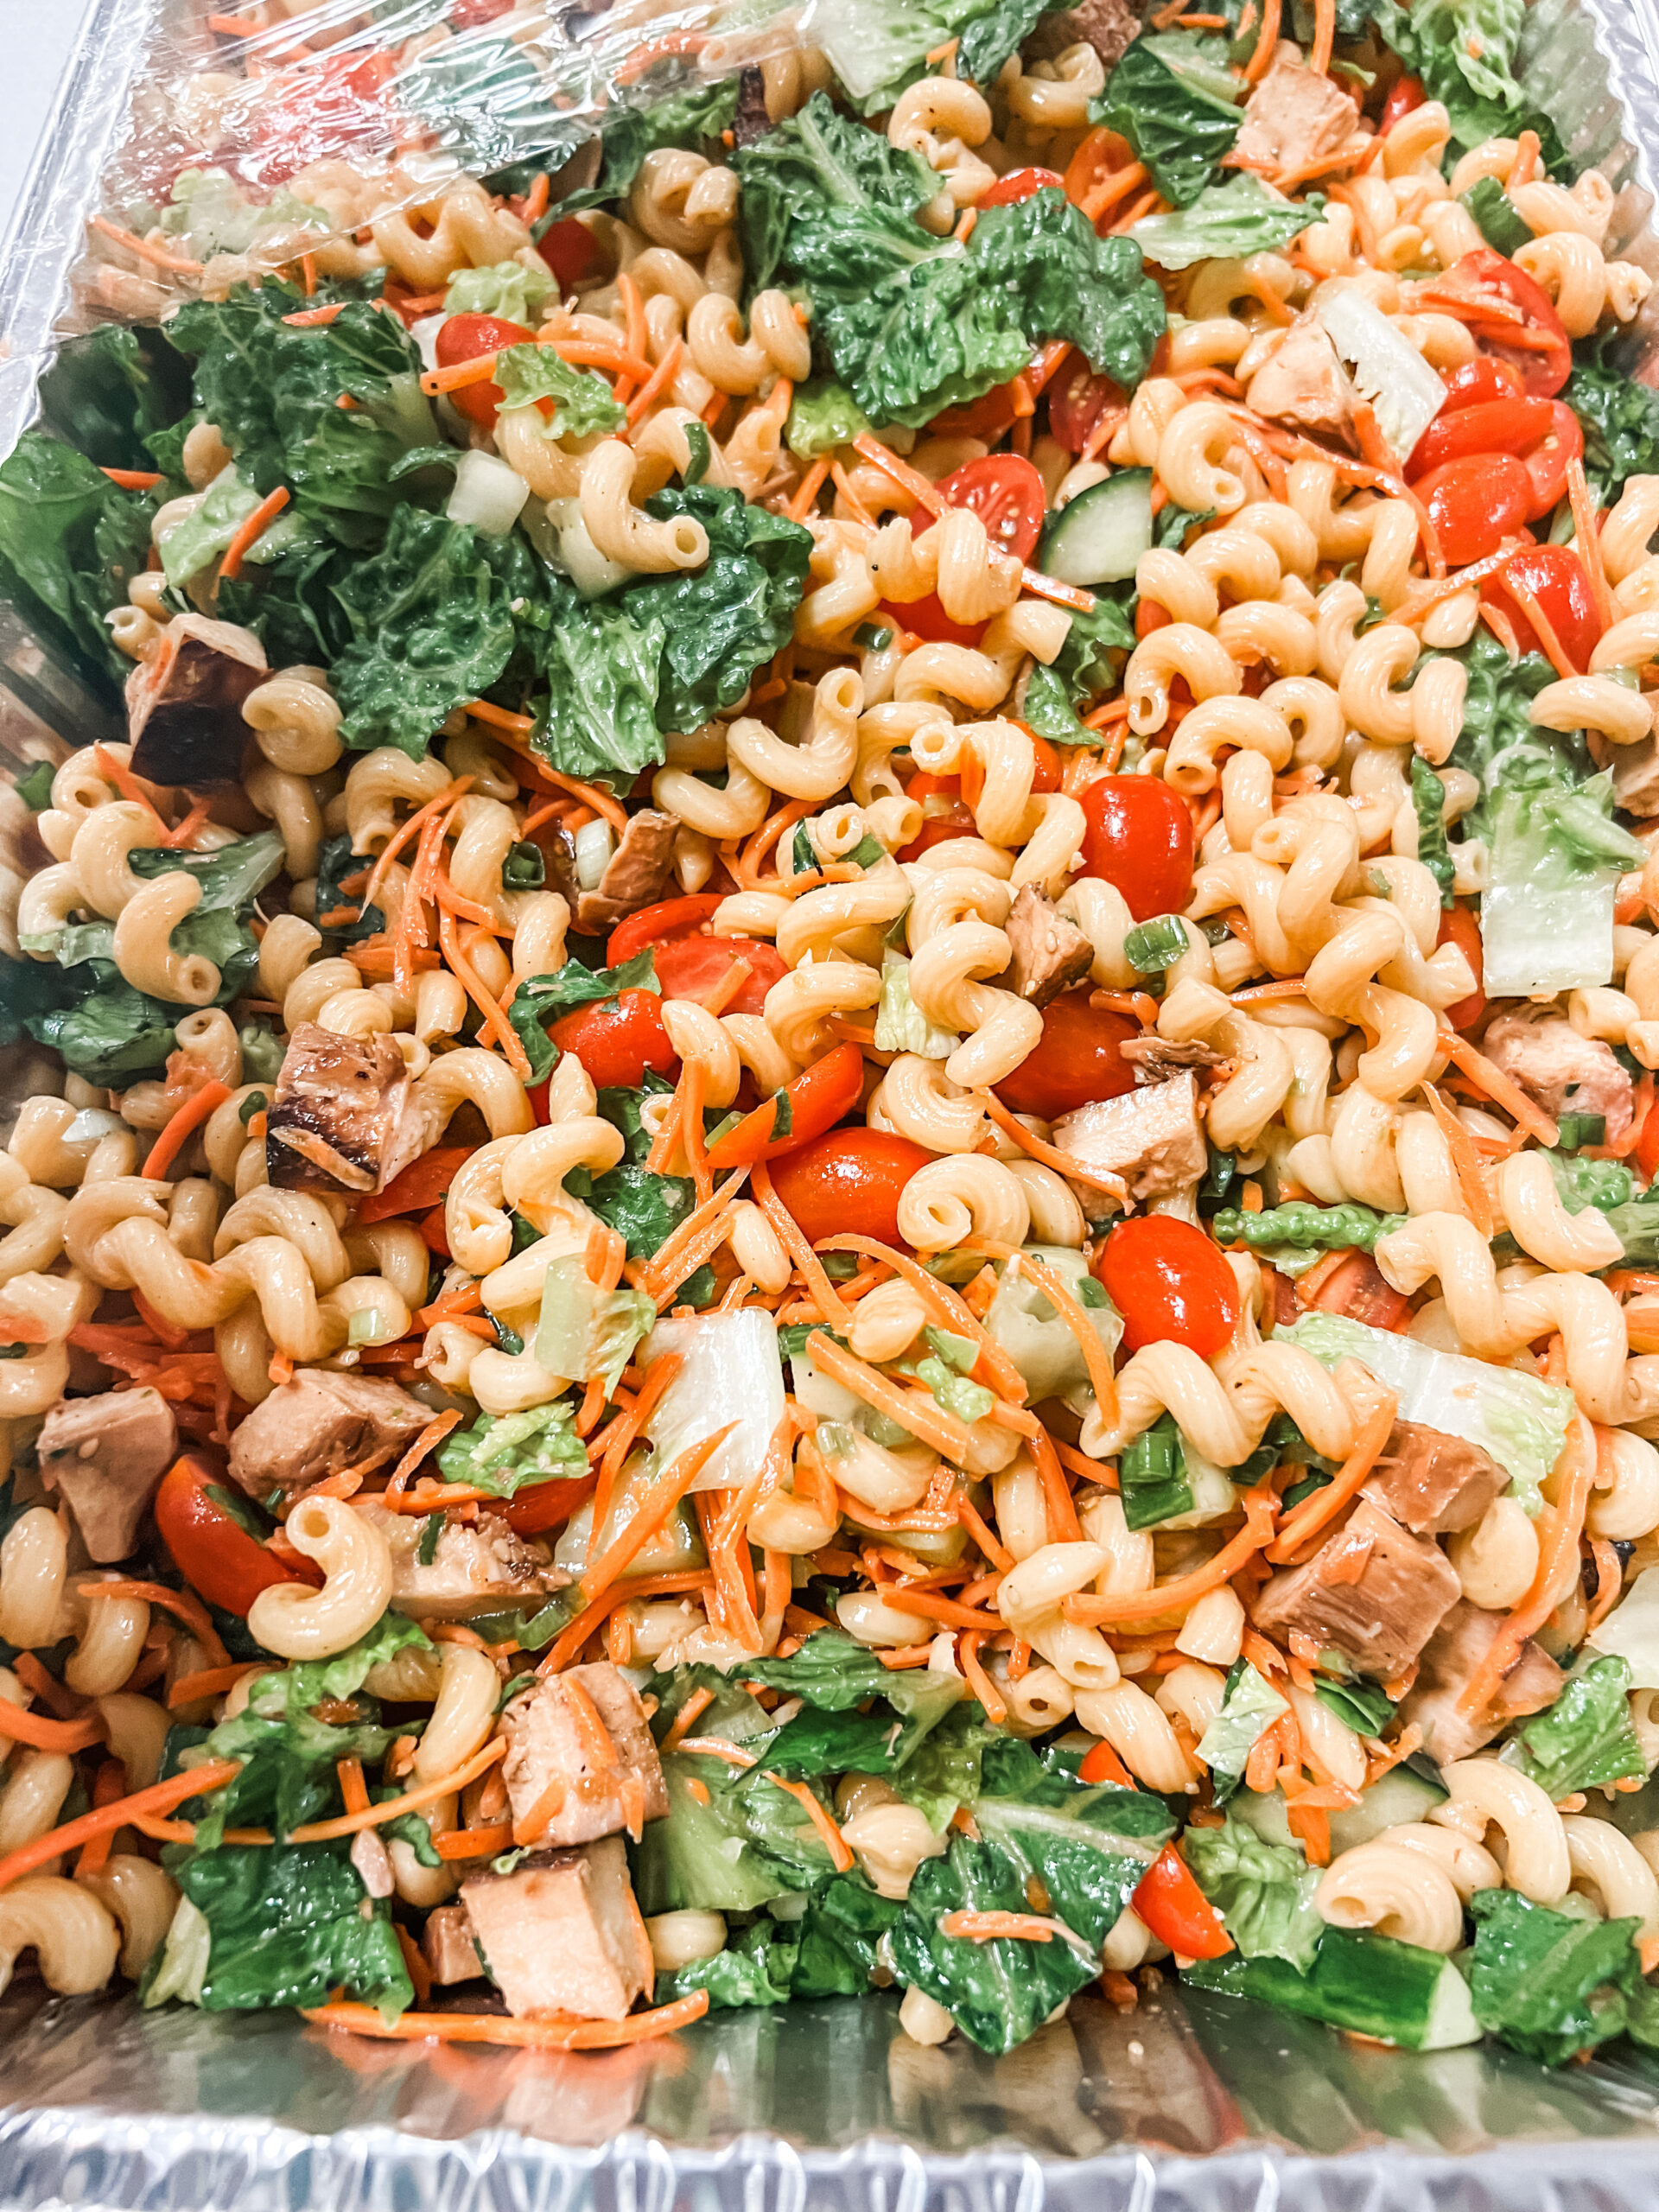
Dinner: Marinated Teriyaki Chicken Salad + Watermelon
For the first dinner, we made A Bountiful Kitchen’s Teriyaki Pasta Salad. We made 13 regular batches and 1 gluten-free batch. I HIGHLY recommend preparing some of this in advance to save time! We grilled and chopped the chicken the day before, and also cooked the pasta and added the marinade. We also served this with four large watermelons.
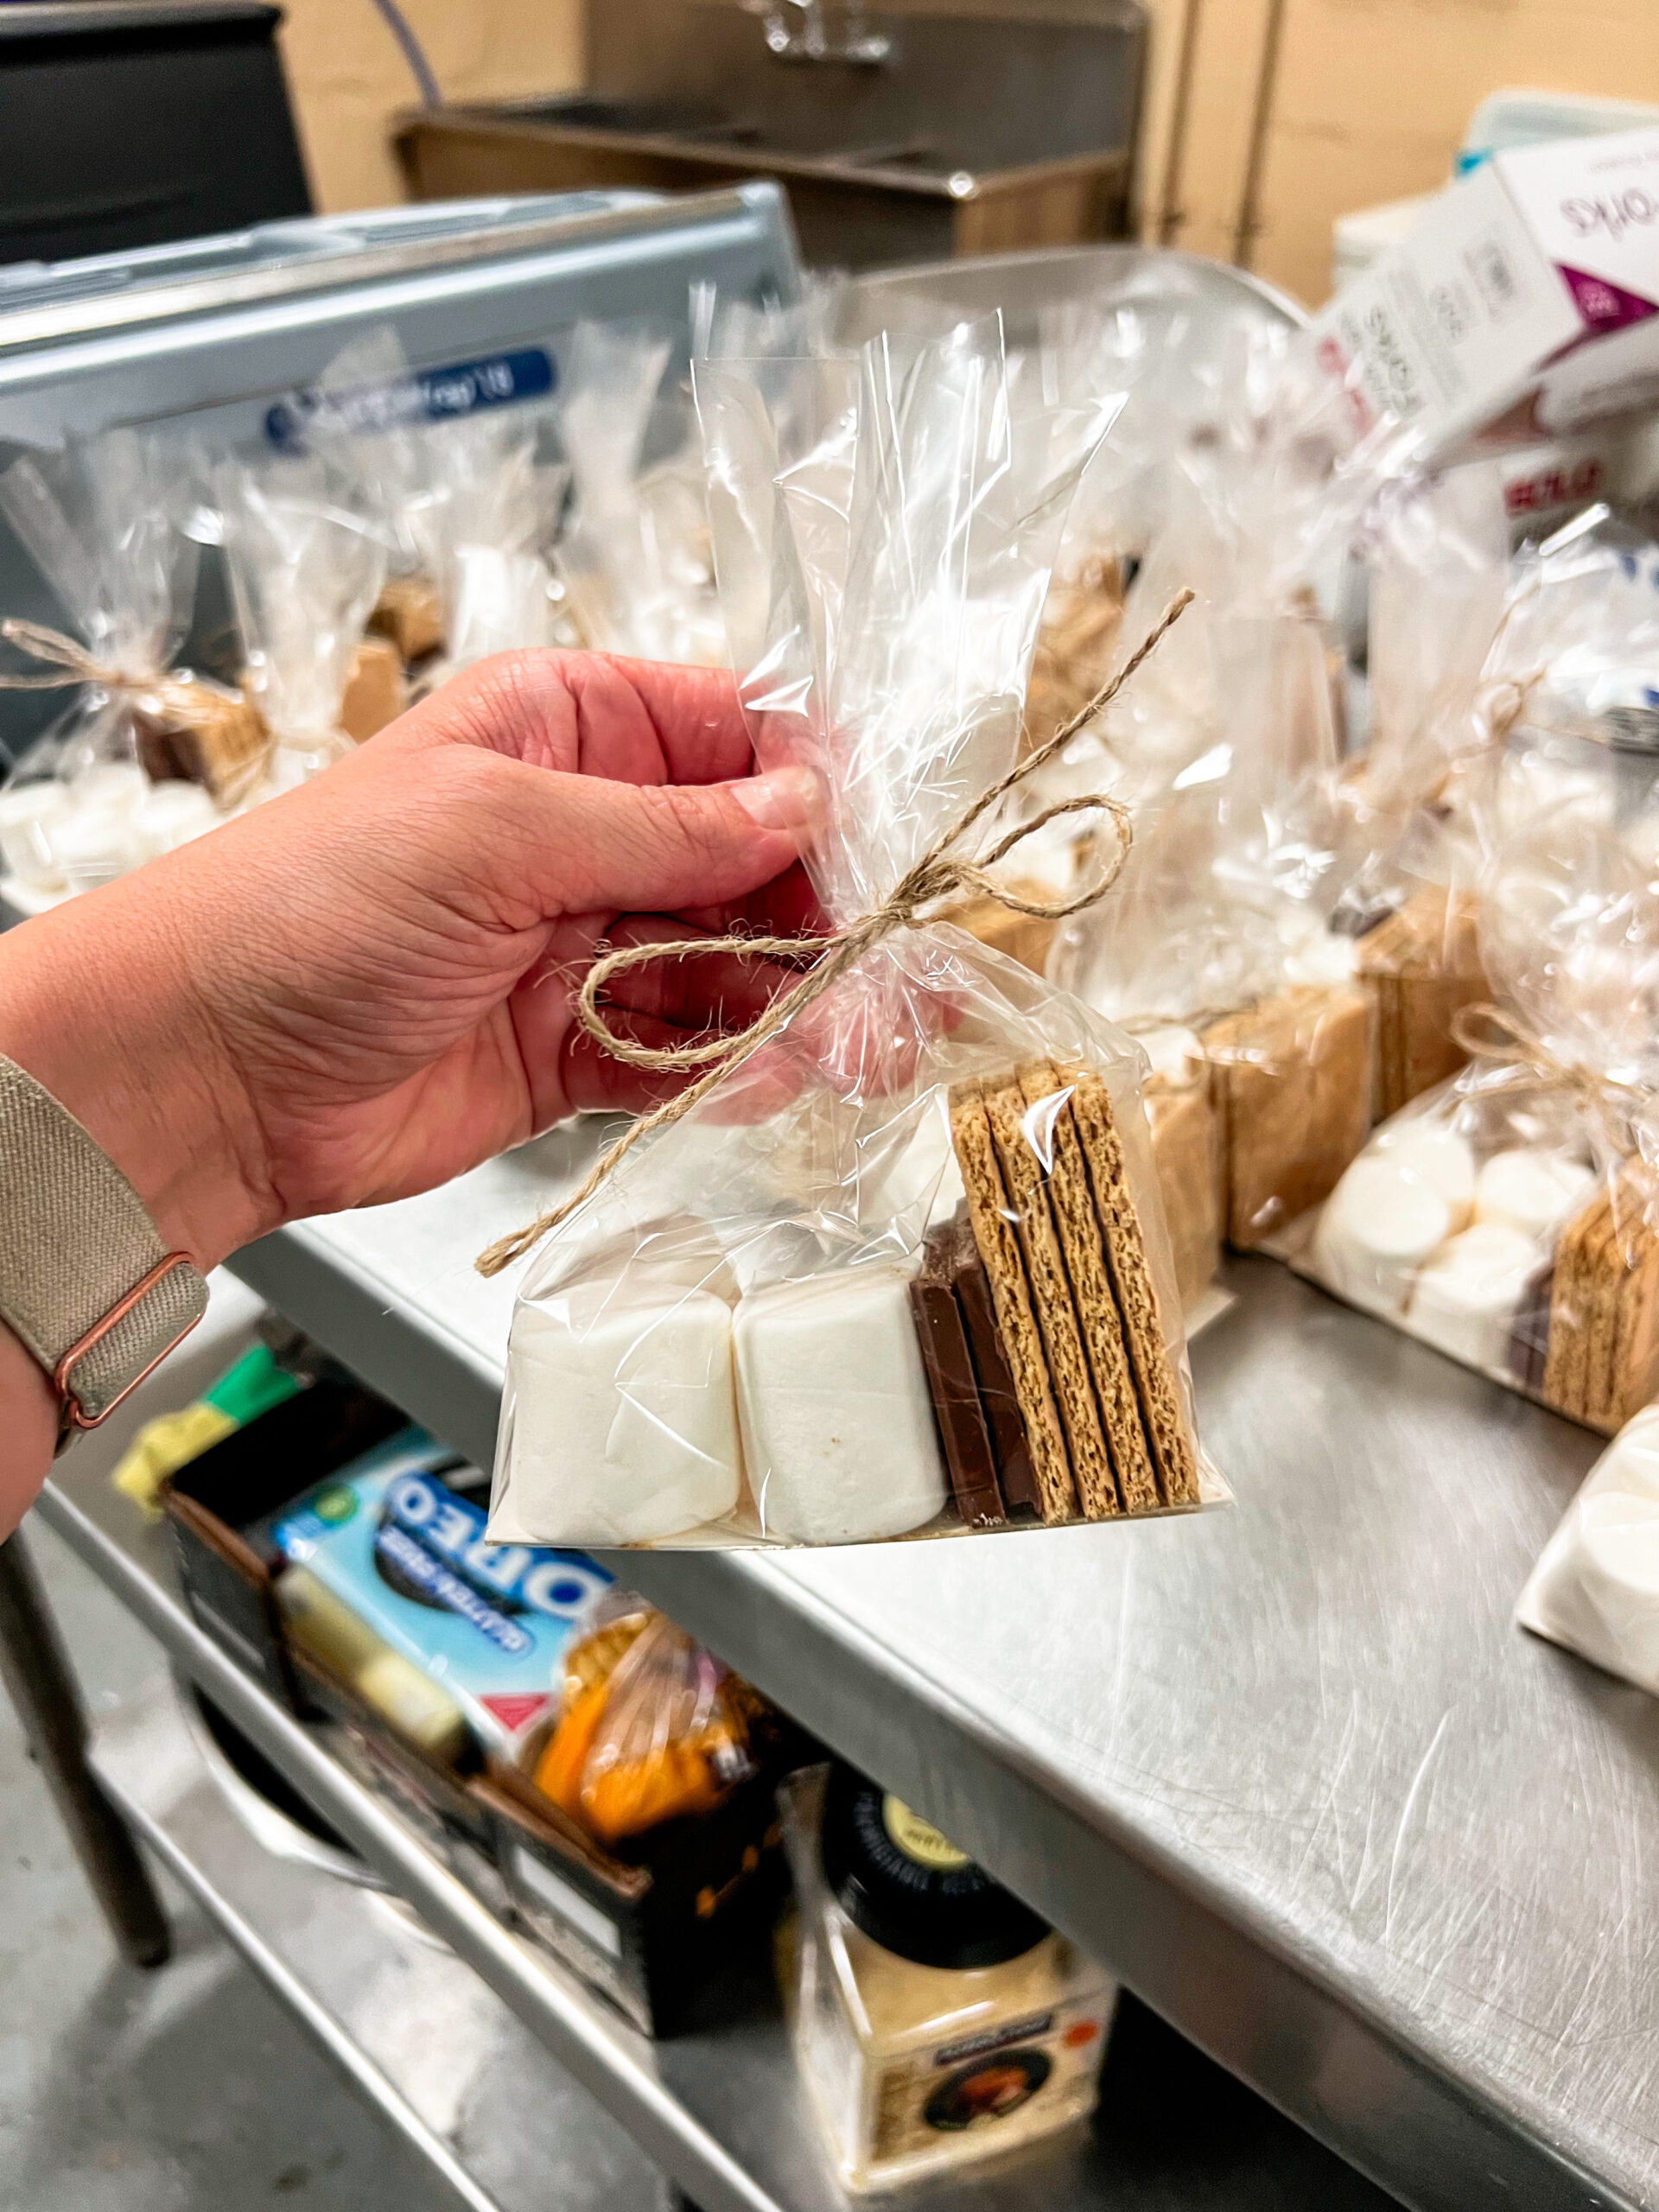
Dessert: S’mores
To control portions and make it more convenient, we wrapped little “s’mores kits” in cute cellophane bags. This worked out really well and made it an easy, grab-and-go dessert. I wouldn’t recommend packing these up more than a day in advance, though, as the graham crackers will become stale. We assembled them between breakfast and lunch so they were ready to go for the evening.
Ingredients & Quantities:
- Fresh stacks graham crackers (4 per person, 14 boxes)
- Chocolate bars (2 large squares per person, 6 packages)
- Marshmallows (4 per person, 17 bags)
- Cellphone bags
- Twine
Day 2
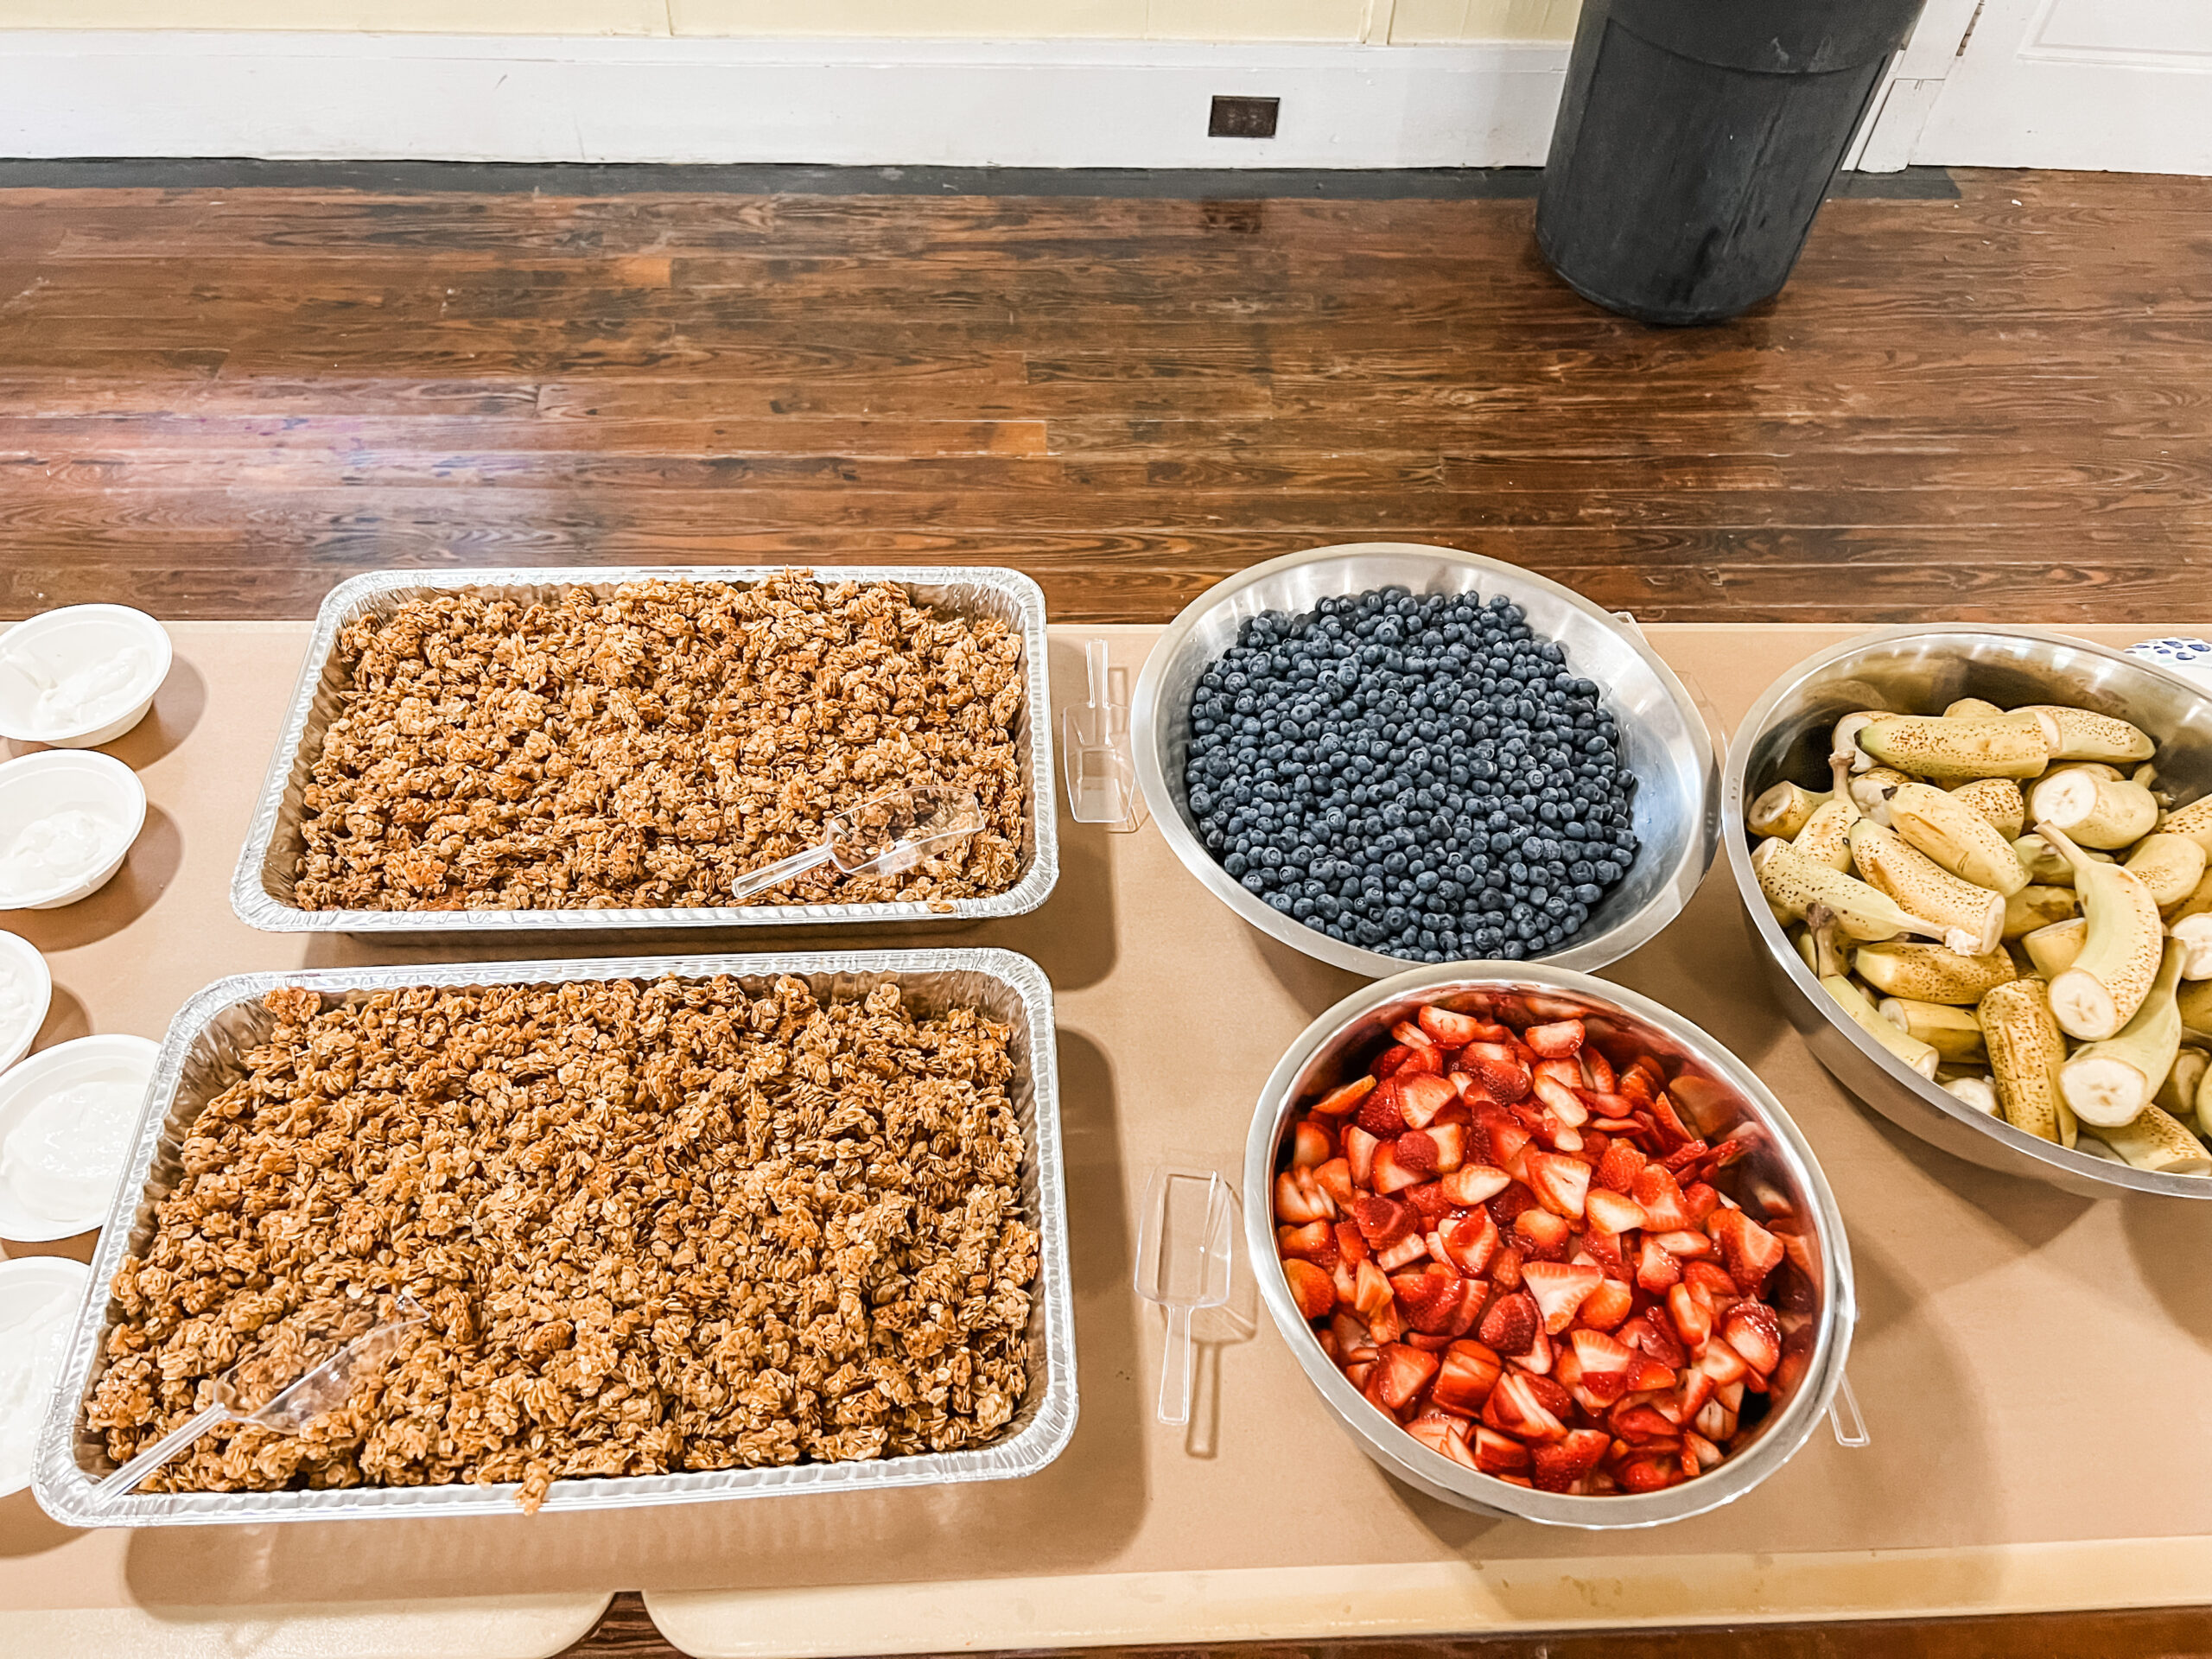
Breakfast: Yogurt Parfait Bar + Bagels and Cream Cheese
This was breakfast was all pre-portioned out, so we didn’t have to stand there and serve the girls. We pre-scooped the yogurt into bowls, used this handy slicer gadget to slice the strawberries, and made homemade granola a few days in advance. We had some strawberries and blueberries leftover, so we combined them in a big bowl and served them the next morning with breakfast.
Ingredients & Quantities:
- Vanilla Greek yogurt (28 (32-oz) containers)
- Chopped strawberries (23 (2-lb) containers)
- Blueberries (18 (18-oz) containers)
- Granola (12 batches)
- Plain bagels (20 (6-ct) bags)
- Gluten-free bagels (1 (6-ct) bag)
- Strawberry whipped cream cheese (8 (12-oz) containers)
- Plain whipped cream cheese (6 (12-oz) containers)
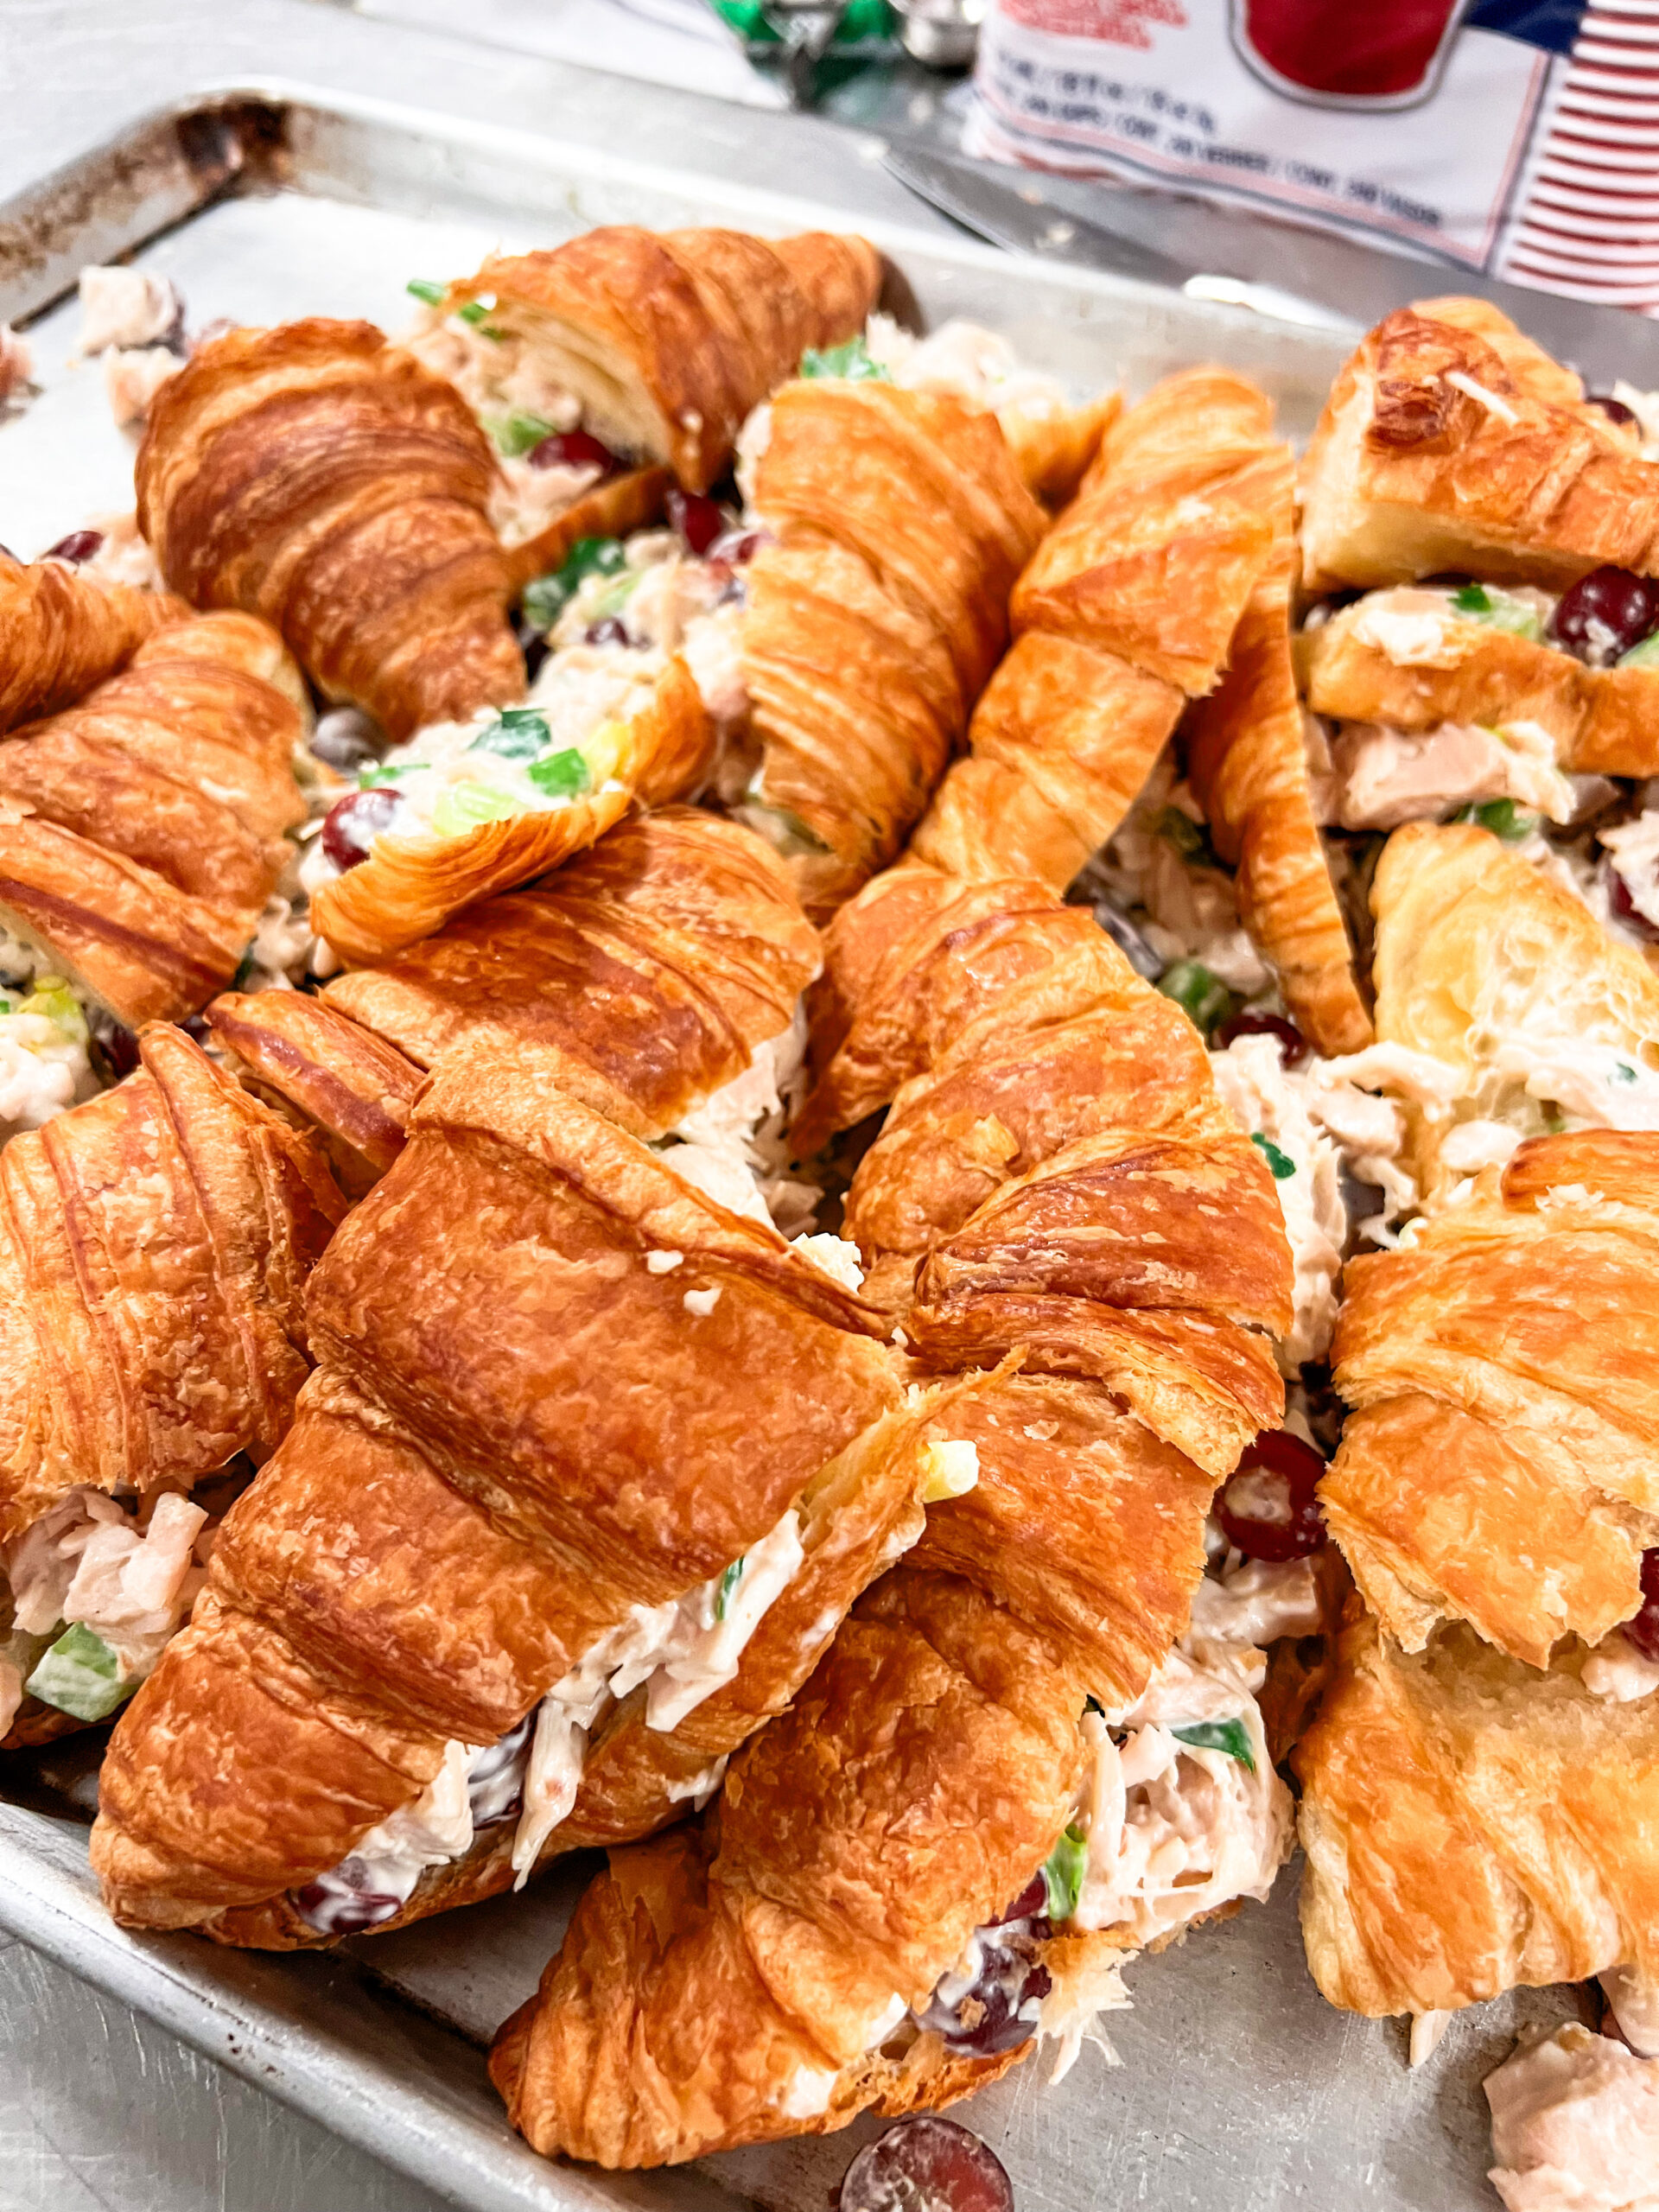
Lunch: Chicken Salad Croissant Sandwiches + Grapes + Chips
I was excited to put a recipe from my One-Stop Costco cookbook to use at camp! These chicken salad sandwiches are easy, delicious, and great for a crowd. We used hand-pulled rotisserie chicken from Costco to save on time and prep. We stored the croissants in the fridge to keep them fresh, and served everything with grapes cut into individually sized bunches. We poured the kettle chips in a big bowl and served them with tongs.
Ingredients & Quantities:
- Chicken Salad (from my cookbook, 20 batches)
- Croissants (15 (12-ct) containers)
- Grapes (8 (3-lb) containers)
- Kettle chips (8 (32-oz) bags)
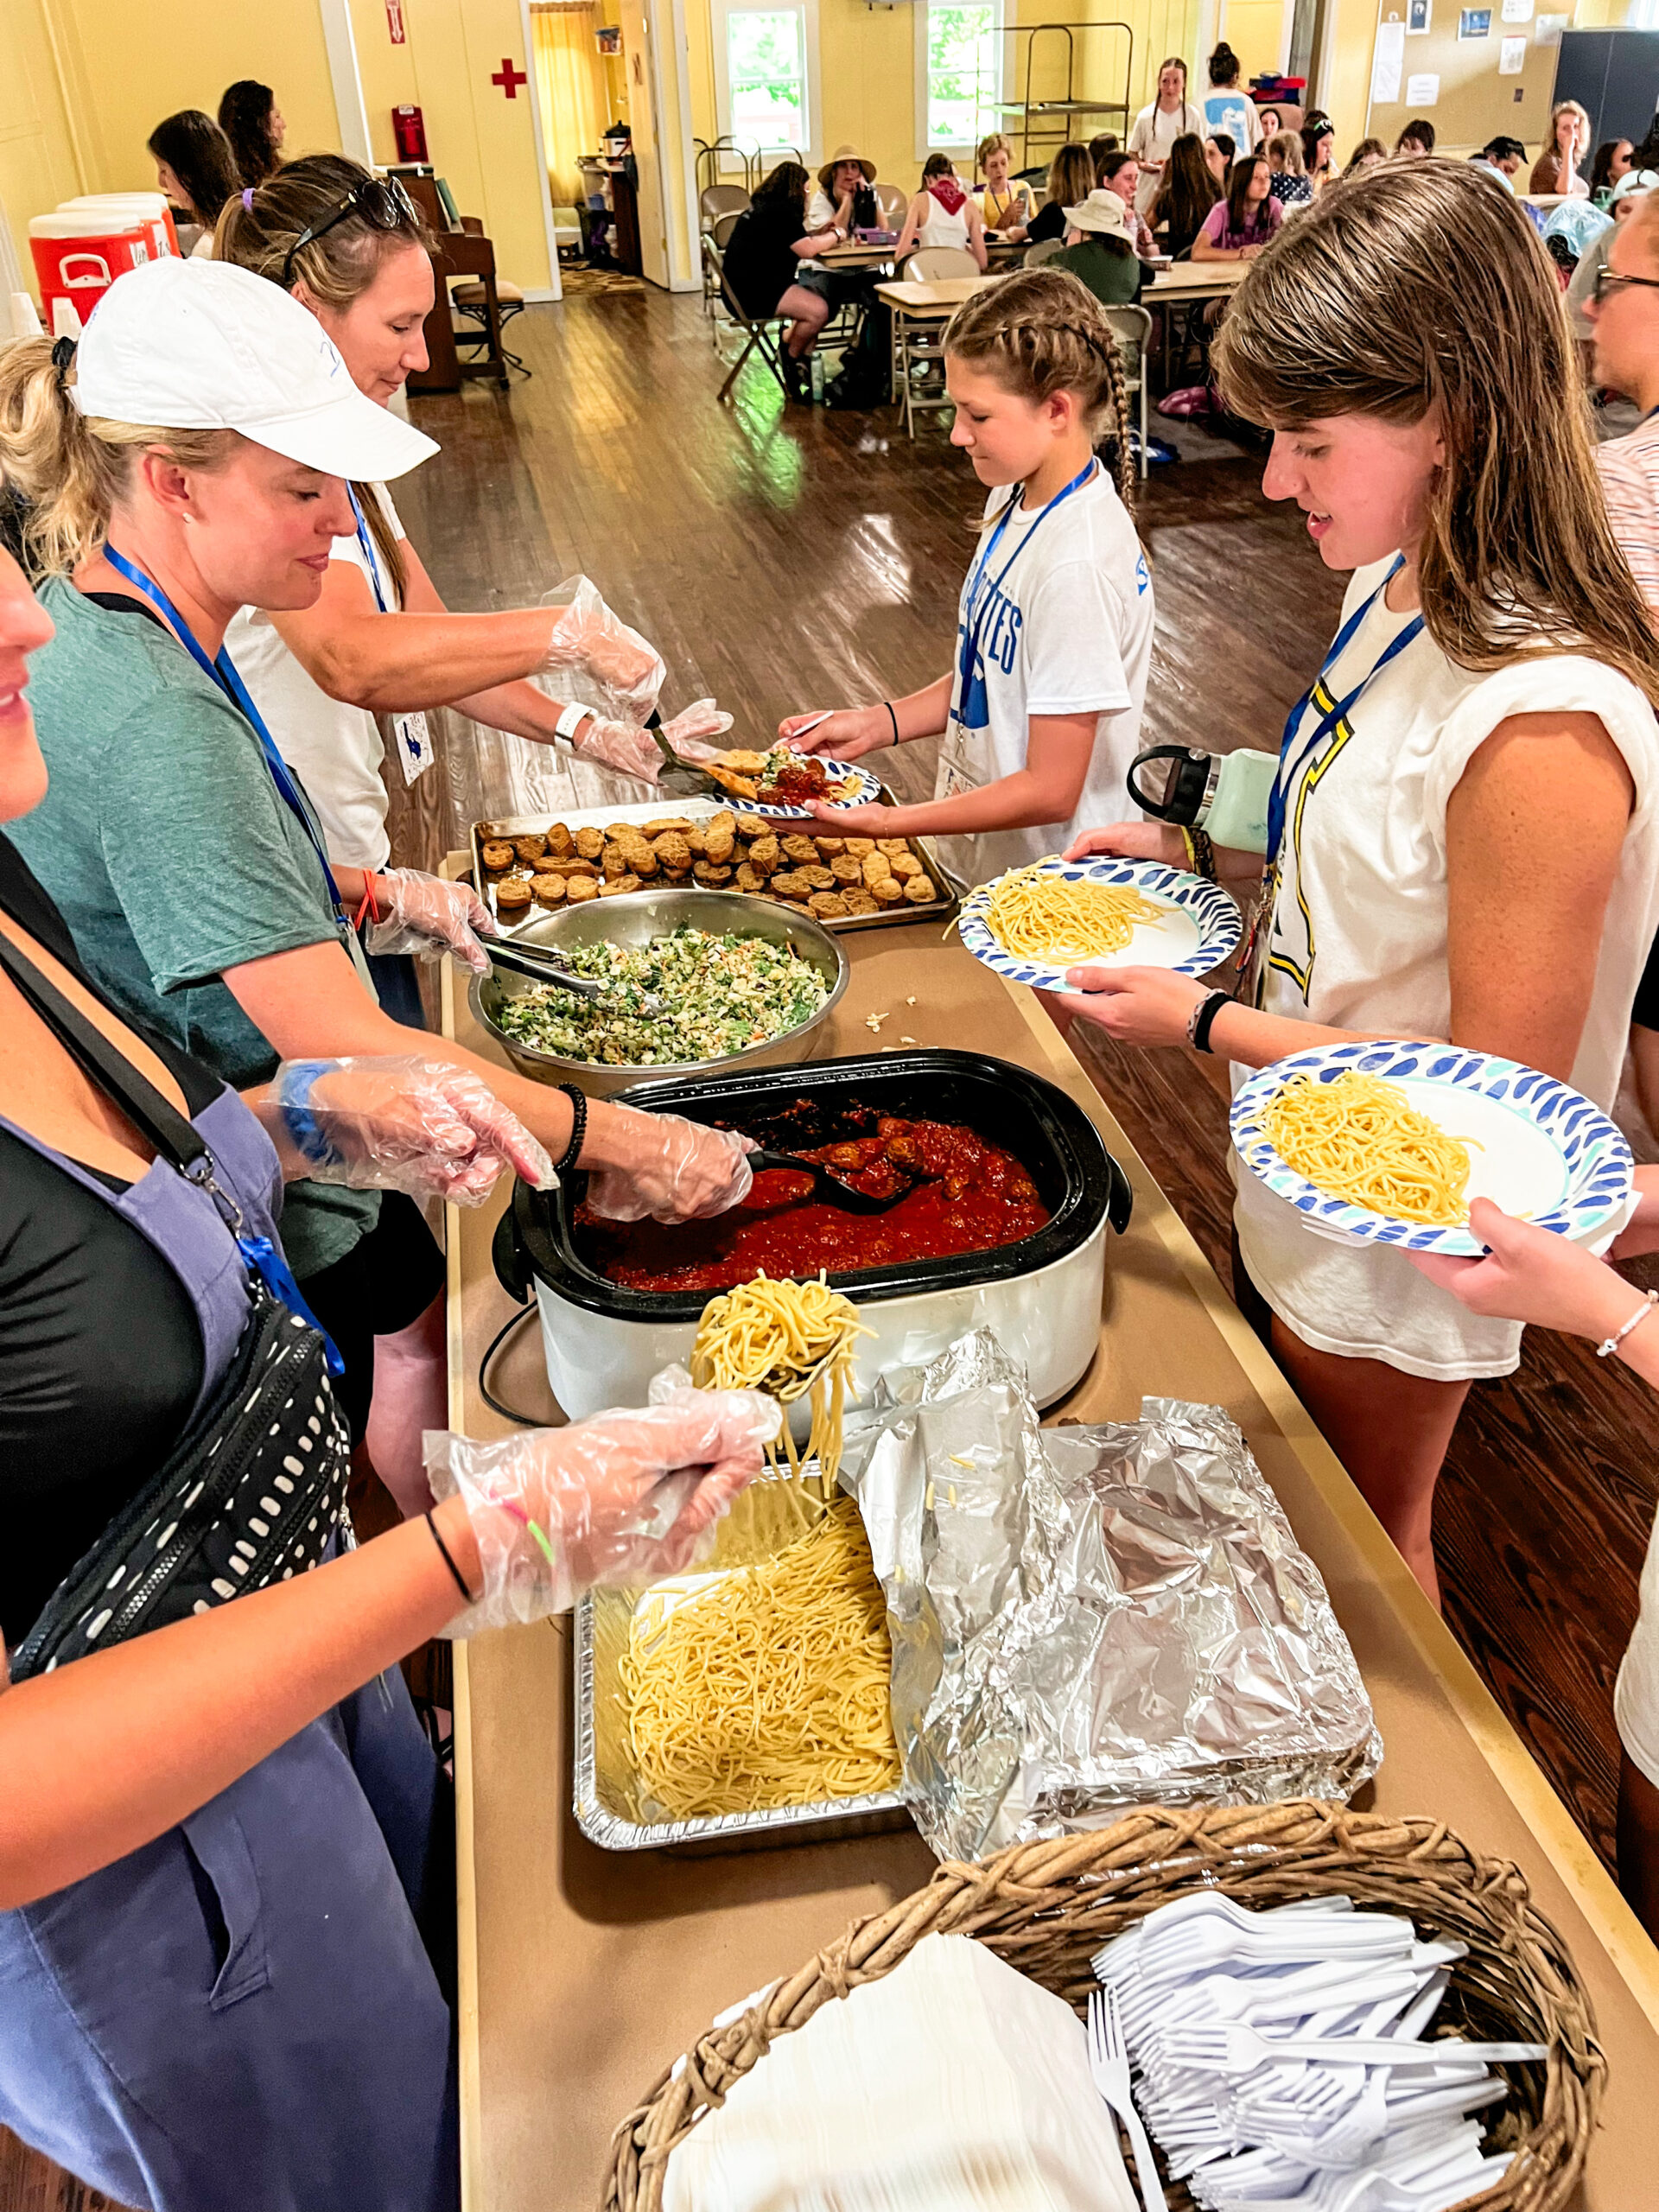
Dinner: Spaghetti and Meatballs + Caesar Salad + Crostinis
For this meal, we divided the sauce and frozen meatballs between four huge roasters and cooked/warmed them on low for about six hours. We poured some of the sauce on the side for those who are gluten-free or vegetarian. To make the crostinis, we sliced baguettes, dipped them in butter, and topped with Parmesan cheese. Then we baked them at 375 degrees for 8-10 minutes, until they were toasty.
Ingredients & Quantities:
- Meatballs (6 (6-lb) bags frozen meatballs)
- Marinara Sauce (12 (80 oz) packs Victoria Marinara Sauce)
- Spaghetti (12 (32 oz) boxes spaghetti)
- Gluten-free spaghetti (1 box)
- Parmesan (4 (1 lb) containers shredded Parmesan)
- Caesar Salad (20 (24 oz) Caesar salad kits)
- Baguettes (12)
- Butter (1 (64-oz) package)
- Parmesan (4 (1-lb) containers shredded Parmesan)
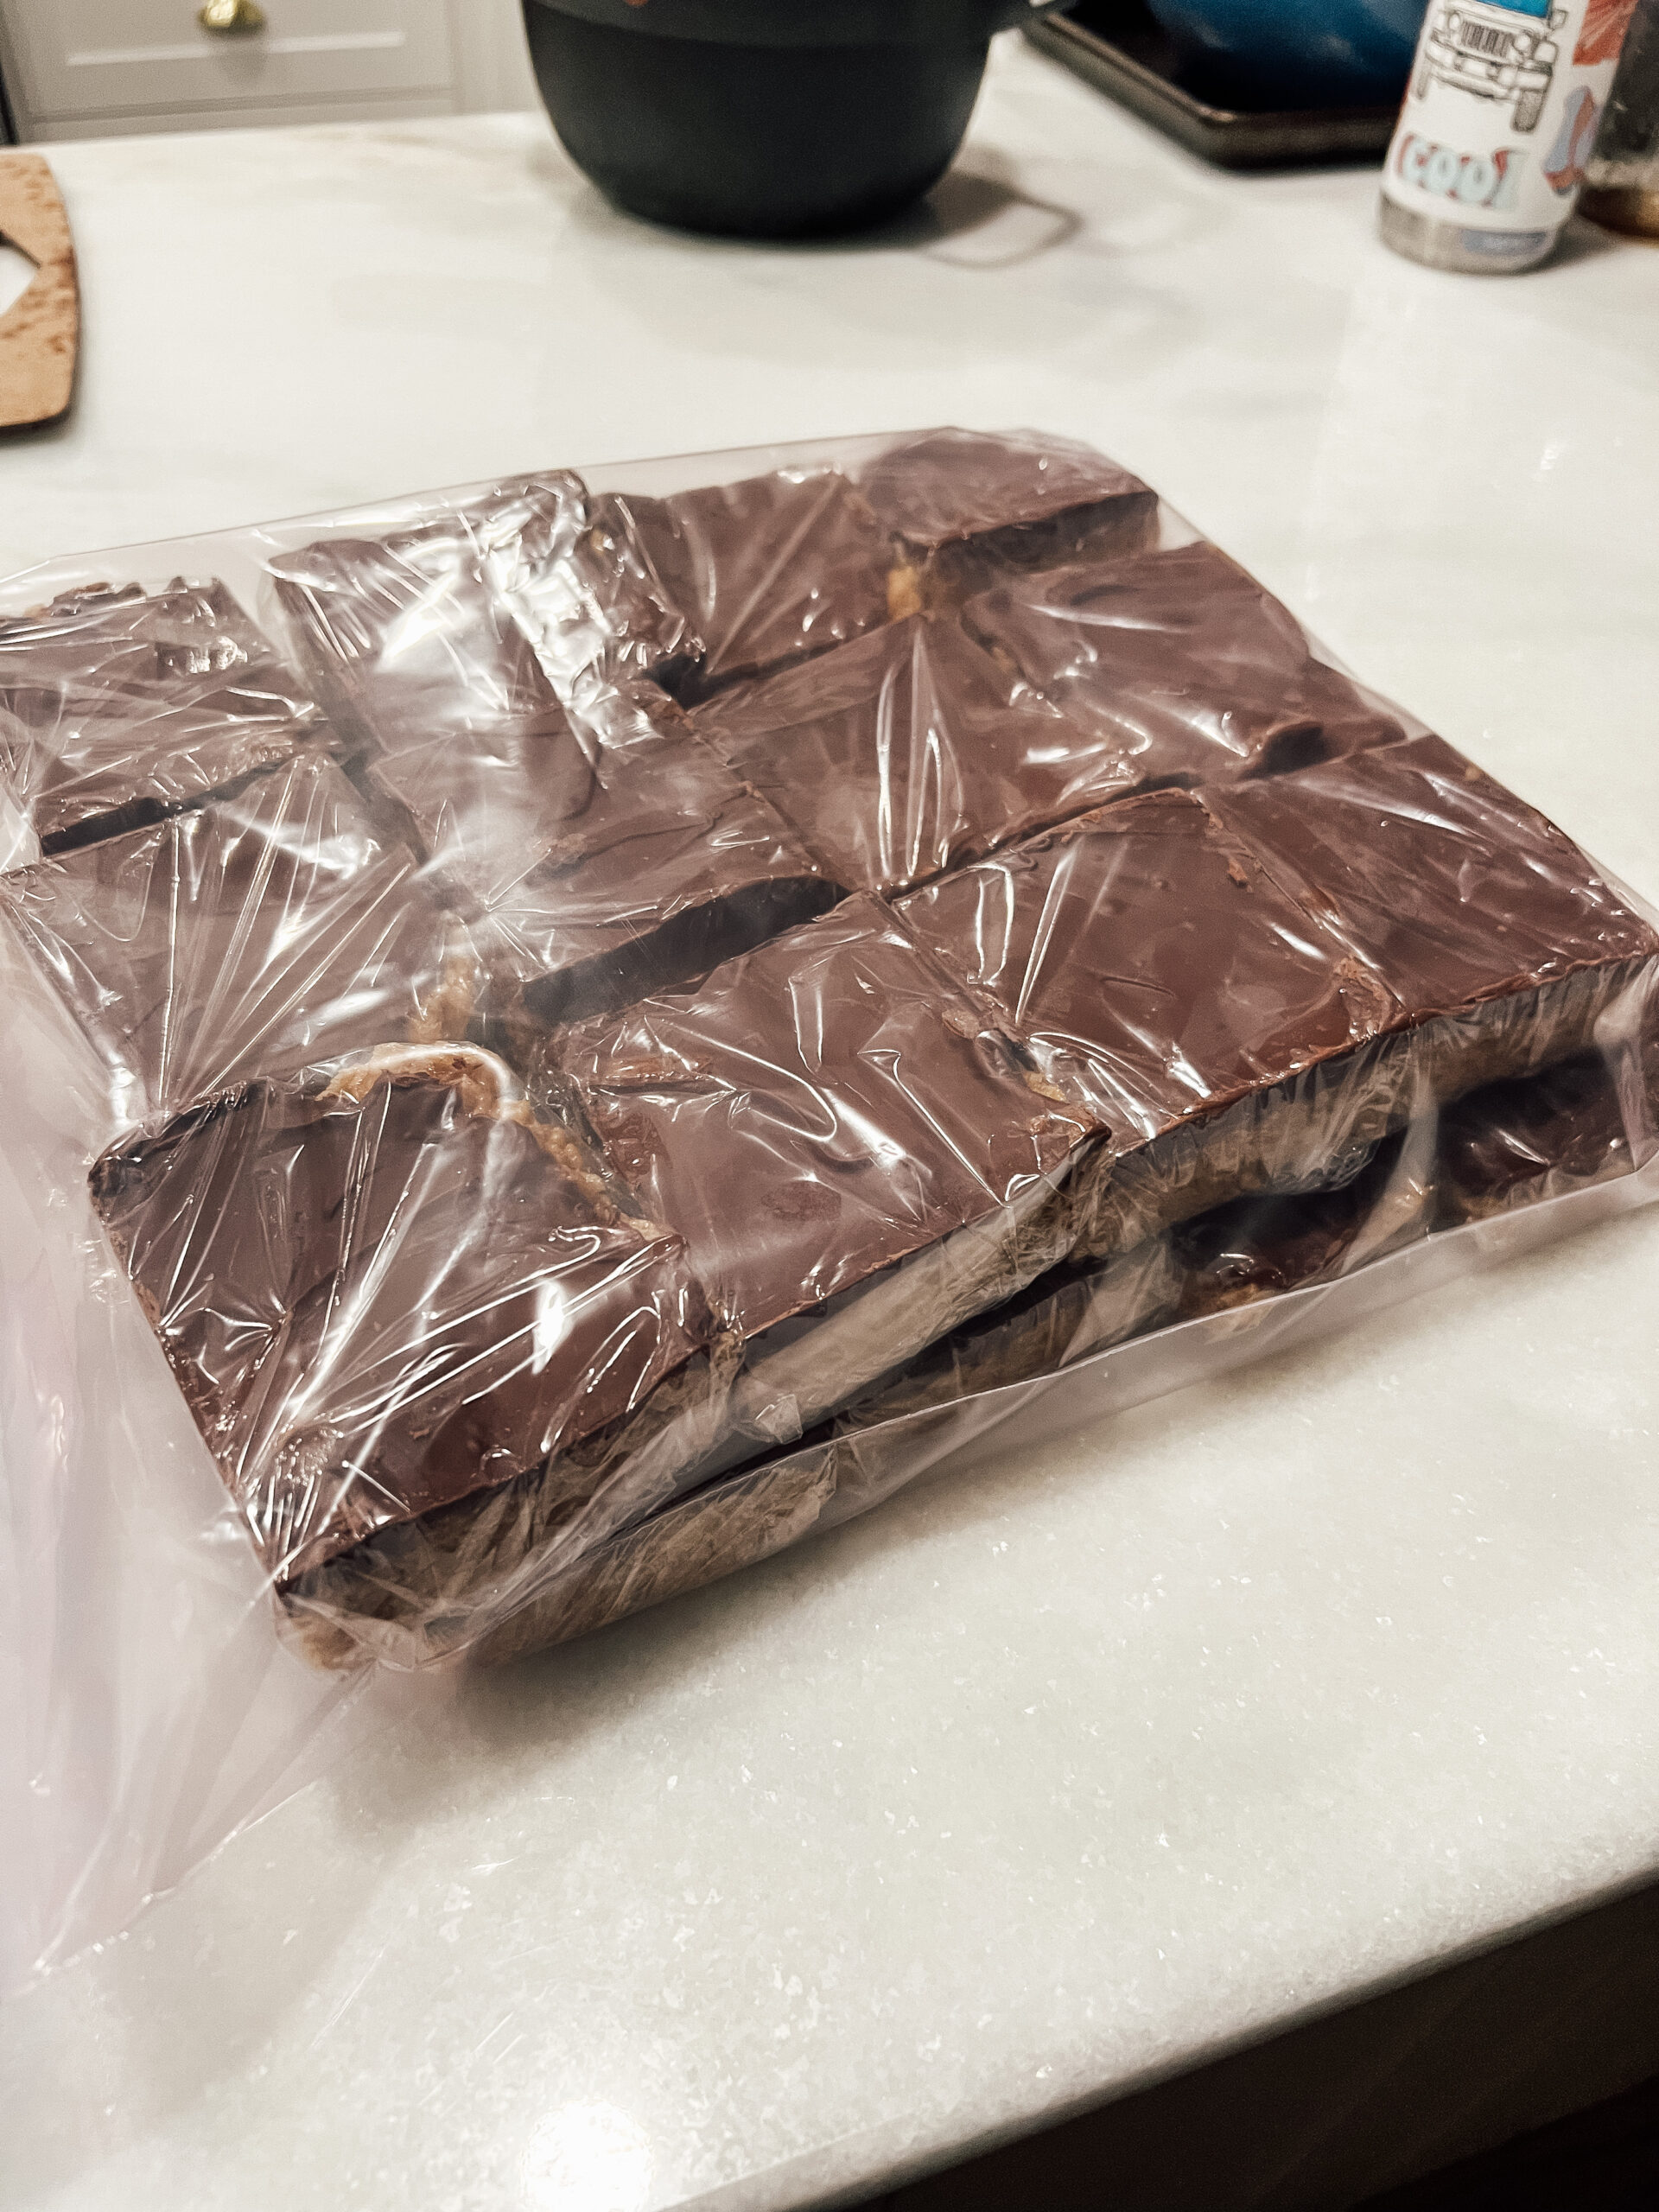
Dessert: Scotcheroos
We made the scotcheroos several weeks in advance, wrapped them in plastic wrap, and stored them in a freezer until the day of serving. Surprisingly we didn’t have any peanut allergies at camp, but we did need to use the Malt-o-Meal rice crispies from Walmart to make them gluten-free.
Ingredients & Quantities:
- Scotcheroos (5 batches, 12 servings per pan)
Day 3
Breakfast: Breakfast Burritos + Orange Slices
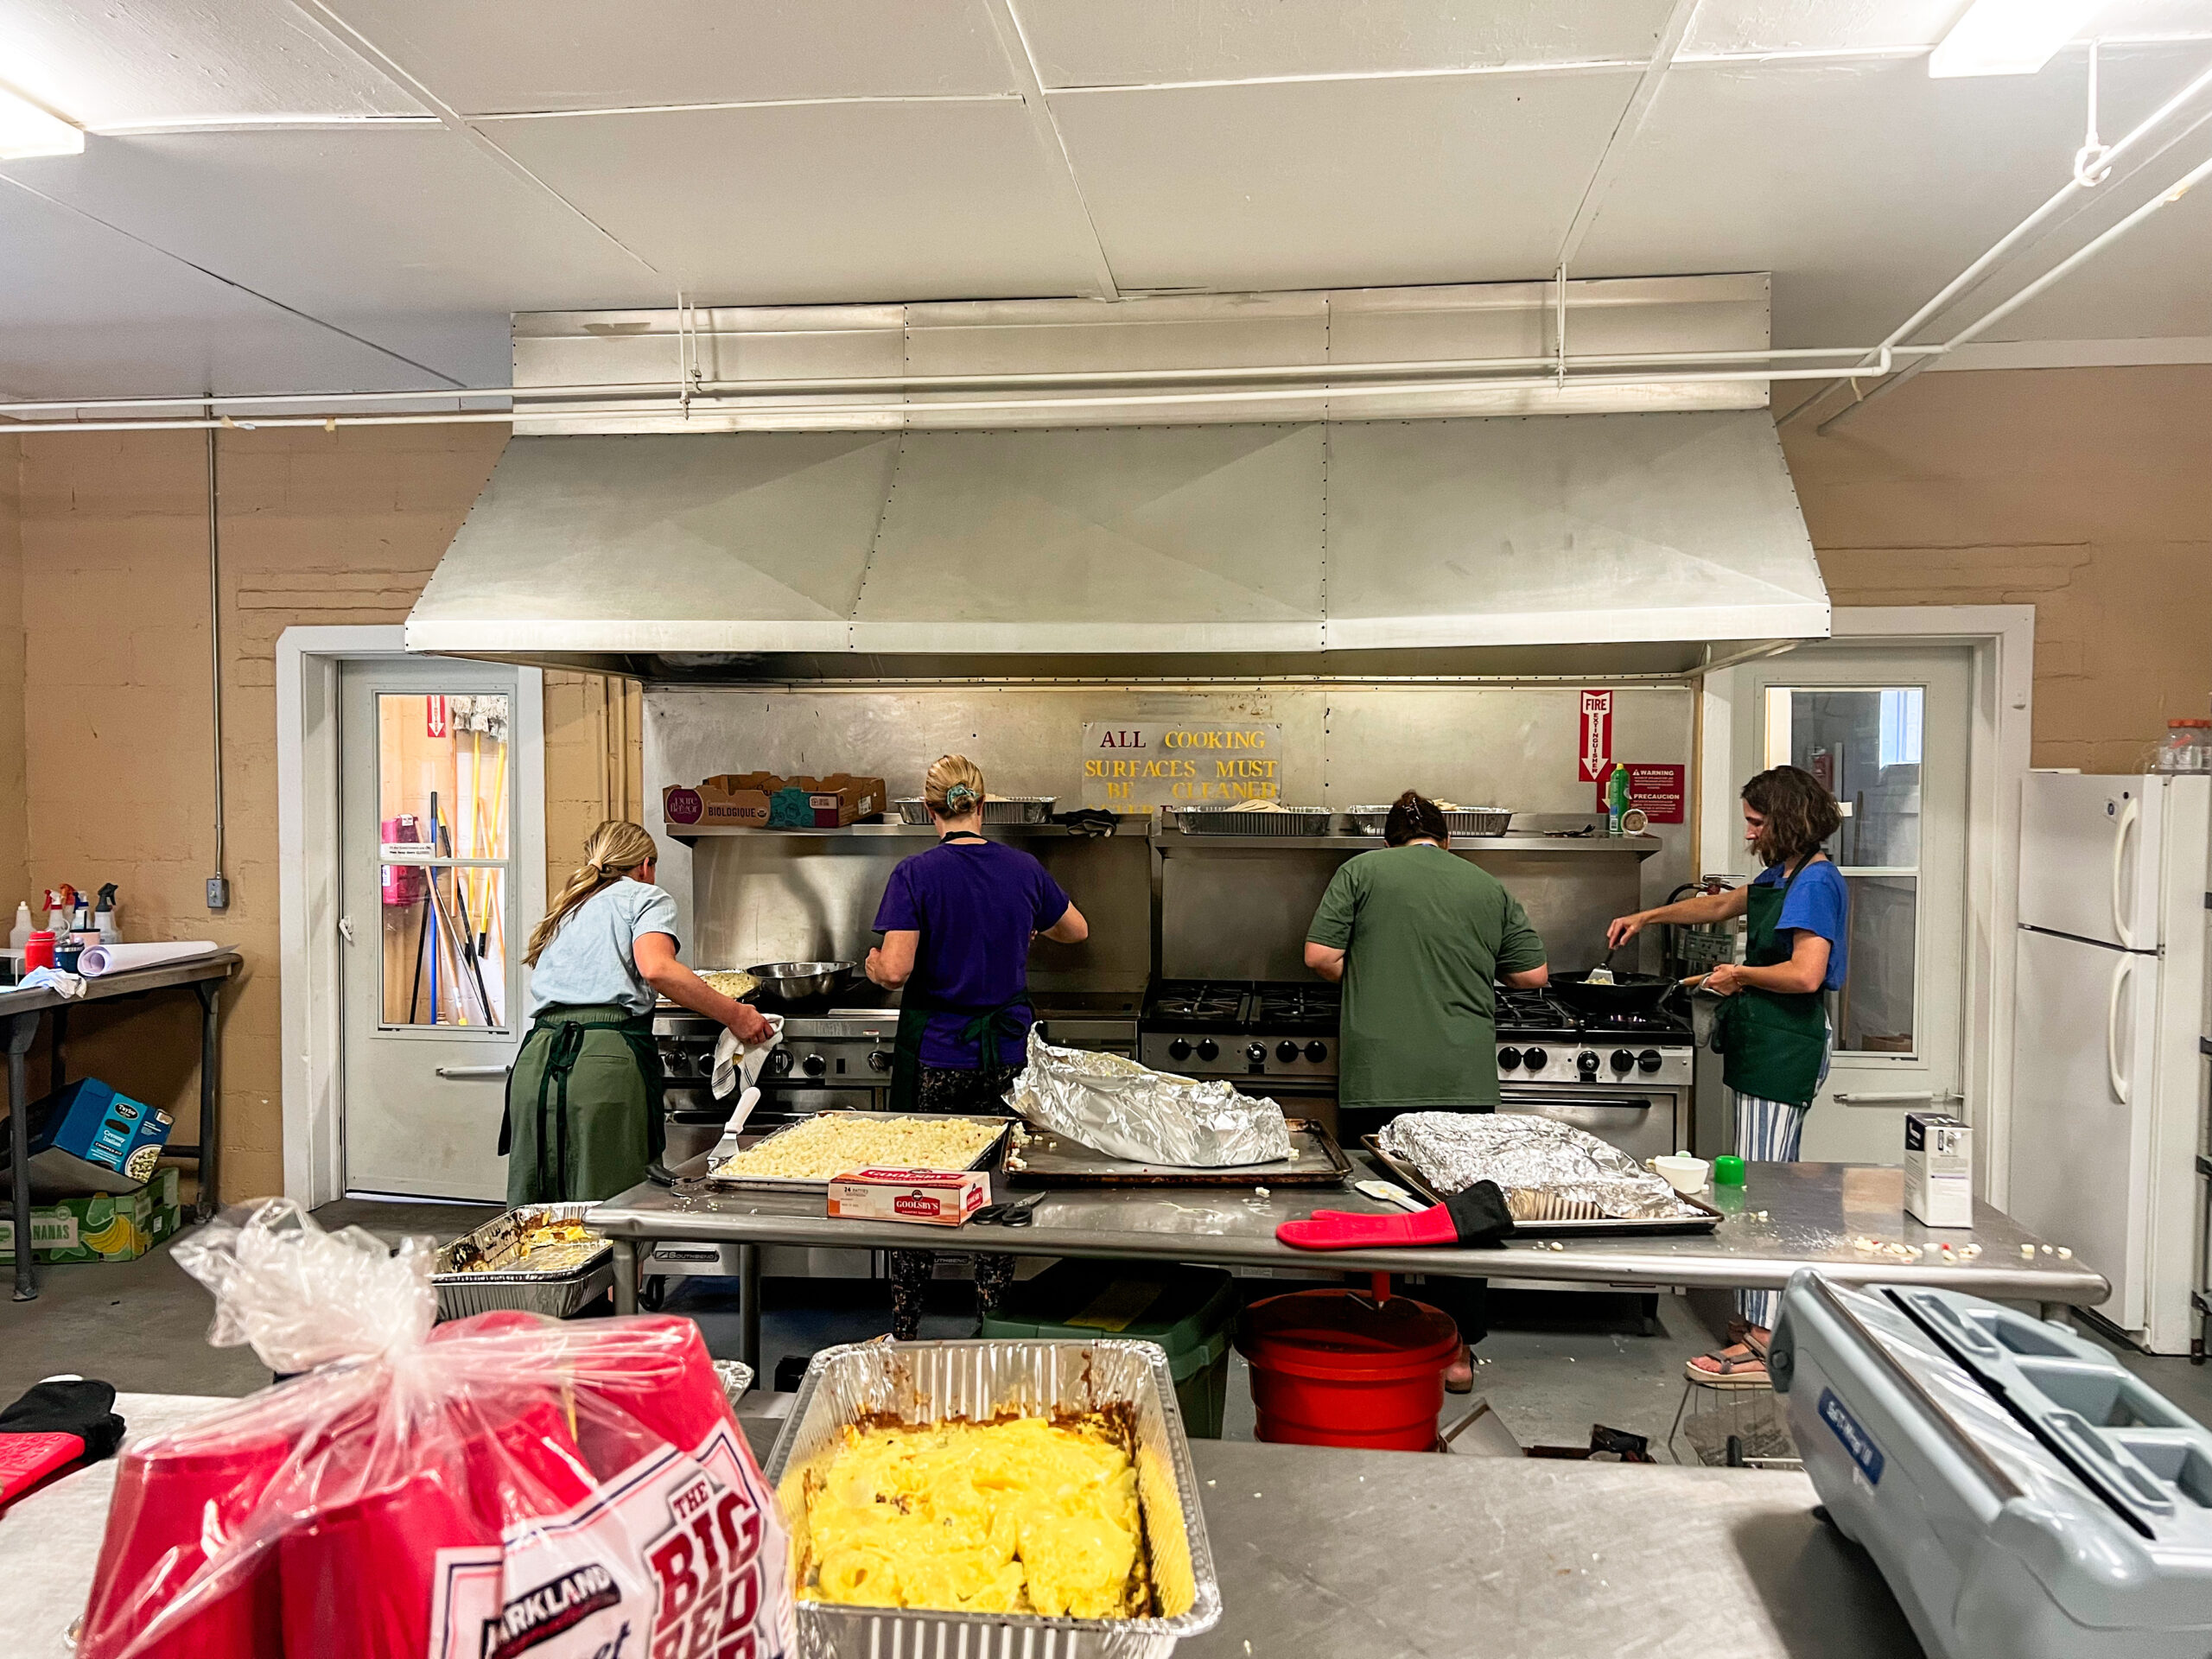
This was the only meal where we ran out of food before everyone got through the line. We were still in the kitchen cooking things as people started dishing up, so we had the girls assembling their own burritos. The first people through the line ended up taking way too much sausage and bacon, so that ran out about two-thirds of the way through. The hash browns took forever to cook and didn’t add a lot, so I probably wouldn’t do those again.
We ended up not having any skillets at camp, so we were forced to be creative and cook the eggs in the oven according to this method. It worked okay, but not ideal! Also, pre-cooked bacon saved us a lot of time!
We probably only went through about half of the oranges, but we put them out at lunch and on the snack table and finished them off.
Ingredients & Quantities:
- Burrito tortillas (200)
- Gluten-free tortillas (12)
- Eggs (300)
- Sausage (7 (40-oz) boxes breakfast sausage)
- Bacon (6 (1-lb) bags)
- Shredded cheese (2 (2.5 lb) bags shredded Mexican cheese)
- Hash browns (19 (28-oz) bags hash browns)
- Salsa (1 (64 oz) jar salsa)
- Oranges (6 (8-lb) bags)

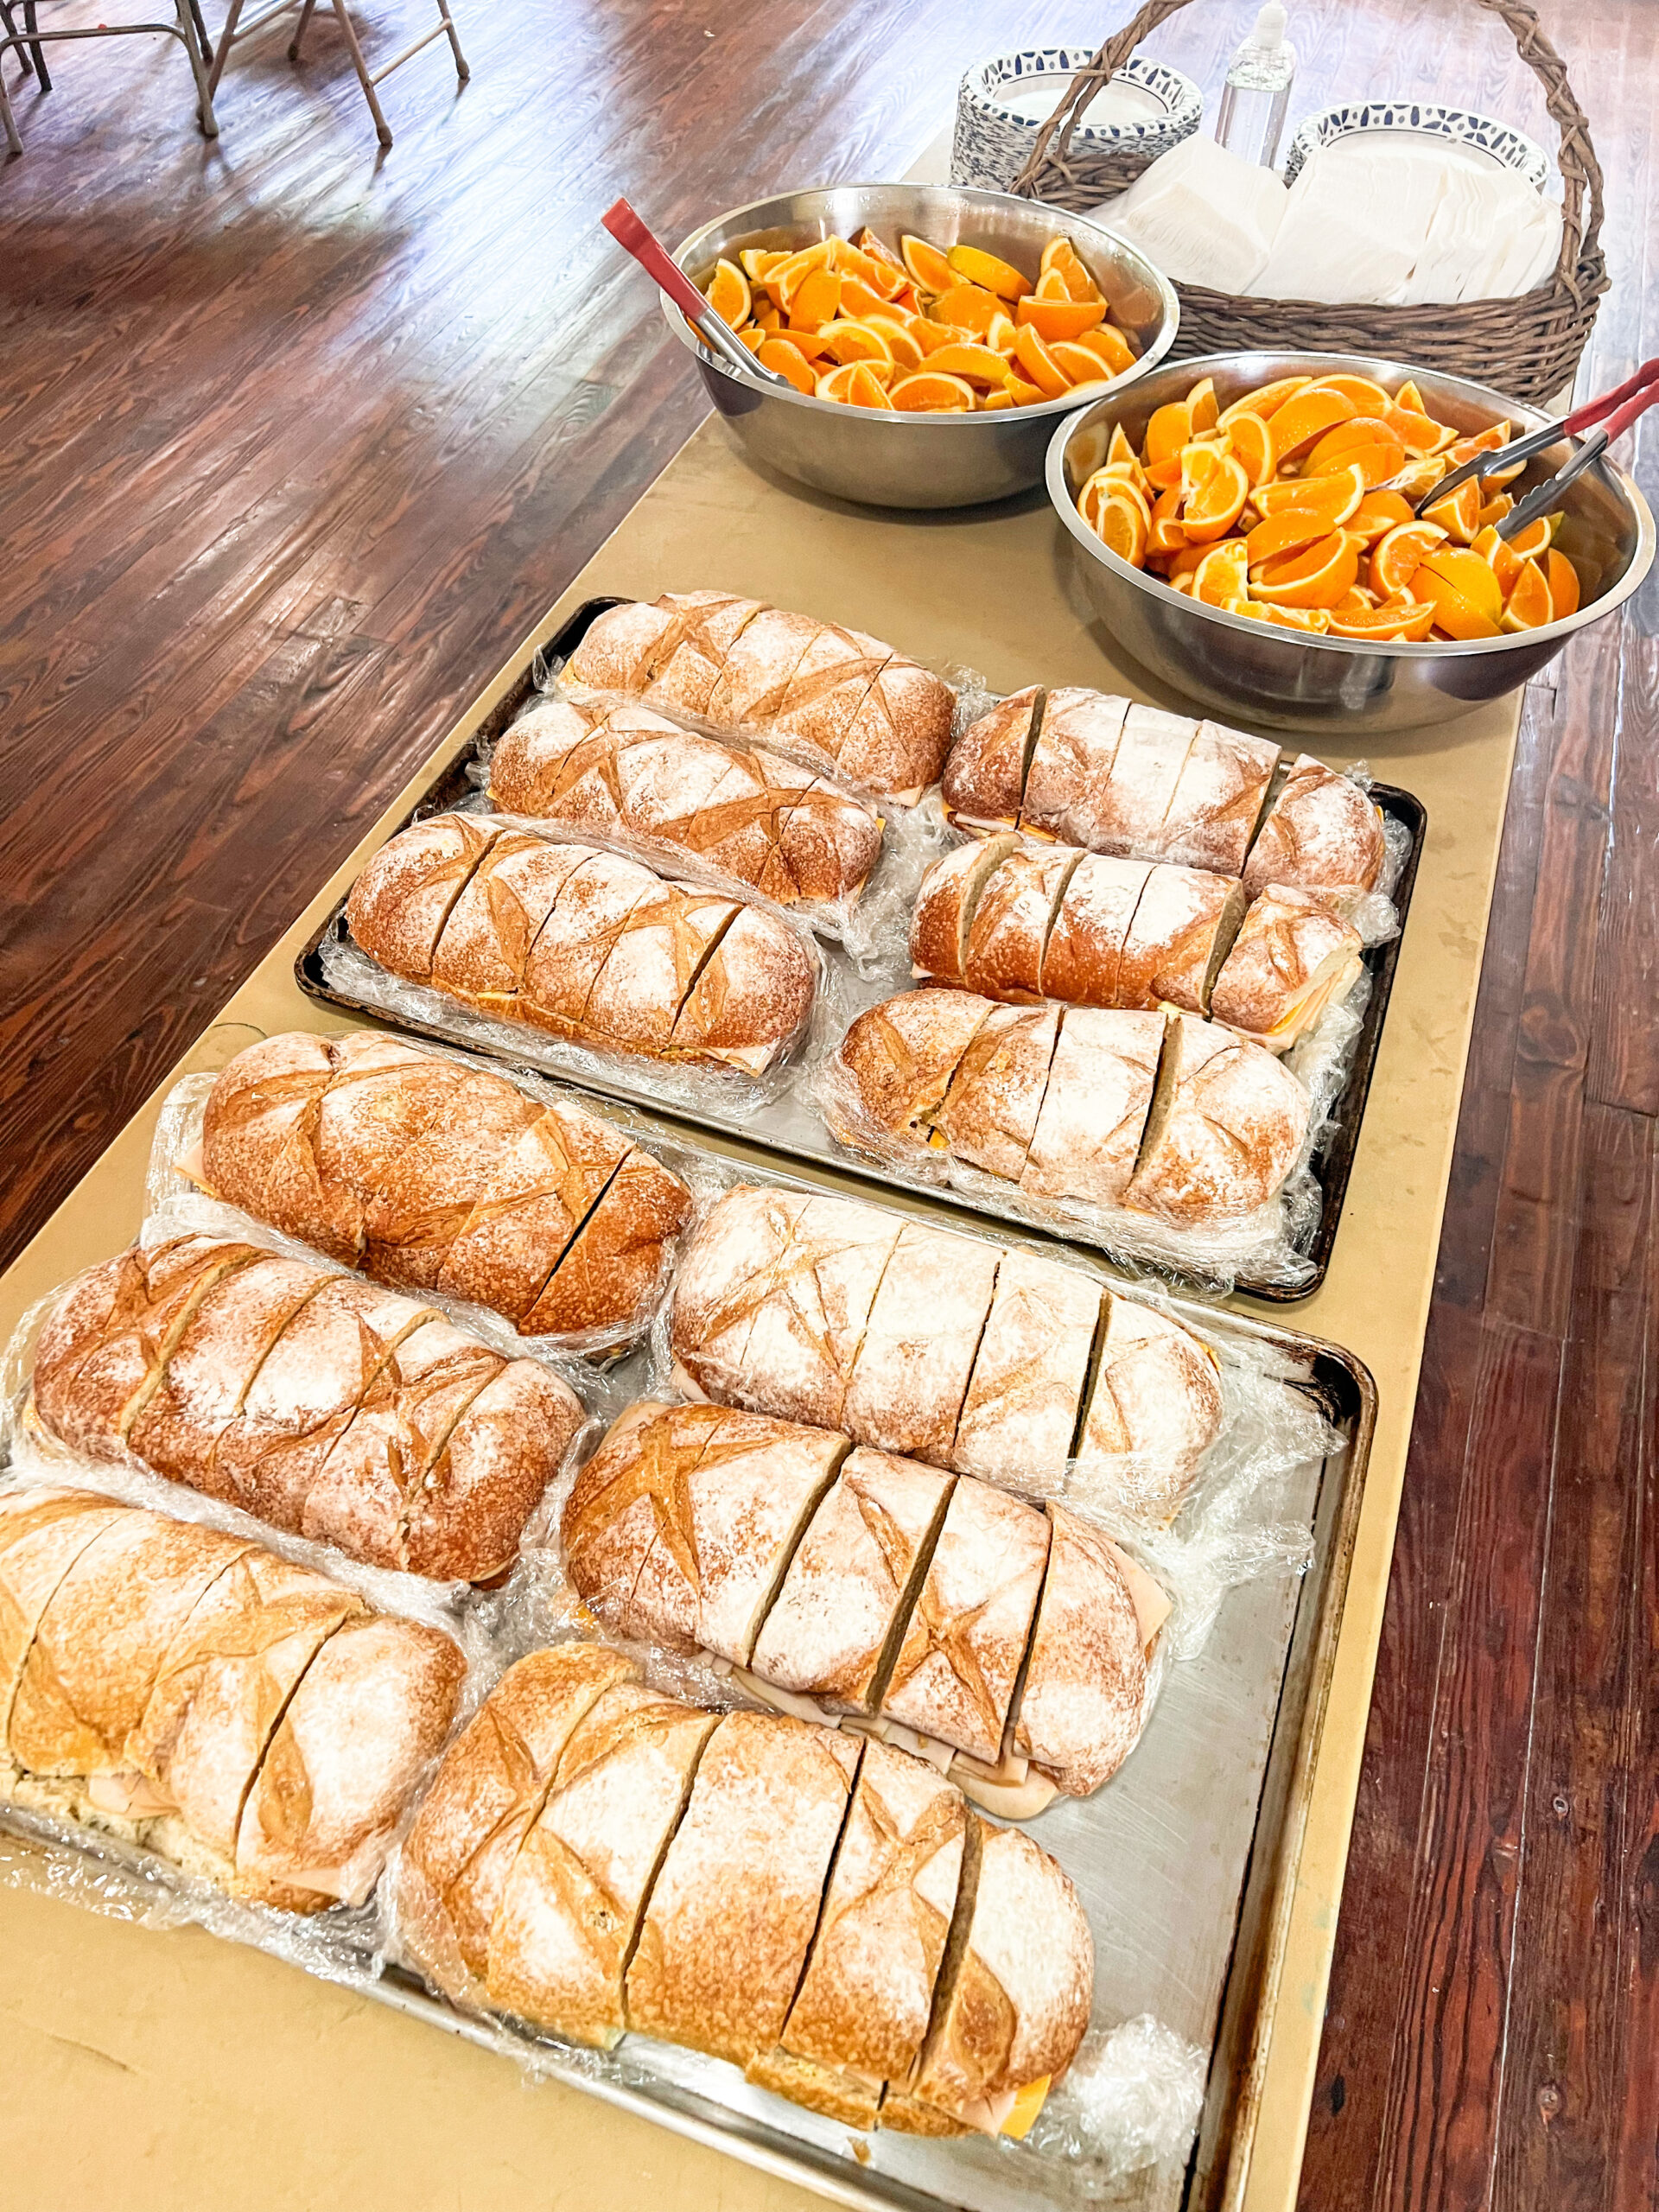
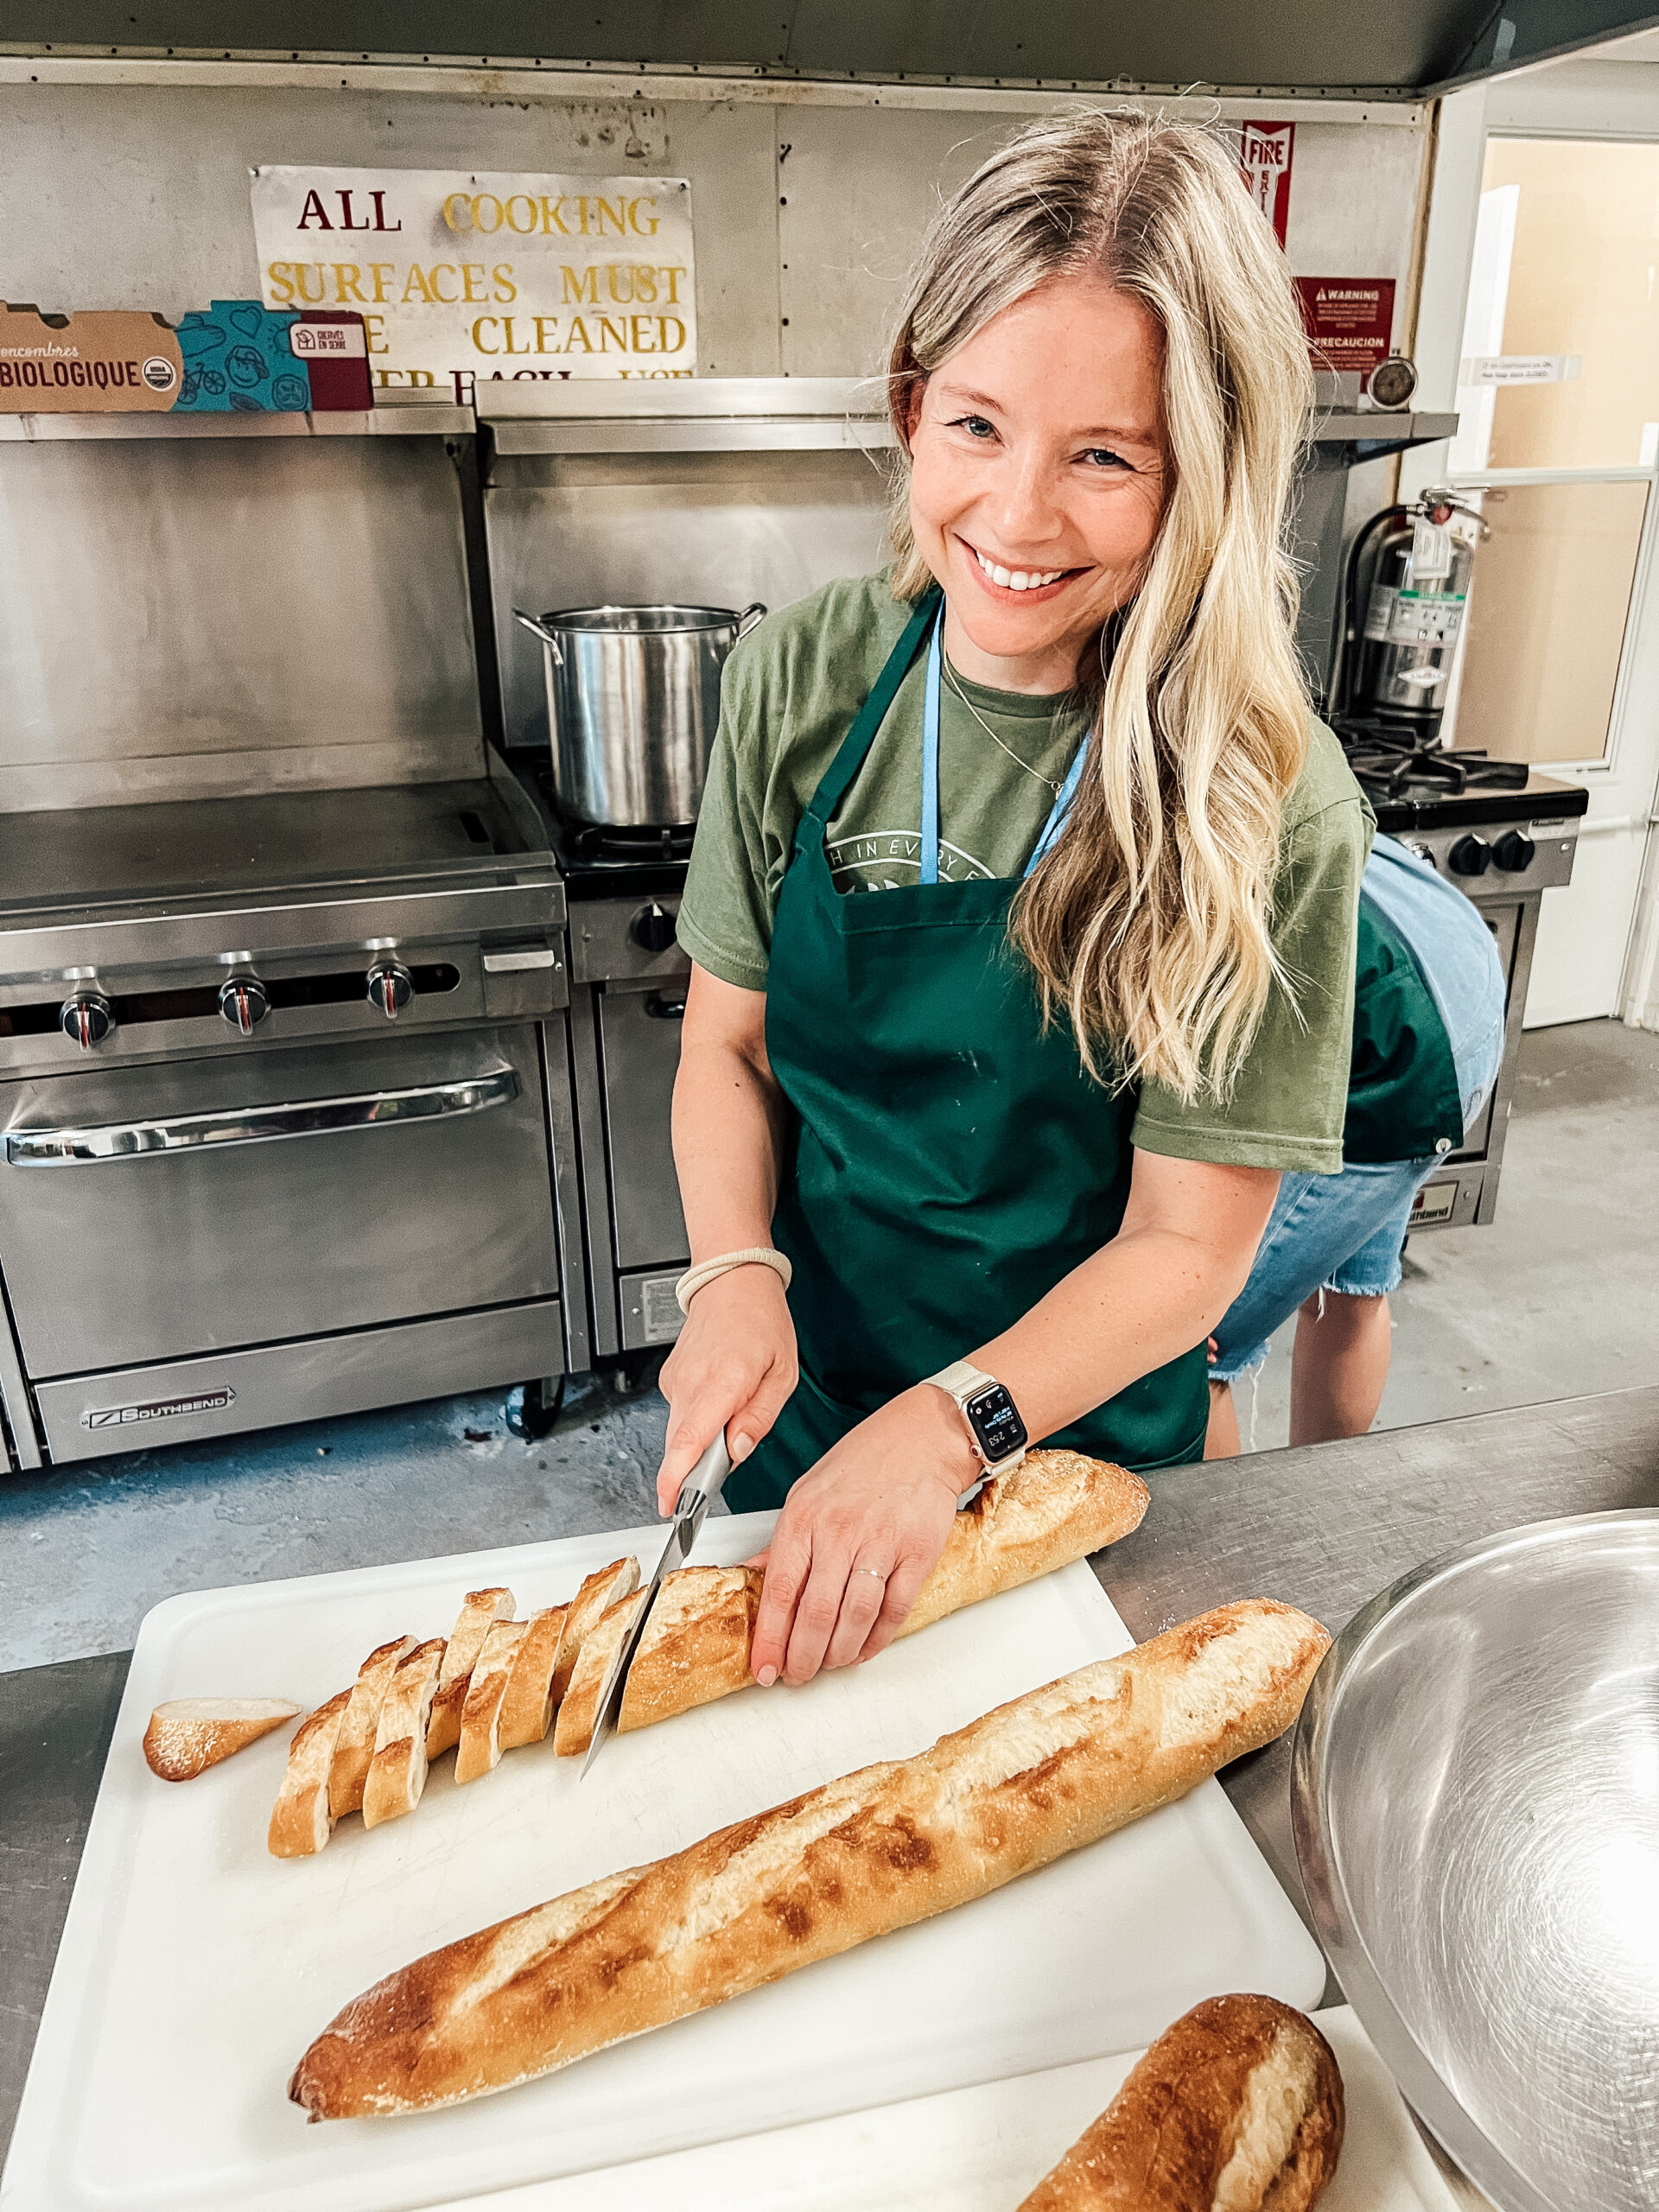
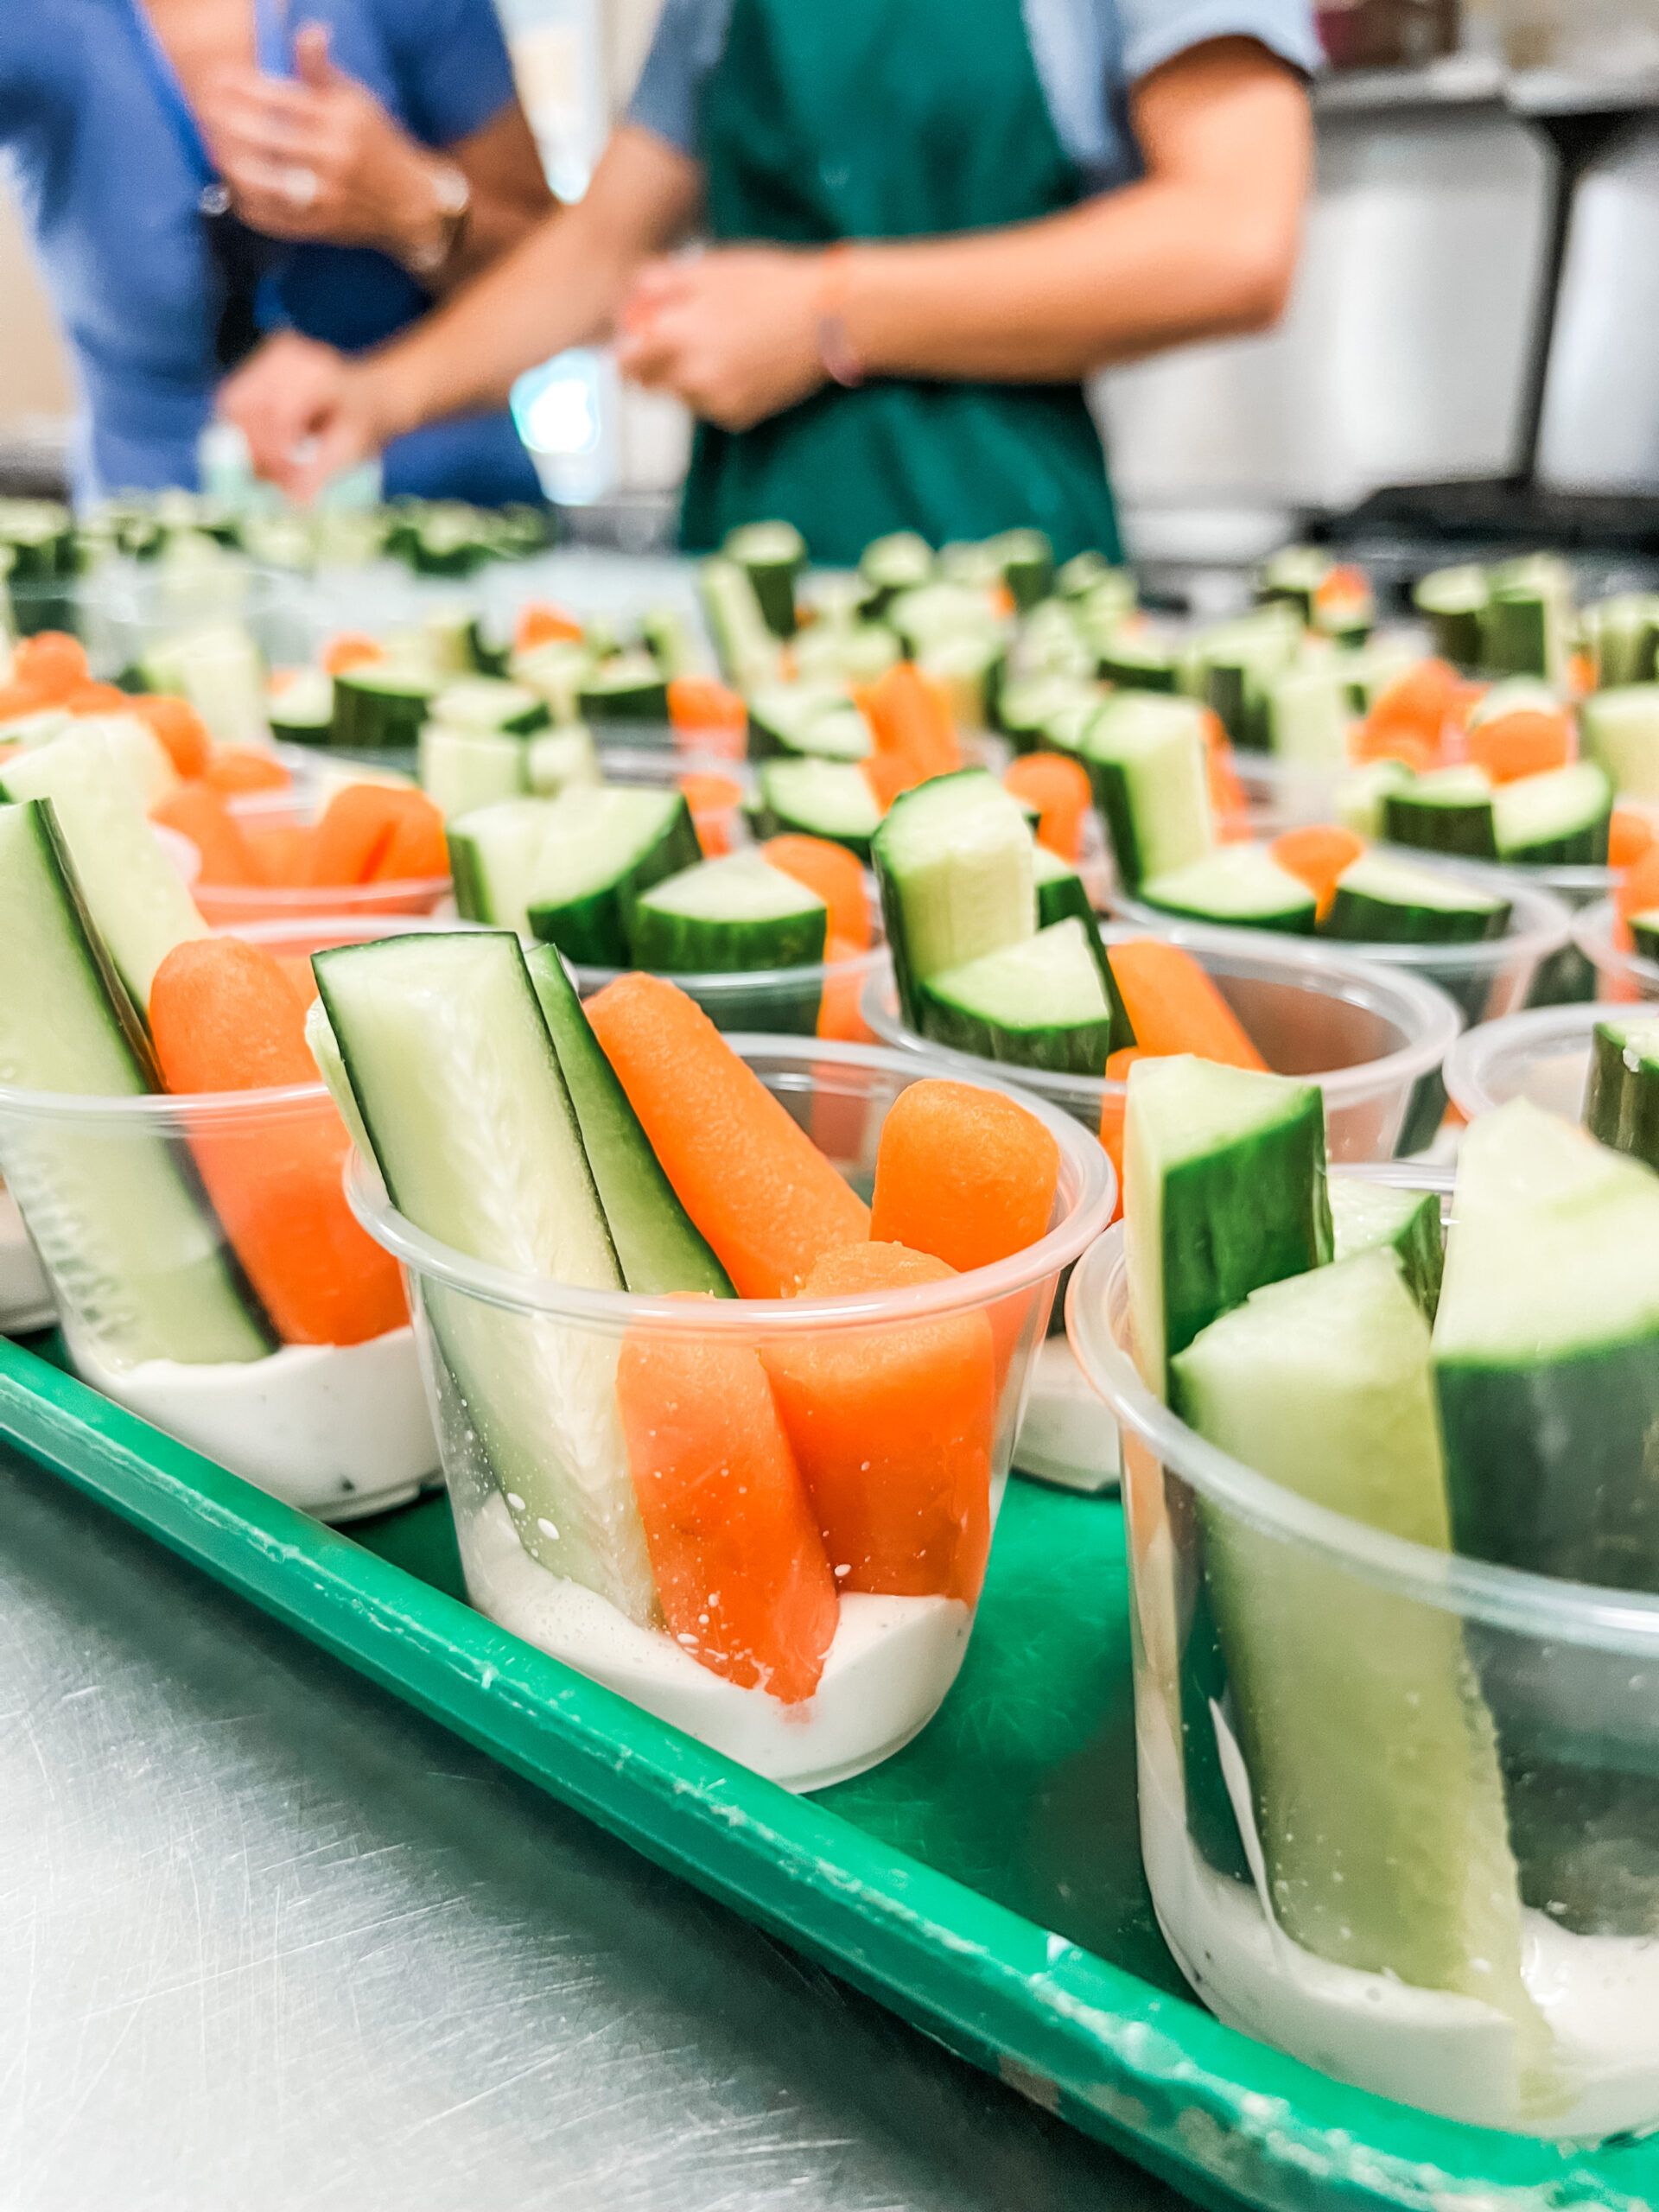
Lunch: French Loaf Sandwiches + Chips + Veggie Cups
For this meal, it worked to have the girls serve themselves, because everything was individually portioned out already.
We assembled these sandwiches by combining mayo and mustard and spreading on both sides of the loaves. Then we topped with cheese and turkey and sliced the loaf into five individual portions. We had lettuce and tomatoes separate so people could add them if desired. We also had some extra tortillas from breakfast, so we made turkey pinwheels with the excess ingredients.
I definitely recommend storing the bread in the fridge if you don’t plan to use in the first 24 hours.
We assembled the veggie cups by squirting a couple of tablespoons of ranch dressing into the bottom of the condiment cups, then adding carrots and sliced cucumbers on top. They were a hit!
Ingredients & Quantities:
- Country loaves (36 loaves (5 sandwiches per loaf))
- Gluten-free sandwich rolls
- Turkey (9 (42-oz) packages turkey)
- Cheddar cheese (4 (32-oz) packages sliced cheddar cheese)
- Romaine lettuce (2 (6-ct) bags Romaine lettuce)
- Tomatoes (3 boxes vine tomatoes)
- Mayo
- Mustard
- Chips (Individually bagged chips)
- Carrots (3 (4-lb) bags)
- Cucumbers (10 (3-ct) packages)
- Ranch (2 (80-oz) packages Ranch dressing)
- Condiment cups
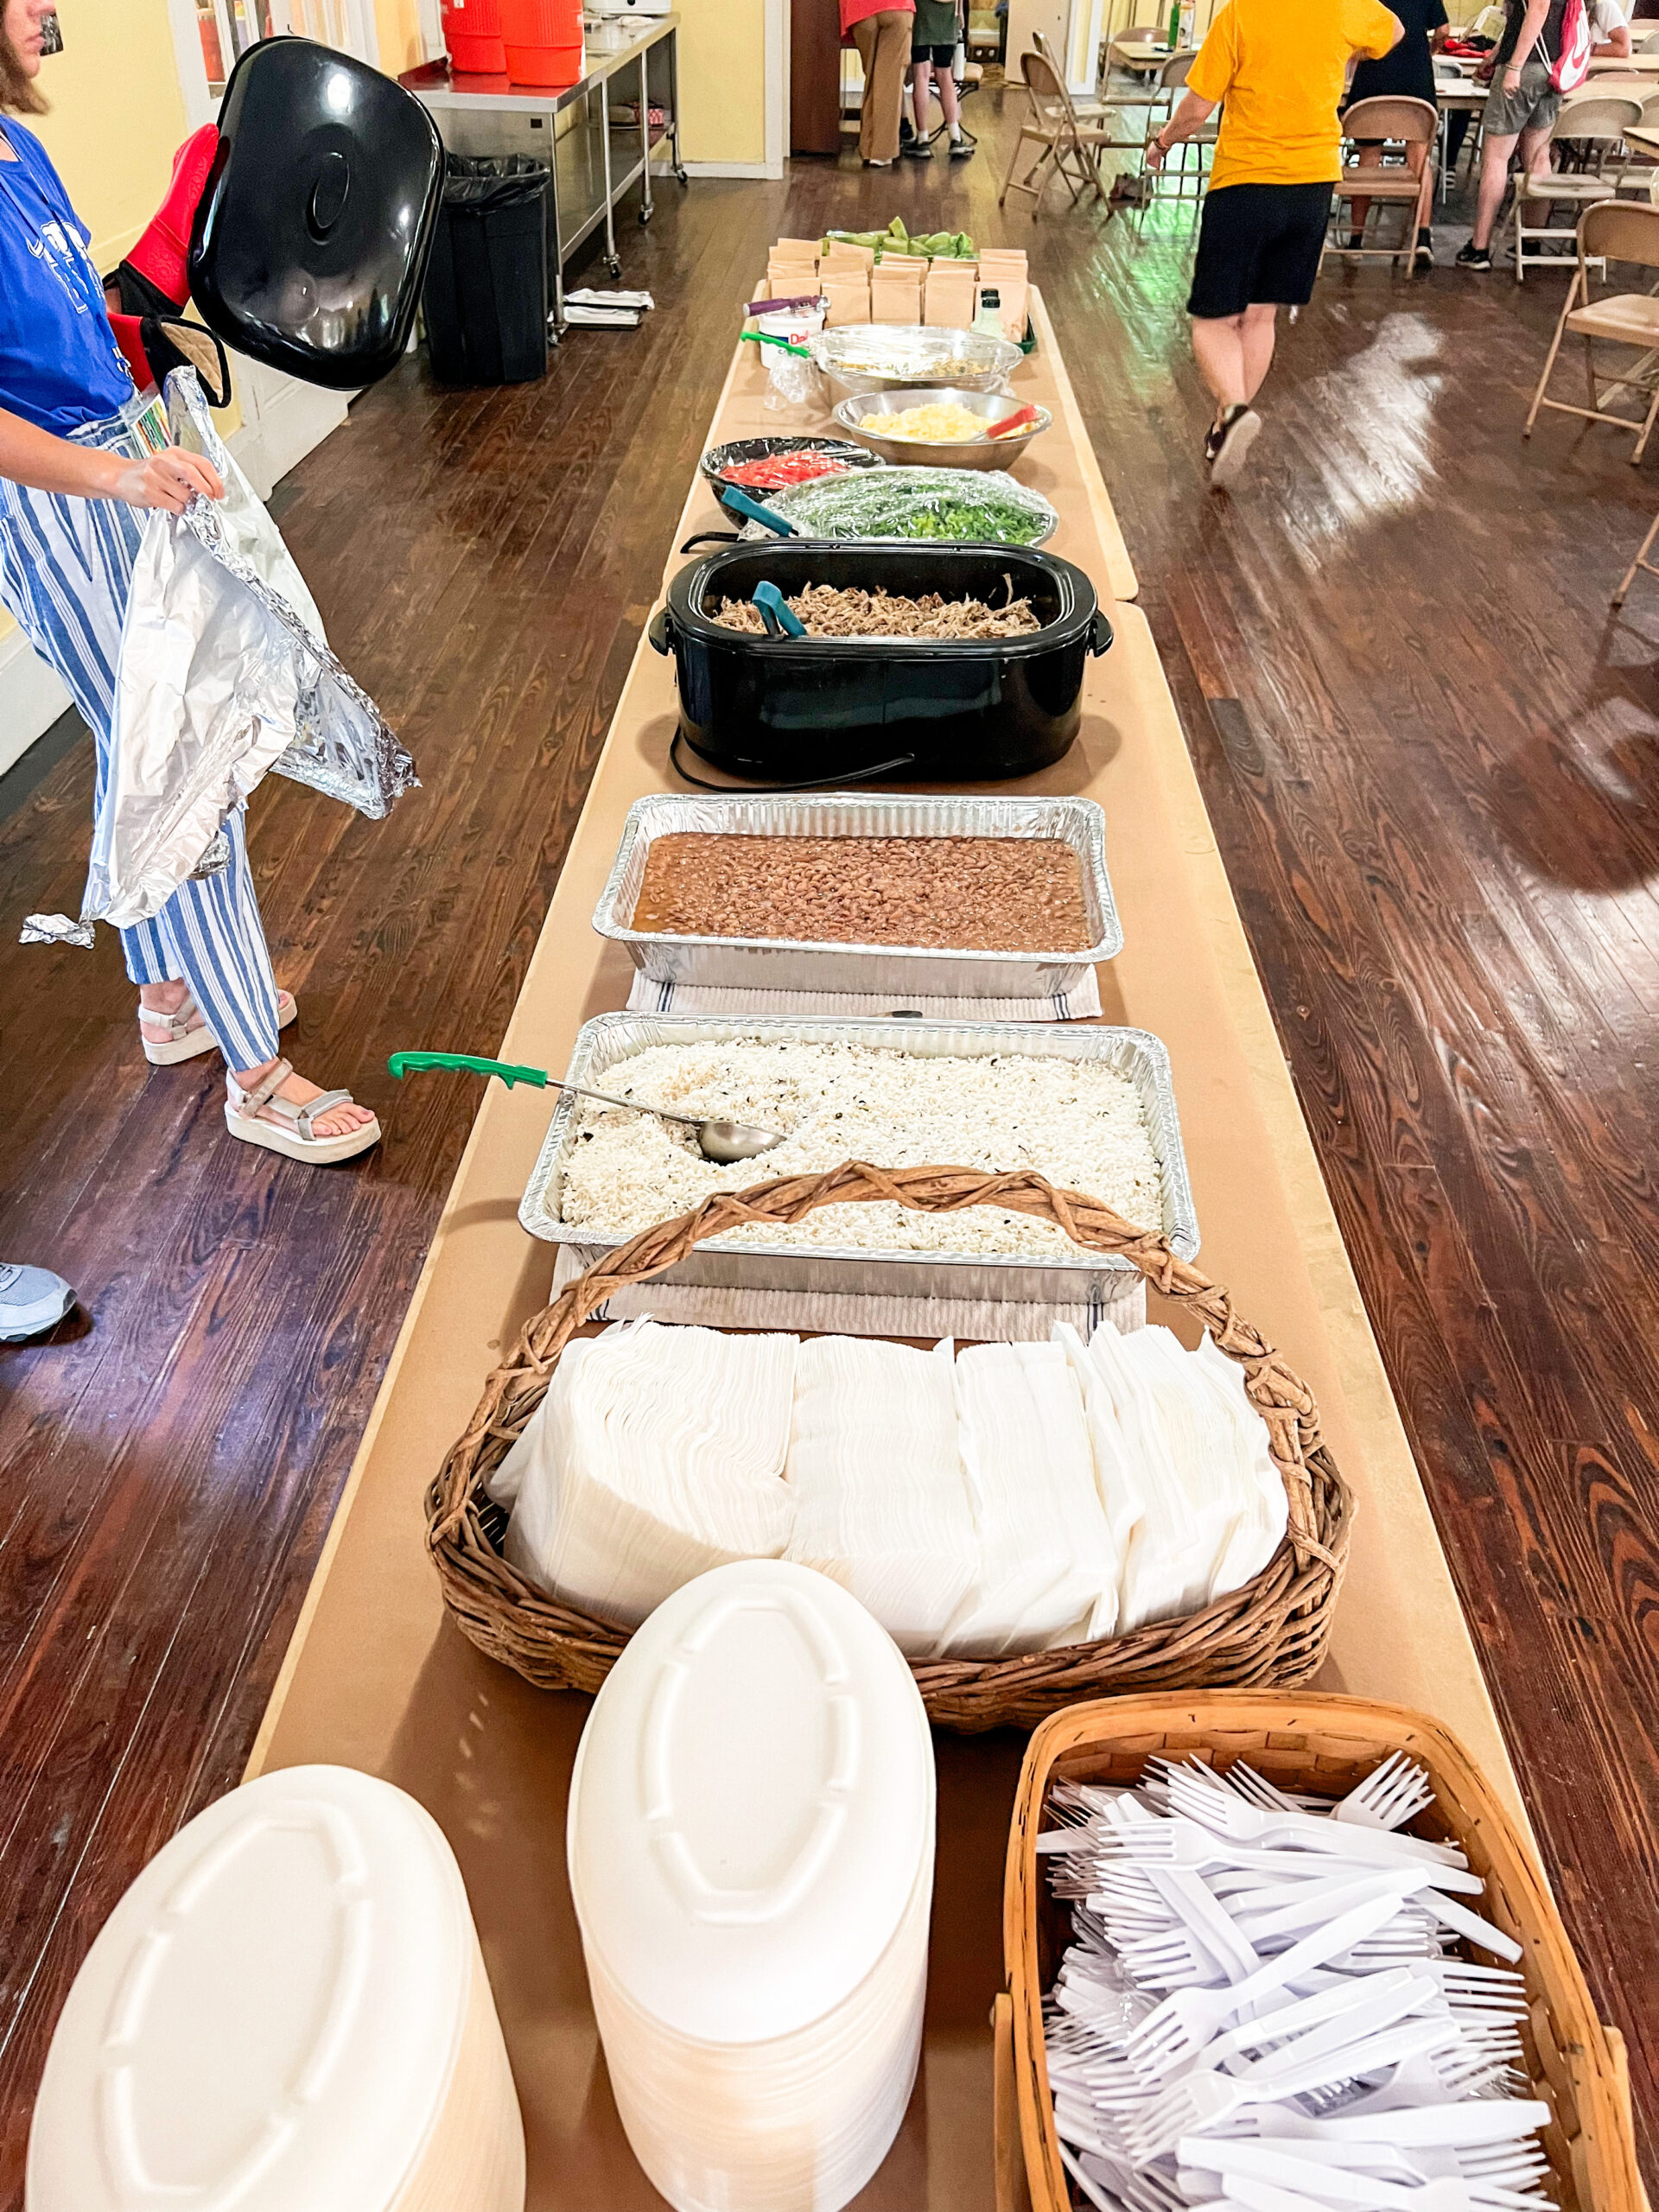
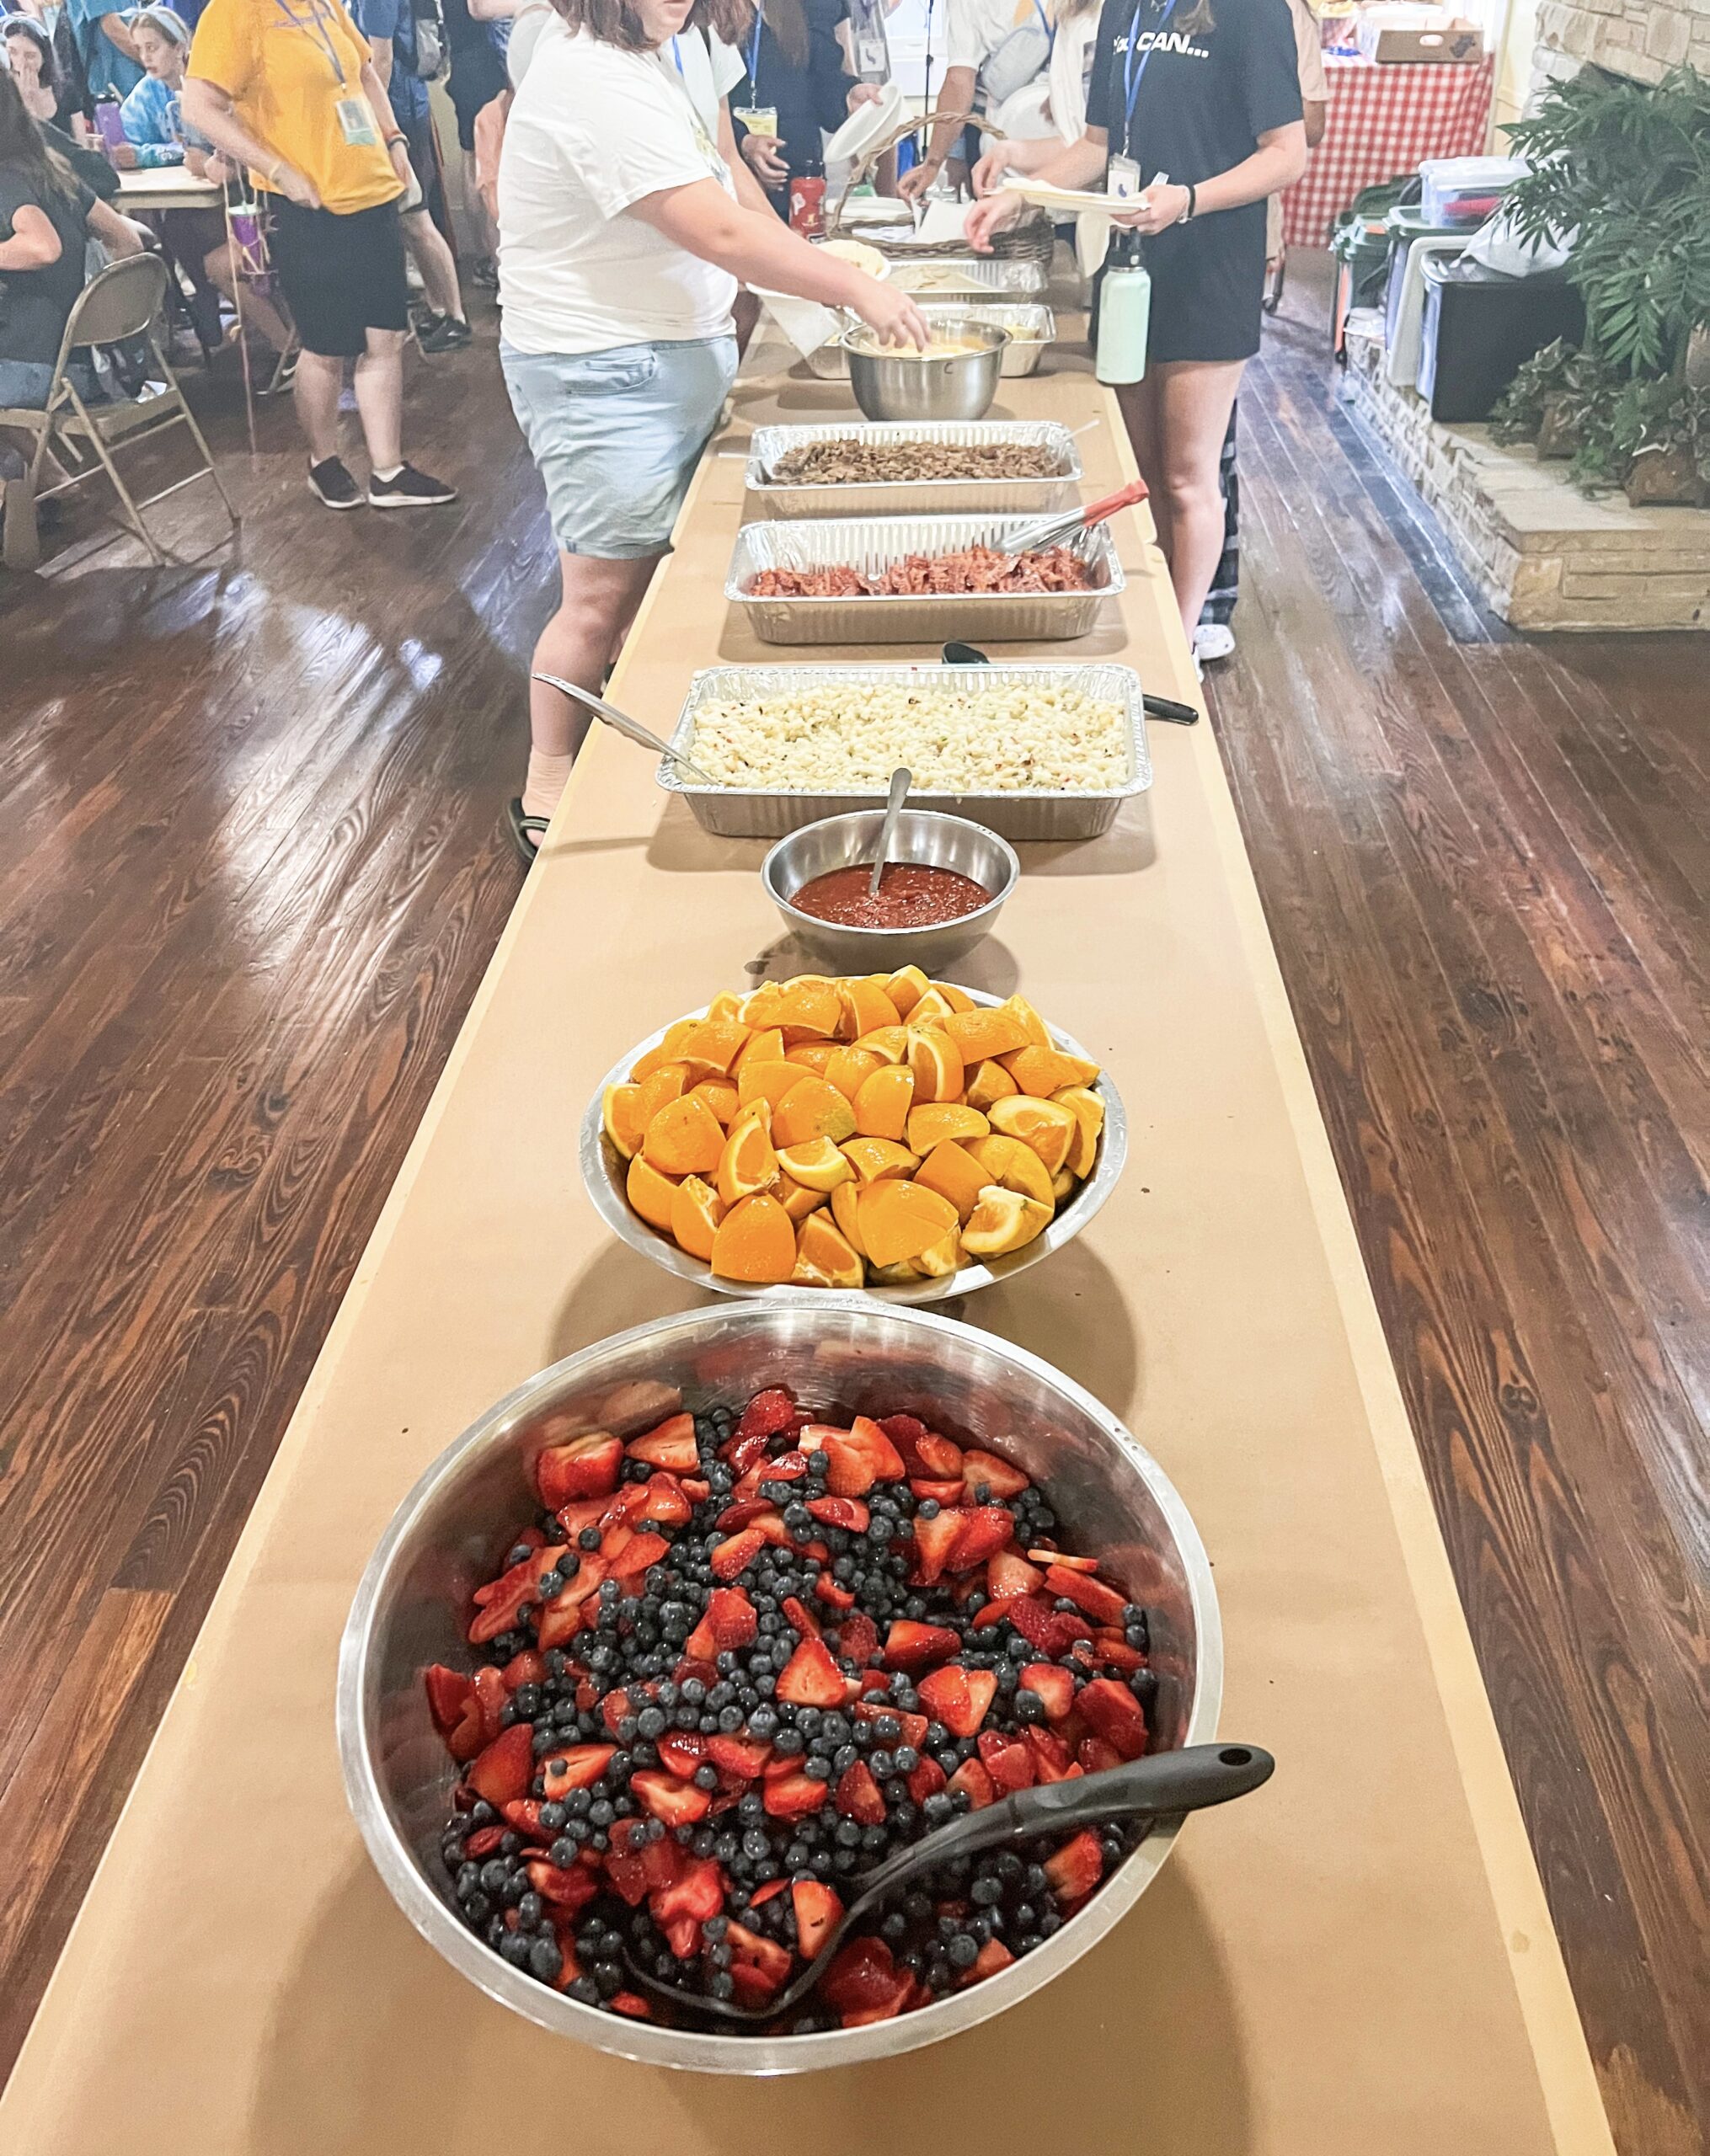
Dinner: Chipotle Carnitas Burrito Bowls
We had leaders serve this to the girls like they were going through a Chipotle restaurant line. We were very specific telling the leaders what portions to give because we wanted to make sure everyone got enough. This worked well, and we even had a little extra for some people to get seconds.
For the homemade corn salsa, we left out the peppers and just used frozen corn that we thawed out. It worked great!
We also loved the convenience of the individual guacamole portions. I priced it out and it wasn’t much more to buy the individual guacamole cups than the larger pre-made guacamole!
These burrito bowls made the meal really fun and special because it felt like going to a real Chipotle restaurant. And this food chopper was perfect for quickly dicing red onions for the corn salsa!
Ingredients & Quantities:
- Carnitas (12 batches)
- Pinto Beans (12 batches)
- Rice (15 batches)
- Corn Salsa (12 batches)
- Lettuce (3 (6-ct) Romaine lettuce)
- Salsa (1 (64 oz) jar salsa)
- Cheese (2 (2.5 lb) bags shredded Mexican cheese)
- Sour Cream (2 (3 lb) tubs sour cream)
- Cilantro Lime Dressing (5 (2-ct) cilantro lime dressing)
- Chips (6 (48-oz) bags tortilla chips)
- Guacamole cups (10 (16-ct) boxes guacamole cups)
- Chip bags
- Burrito bowls
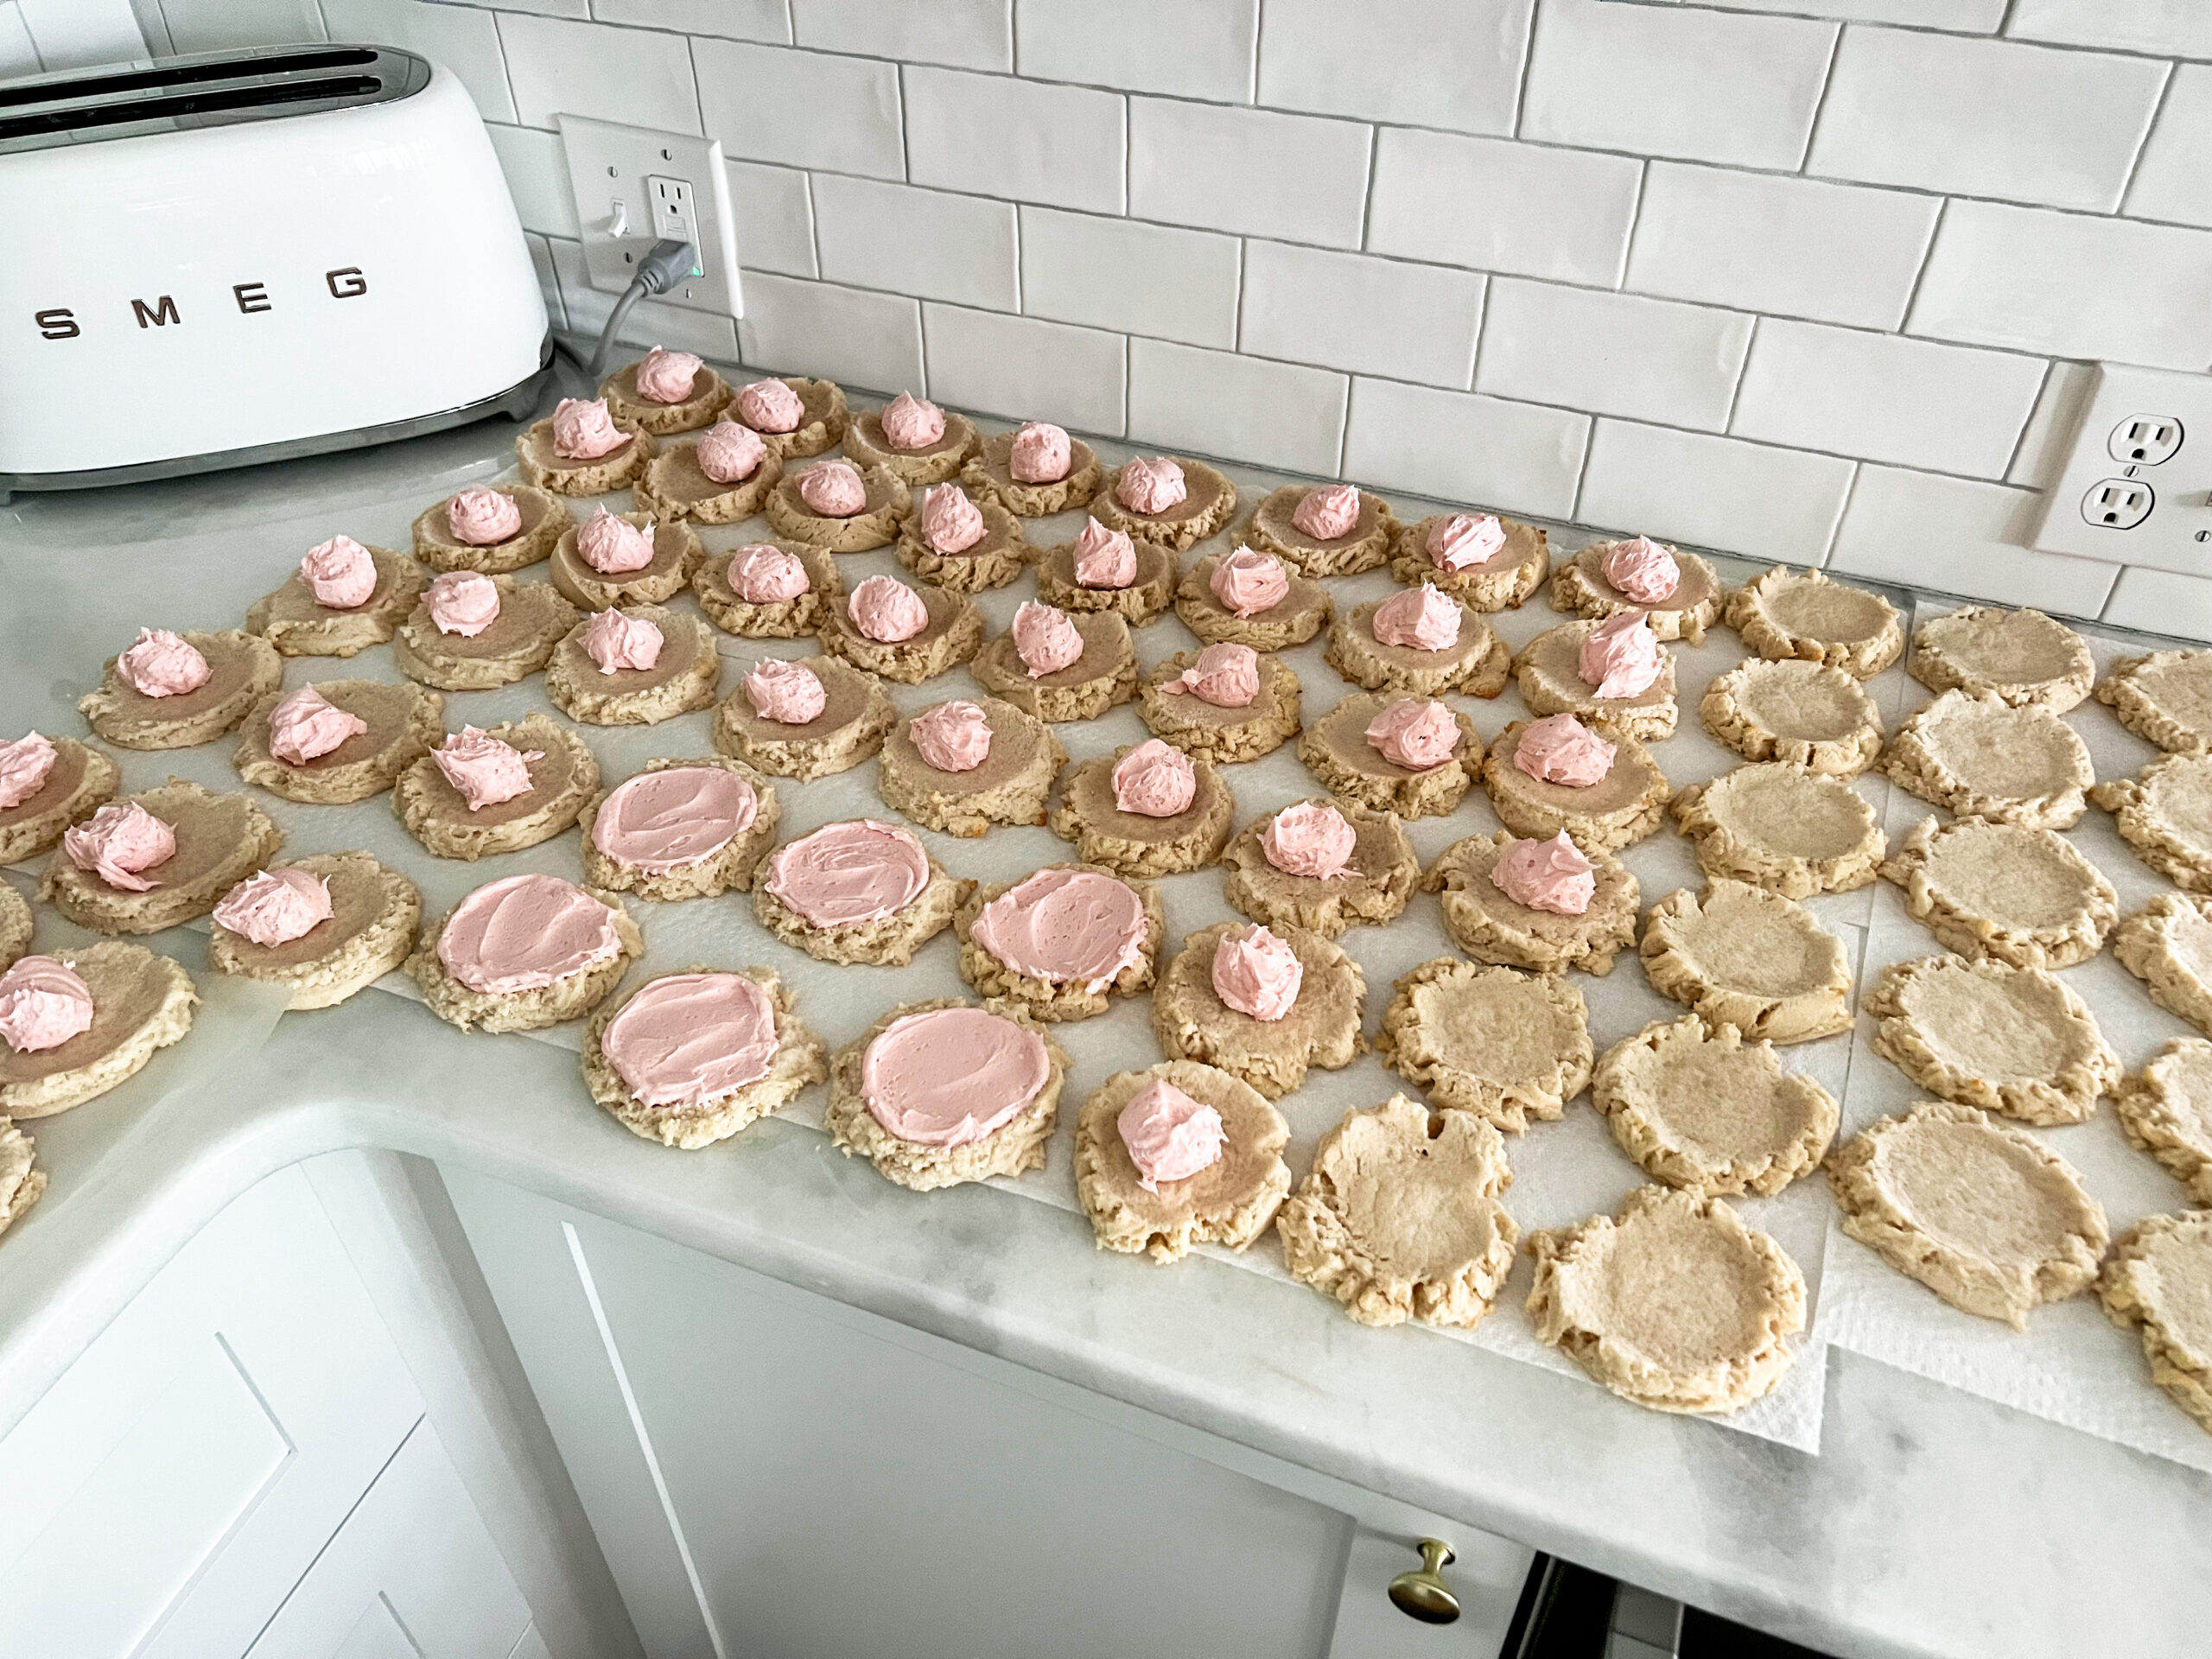
Dessert: Swig Cookies
Swig cookies are a huge thing in Utah, but the idea has spread like wildfire across the country. So I knew everyone would love these cookies, and I was right! I made all of these in advance and froze them in 2-gallon bags between layers of parchment, which worked perfectly.
Ingredients & Quantities:
- Swig Cookies (10 batches)
- Gluten-Free Swig Cookies (1 batch)
Day 4
Breakfast: Muffins + Yogurt Cups + Cuties
The girls grabbed breakfast and headed to the beach in the early morning, so we needed things that they could eat in the car. We cut the muffins in half and wrapped each half in plastic wrap so they’d be easy to grab. Then the girls loaded their meals into these bags with handles so it was easy to carry.
Ingredients & Quantities:
- Muffins (7 (12-ct) packages muffins)
- Yogurt (8 (24-ct) boxes Activia yogurt cups)
- Cuties (7 (5 lb) bags Cuties)
- Bags with handles

Lunch: Pizza
Since we would be at the beach for lunch (and then head home), we wanted to have a quick and easy meal. At this point we had already started cleaning and packing up the kitchen, so this pizza lunch was a lifesaver!
Ingredients & Quantities:
- Papa John’s pizza (35 X-large pizzas from Papa John’s (10 slices per pizza)

Snacks
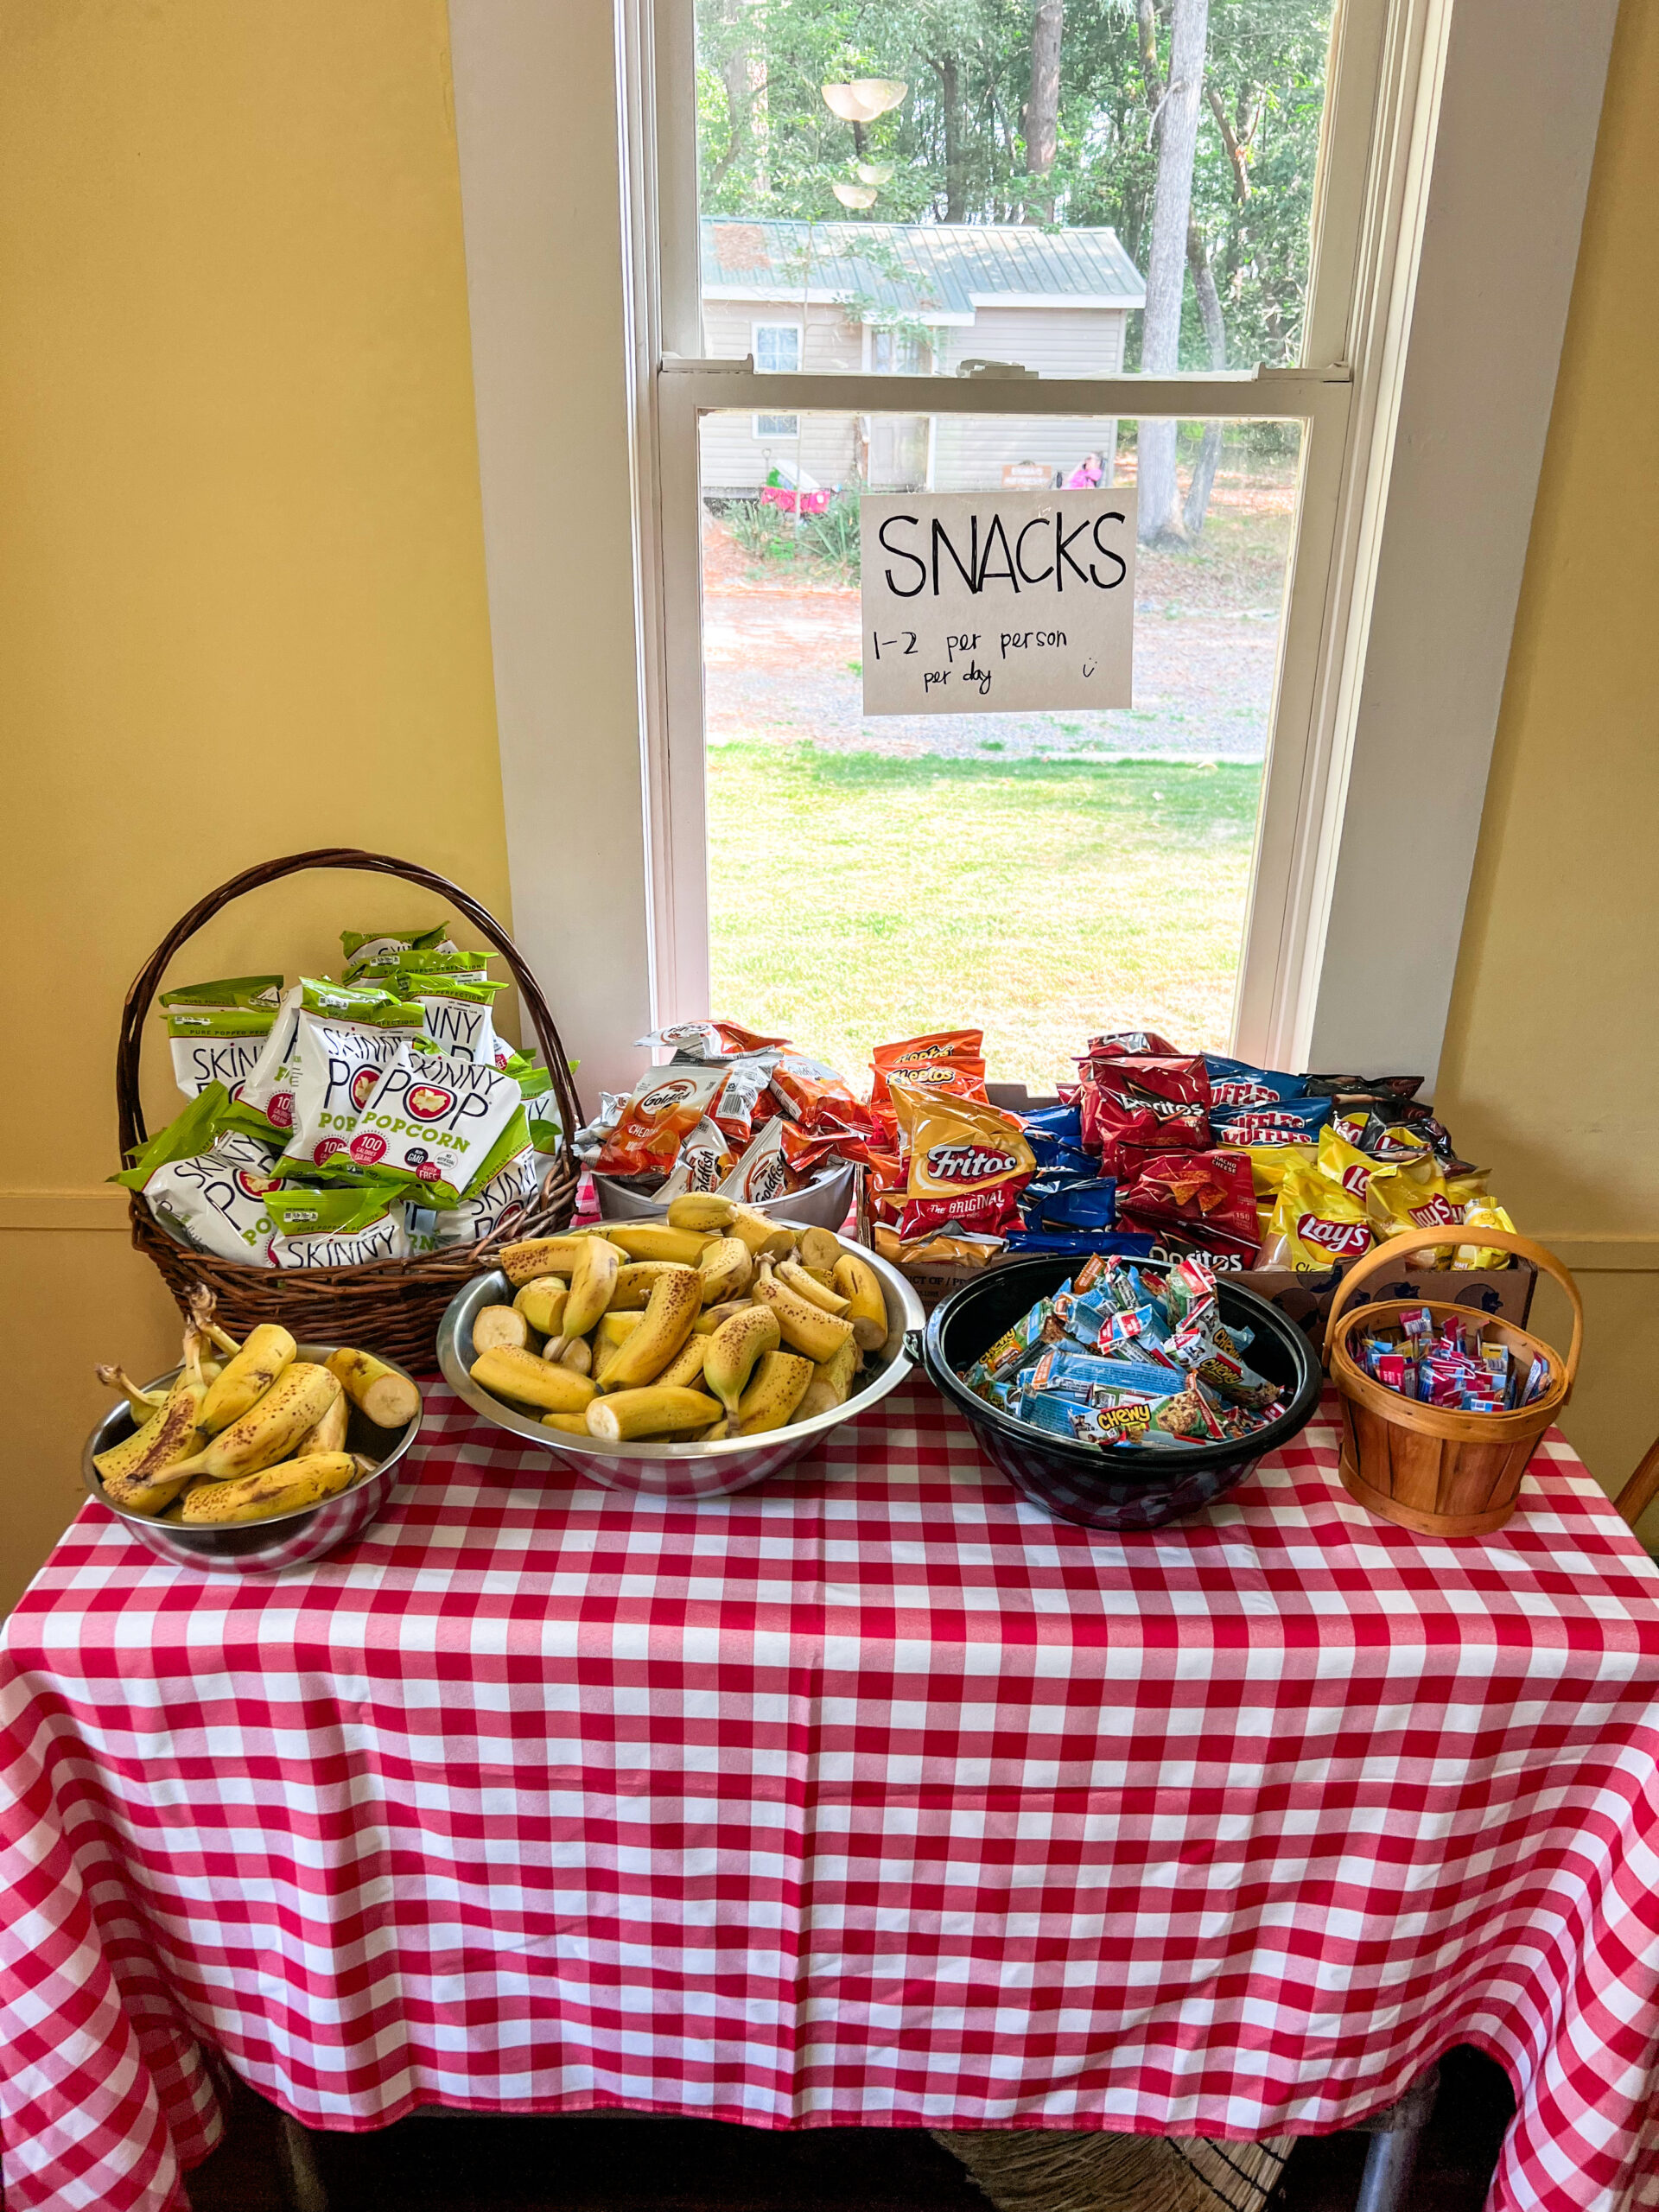
We had a snack table set out every day so the girls could grab a quick snack if they were hungry in between meals. We set out a sign clearly stating how many snacks the girls could have, which was critical to making sure it lasted through the week! We also put out any leftover fruit or other food from previous meals, and it always disappeared quickly!
- Apples
- Clementines
- Goldfish crackers
- Granola bars
- Cheez-Its
- Popcorn
- Fruit Snacks
- Chips
- Drink packets
- Leftovers
Paper Products/Misc Items
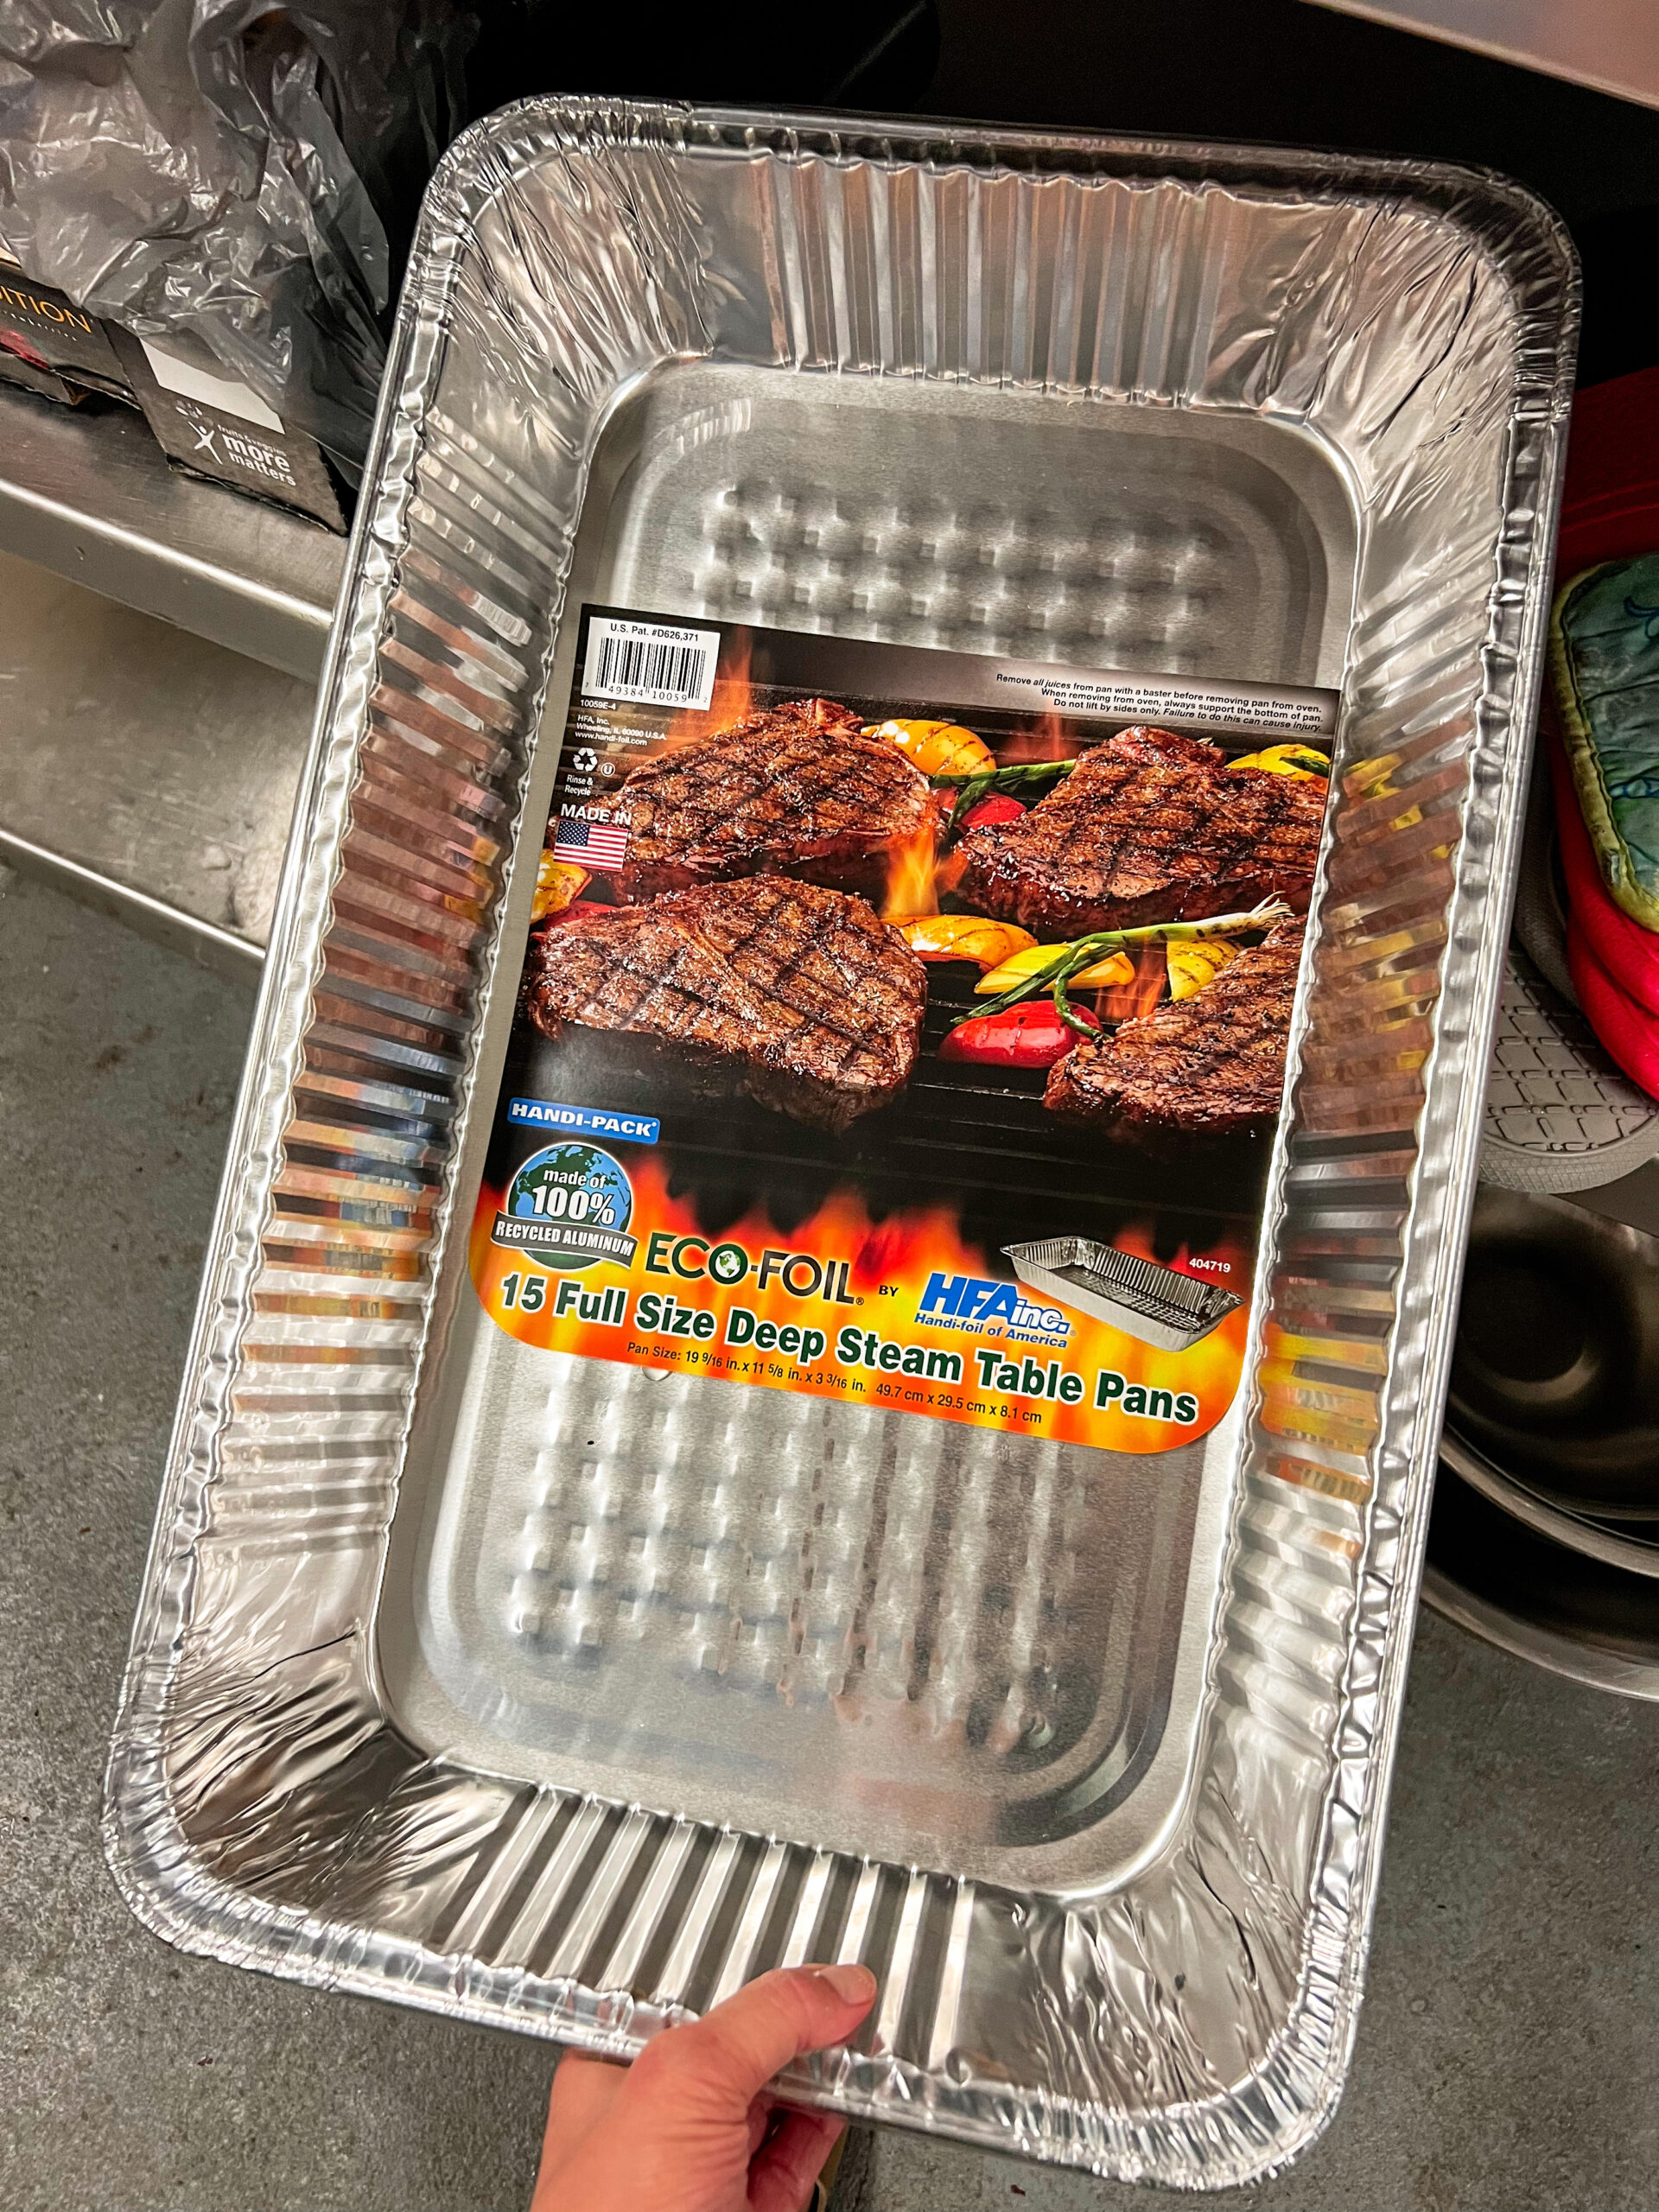
Paper products and disposable serving containers were a MUST for feeding and cleaning up after such a large group. These large foil serving containers were SO helpful for serving the food and were the perfect size for just about everything. We also used 2-gallon bags to store all the food we made in advance. They were durable and a huge size, which was helpful.
We encouraged every girl to bring a reusable water bottle to camp, but at dinner each night we served lemonade as well. So these smaller plastic cups were a nice size for that.
We each brought a couple of kitchen knives from home and I’m so glad we did! The ones they had at camp were pretty dull and we were doing a LOT of chopping, so that made a big difference.
Lastly, I created a menu for camp in Canva, printed it as a 24×36″ poster, and we hung it on the window of the mess hall. It was really helpful and fun for everyone to see what we’d be eating each day.

- Large foil serving container
- 2-gallon bags
- Burrito Bowls
- Large paper plates
- Paper bowls
- Plastic cups
- Plastic wrap
- Aluminum foil
- Plastic forks
- Plastic spoons
- Plastic knives
- Napkins
- Sharpies
- Condiment cups with lids
- Food service gloves
- Butcher knives
- Menu poster
- Kraft paper roll
Cost Breakdown
I didn’t take the time to break down the cost of every ingredient I bought, but I did keep a running total on our food. We were given a budget of $5 per person, per meal. And I’m happy to say we were well under the budget — while still creating a delicious menu that felt fun and special.
- Food: $4,150.46
- Supplies: $585.87
- Gas: $90.68
- Pizza: $450.10
- Total: $5,277.11
- Average cost per person per meal: $3.26
Girls’ Camp Food Tips & Tricks
I definitely learned a LOT throughout the process, so I’m collecting a list of my best tips and tricks to hopefully save you the trouble whenever you’re planning meals for a large crowd!
- Include fresh + homemade: Plan for at least one fresh element at each meal + one homemade item at each meal — this makes every meal feel more balanced and special!
- Pick helpers wisely: Choose helpers who are easy-going, hard-working, and fun to be around. You’ll be spending a LOT of time together, so you’ll want to think this one through!
- Embrace meal prepping: Prep and freeze as much in advance as you can to save time while at camp.
- Put someone in charge of food allergies: Have one leader specifically assigned to handle allergies, both in preparation ahead of time and at camp. We didn’t do this, but I wish I’d thought of it!
- Simplify cleanup: Bring a giant roll of Kraft paper to line the serving table with for easy cleanup.
- Add a special touch: Make the meals feel more put-together by using baskets for napkins and utensils.
- Enlist LOTS of help: Have plenty of kitchen staff to help during preparation. Everything takes a lot longer than you think when you’re serving such huge crowds!
- Streamline grocery shopping: If possible, buy all your perishables 1-2 days before and take them straight to your camp location. Otherwise, you might run out of room to store everything.
- Strategize meal timing: Plan the order of meals according to how long the ingredients will stay fresh. Meals with a short shelf-life should be served first!
- Dress comfy: Wear comfortable shoes — you’ll be on your feet all day!

- Ration food: Either have everything individually portioned or have leaders serve the meals. Otherwise, you won’t be able to control the quantities that are taken.
- Control the crowds: For meals when the girls can serve themselves, utilize both sides of the table to make the line move faster.
- Strategically place food: Anything placed at the beginning of the service table will get eaten first and in the largest quantities. If you’re worried about something running out, place it at the end of the table. If you have something you want to get rid of, put it at the front.
- Get plenty of plates/forks: Bring extra plates! Girls will take a new plate if they get seconds.
- Avoid cross-contamination: Have a drink station and gluten-free/allergy station set up in a different part of the dining area. If someone has a serious allergy, you don’t want to risk cross-contamination.
- Ensure leftovers get eaten: Utilize a snack table to use up extra food that wasn’t finished at a meal.
- Communicate food allotments: Make very clear signs about how much food/drink is allowed per person per day at the snack table.
Resources
When preparing for this experience, there were a couple blog posts that were incredibly helpful. I’m so grateful to Mel from Mel’s Kitchen Cafe, Si from A Bountiful Kitchen, and Amber from Amber’s Kitchen for sharing their experiences, recipes, and tips. I would have been lost without their help.
- Mel’s Kitchen Cafe How to Plan Food for Girl’s Camp Blog Post
- A Bountiful Kitchen How to Plan Girl’s Camp Food Blog Post
- Amber’s Kitchen Instagram Highlight about Girls Camp
Conclusion
So there you have it! I’ve shared just about every detail I could think of about my experience as a girls’ camp head cook. Hopefully it’s helpful and makes your future meal planning a bit easier! Feeding a crowd can certainly be tough, but once you learn a few tips and tricks, it really streamlines the process.
All in all this was a LOT of work and a LOT of fun. I learned so much, and wanted to pass on my knowledge to all of you! Happy cooking!
I like to hang out on Instagram and share more in-depth tutorials on everything I make, create, and organize. Come be a part of our Home & Kind Instagram community.
Grab the PDF of 30 of our favorite family games that use
things you already have around the house.
30 games you can play
with your family that take
5 minutes each

Free Download
+ Show / Hide Comments
Share to: