


When someone you care about is going through a tough time, welcoming a new baby, or simply needs a helping hand, bringing a meal can be one of the most thoughtful ways to show support. But choosing what to make can be tricky. You want something comforting, easy to transport, and universally loved—not to mention simple to prepare. That’s why this combination of Golden Chicken Soup, Simple Sourdough Crusty Bread, and Freezer-Friendly Chocolate Chip Cookies is my go-to.
This meal is warm, hearty, and nourishing—the perfect trio for lifting spirits and filling bellies. Plus, all three recipes can be made ahead of time, making it an excellent option for busy cooks looking to spread a little love. Let’s dive into what makes these recipes ideal and how to bring them together into a complete meal.
Golden Chicken Soup
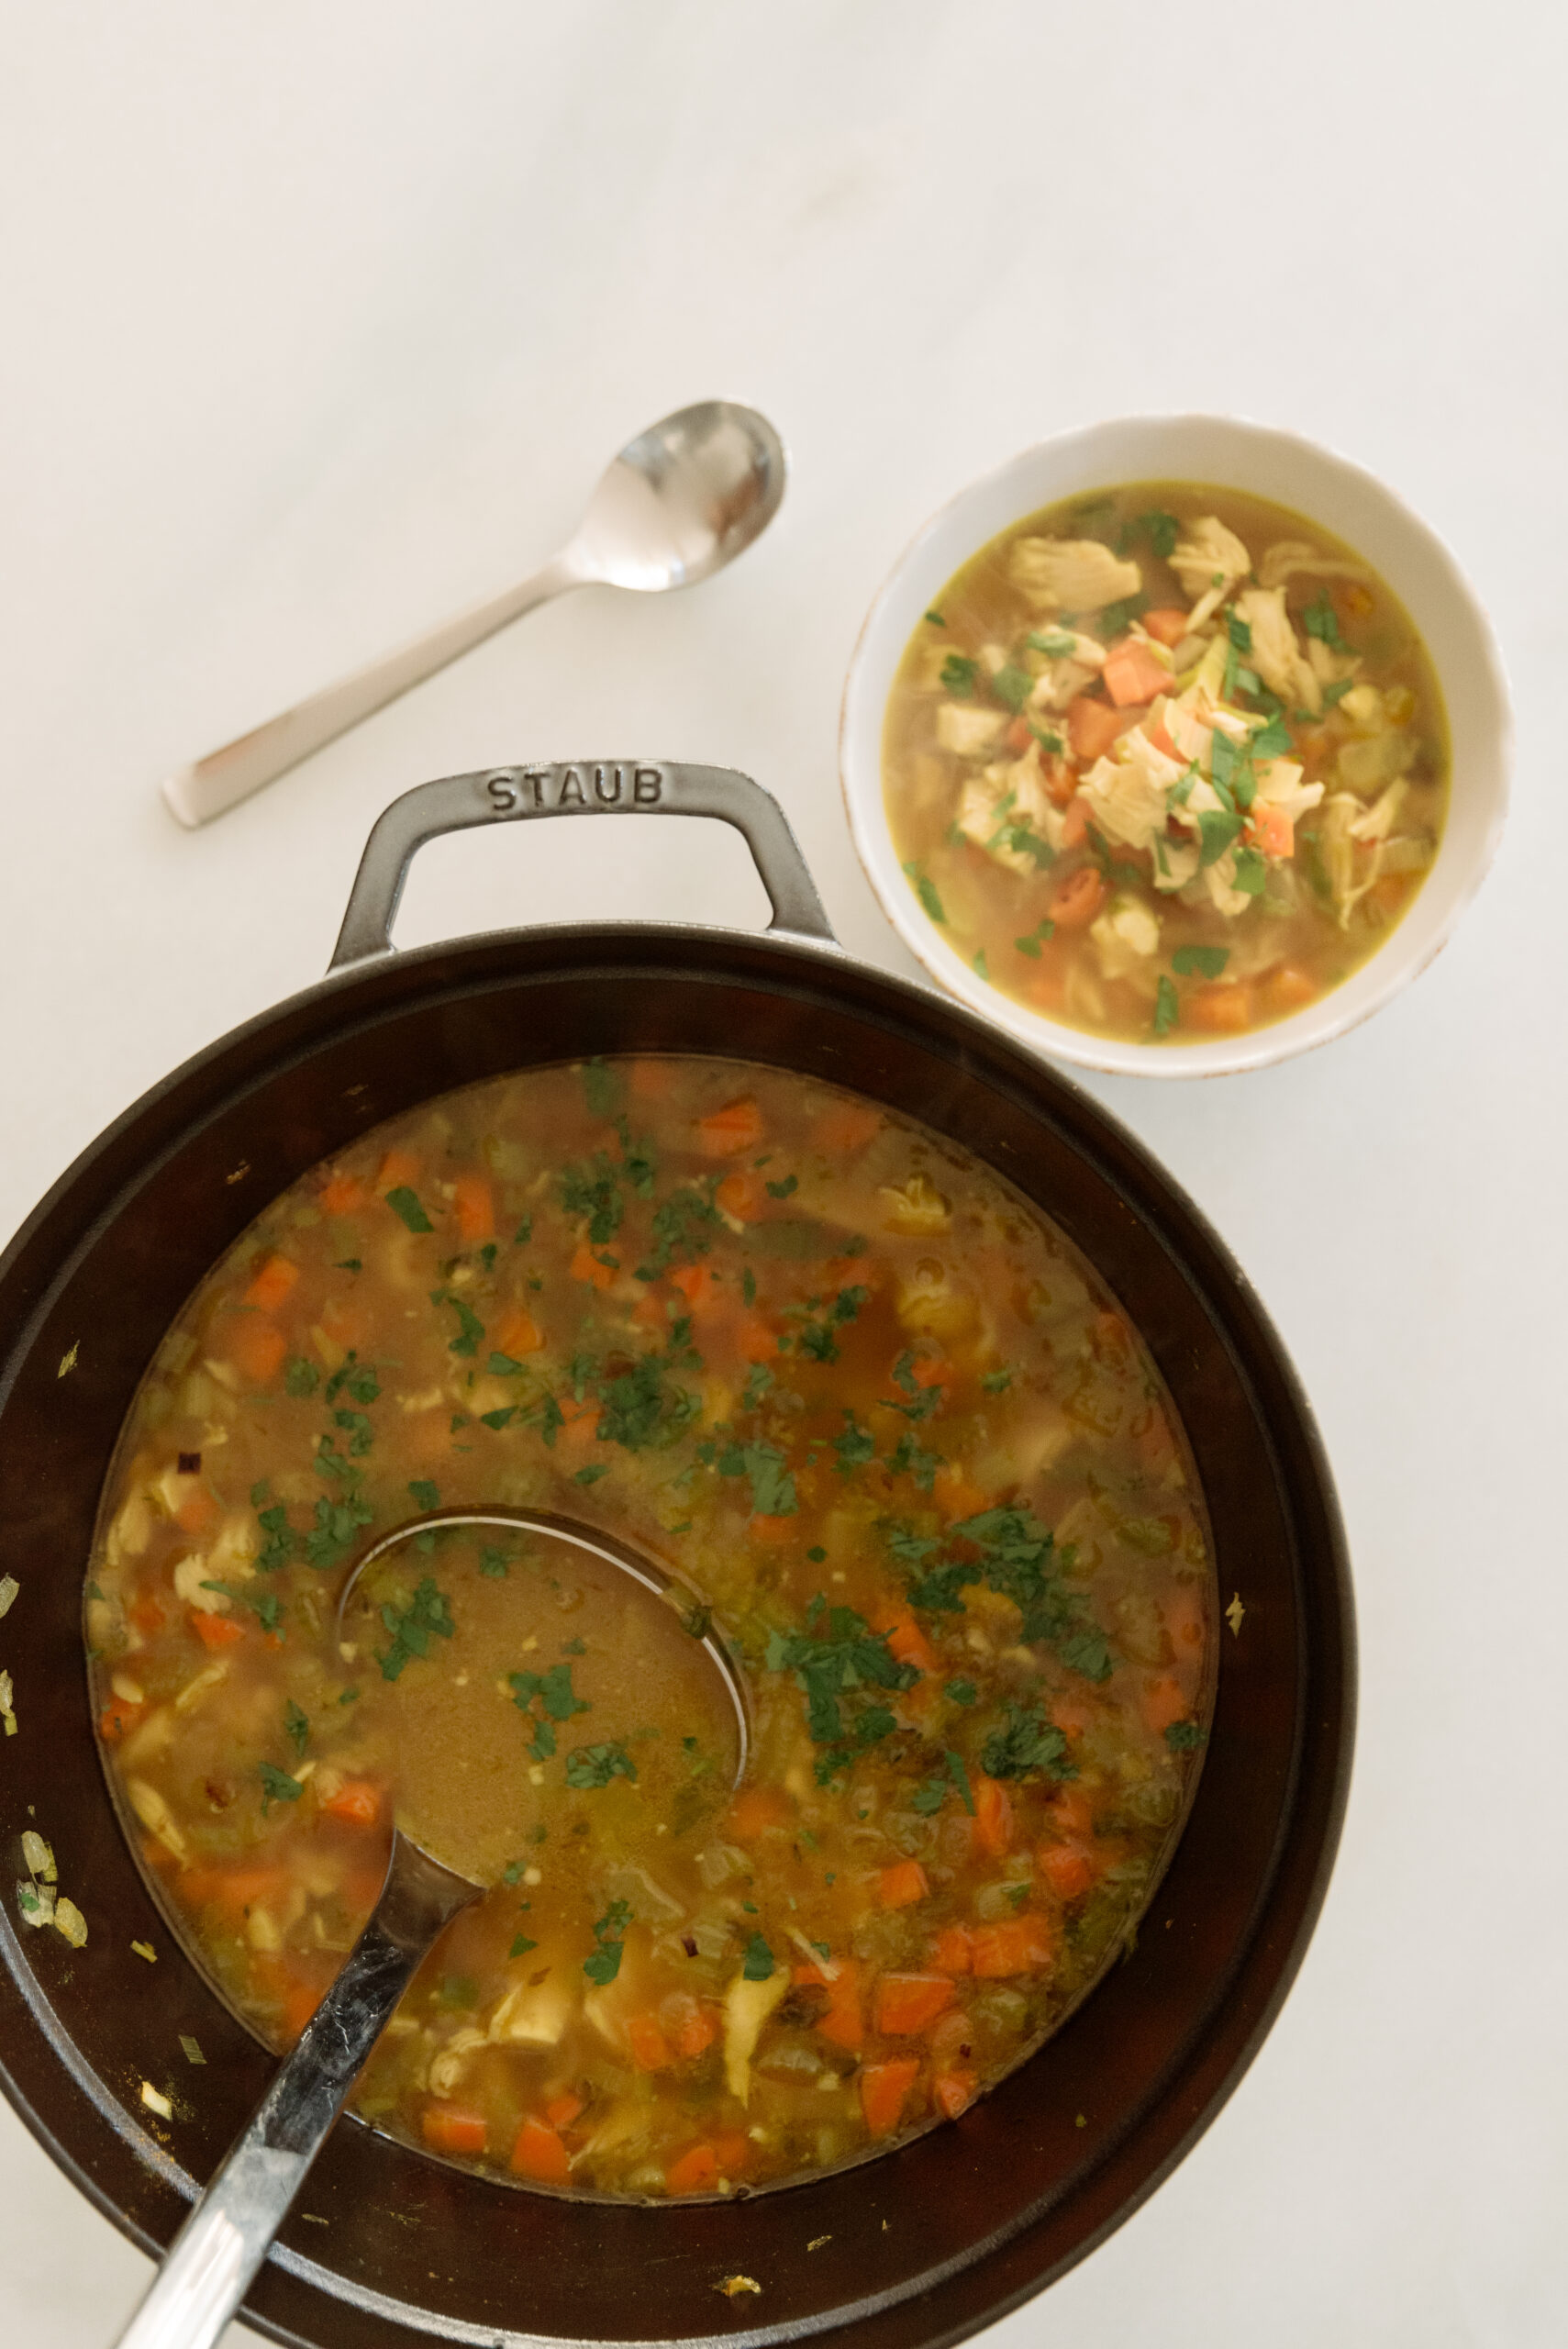
Nothing says comfort like a steaming bowl of homemade soup. This recipe for Golden Chicken Soup is rich, flavorful, and packed with immune-boosting ingredients. The golden hue comes from turmeric, which not only adds color but also provides anti-inflammatory benefits. It’s filled with tender chicken, hearty vegetables, and a hint of spice—perfect for warming up a family on a chilly day.
This soup is easy to double, travels well, and reheats beautifully, making it a foolproof option when delivering a meal. Pack it in a sturdy container with a note about how to reheat and whether it can be frozen for later. Adding fresh herbs, like parsley, on top before serving can make it feel even more special.
Simple Sourdough Crusty Bread
What pairs better with soup than fresh, crusty bread? This Simple Sourdough Crusty Bread is a no-knead recipe that’s as rewarding to make as it is to eat. The tangy flavor of sourdough and the crisp, golden crust make it irresistible. It’s the perfect vehicle for dunking into the Golden Chicken Soup or simply enjoying with a smear of butter.
To make it even easier for the receiving family, pre-slice the bread before delivering it. Wrap it in parchment paper and place it in a bread bag or tin for presentation. Pro tip: if the family doesn’t plan to eat it immediately, suggest popping it in the oven for a few minutes to revive that fresh-baked crispness.
Freezer-Friendly Chocolate Chip Cookies
No meal delivery is complete without a little something sweet. These Freezer-Friendly Chocolate Chip Cookies are a crowd-pleaser that satisfies any sweet tooth. The best part? You can prepare the dough ahead of time, freeze it in scooped portions, and bake the cookies fresh on delivery day. Alternatively, you can bring the frozen dough with baking instructions so the family can enjoy freshly baked cookies whenever they’re ready.
The soft, chewy texture and melty chocolate chips make these cookies a universally loved treat. Pack them in a reusable container or a giftable tin to make the gesture even more thoughtful.
How to Present the Meal
Presentation can make your meal feel extra special without much additional effort. Here are some tips:
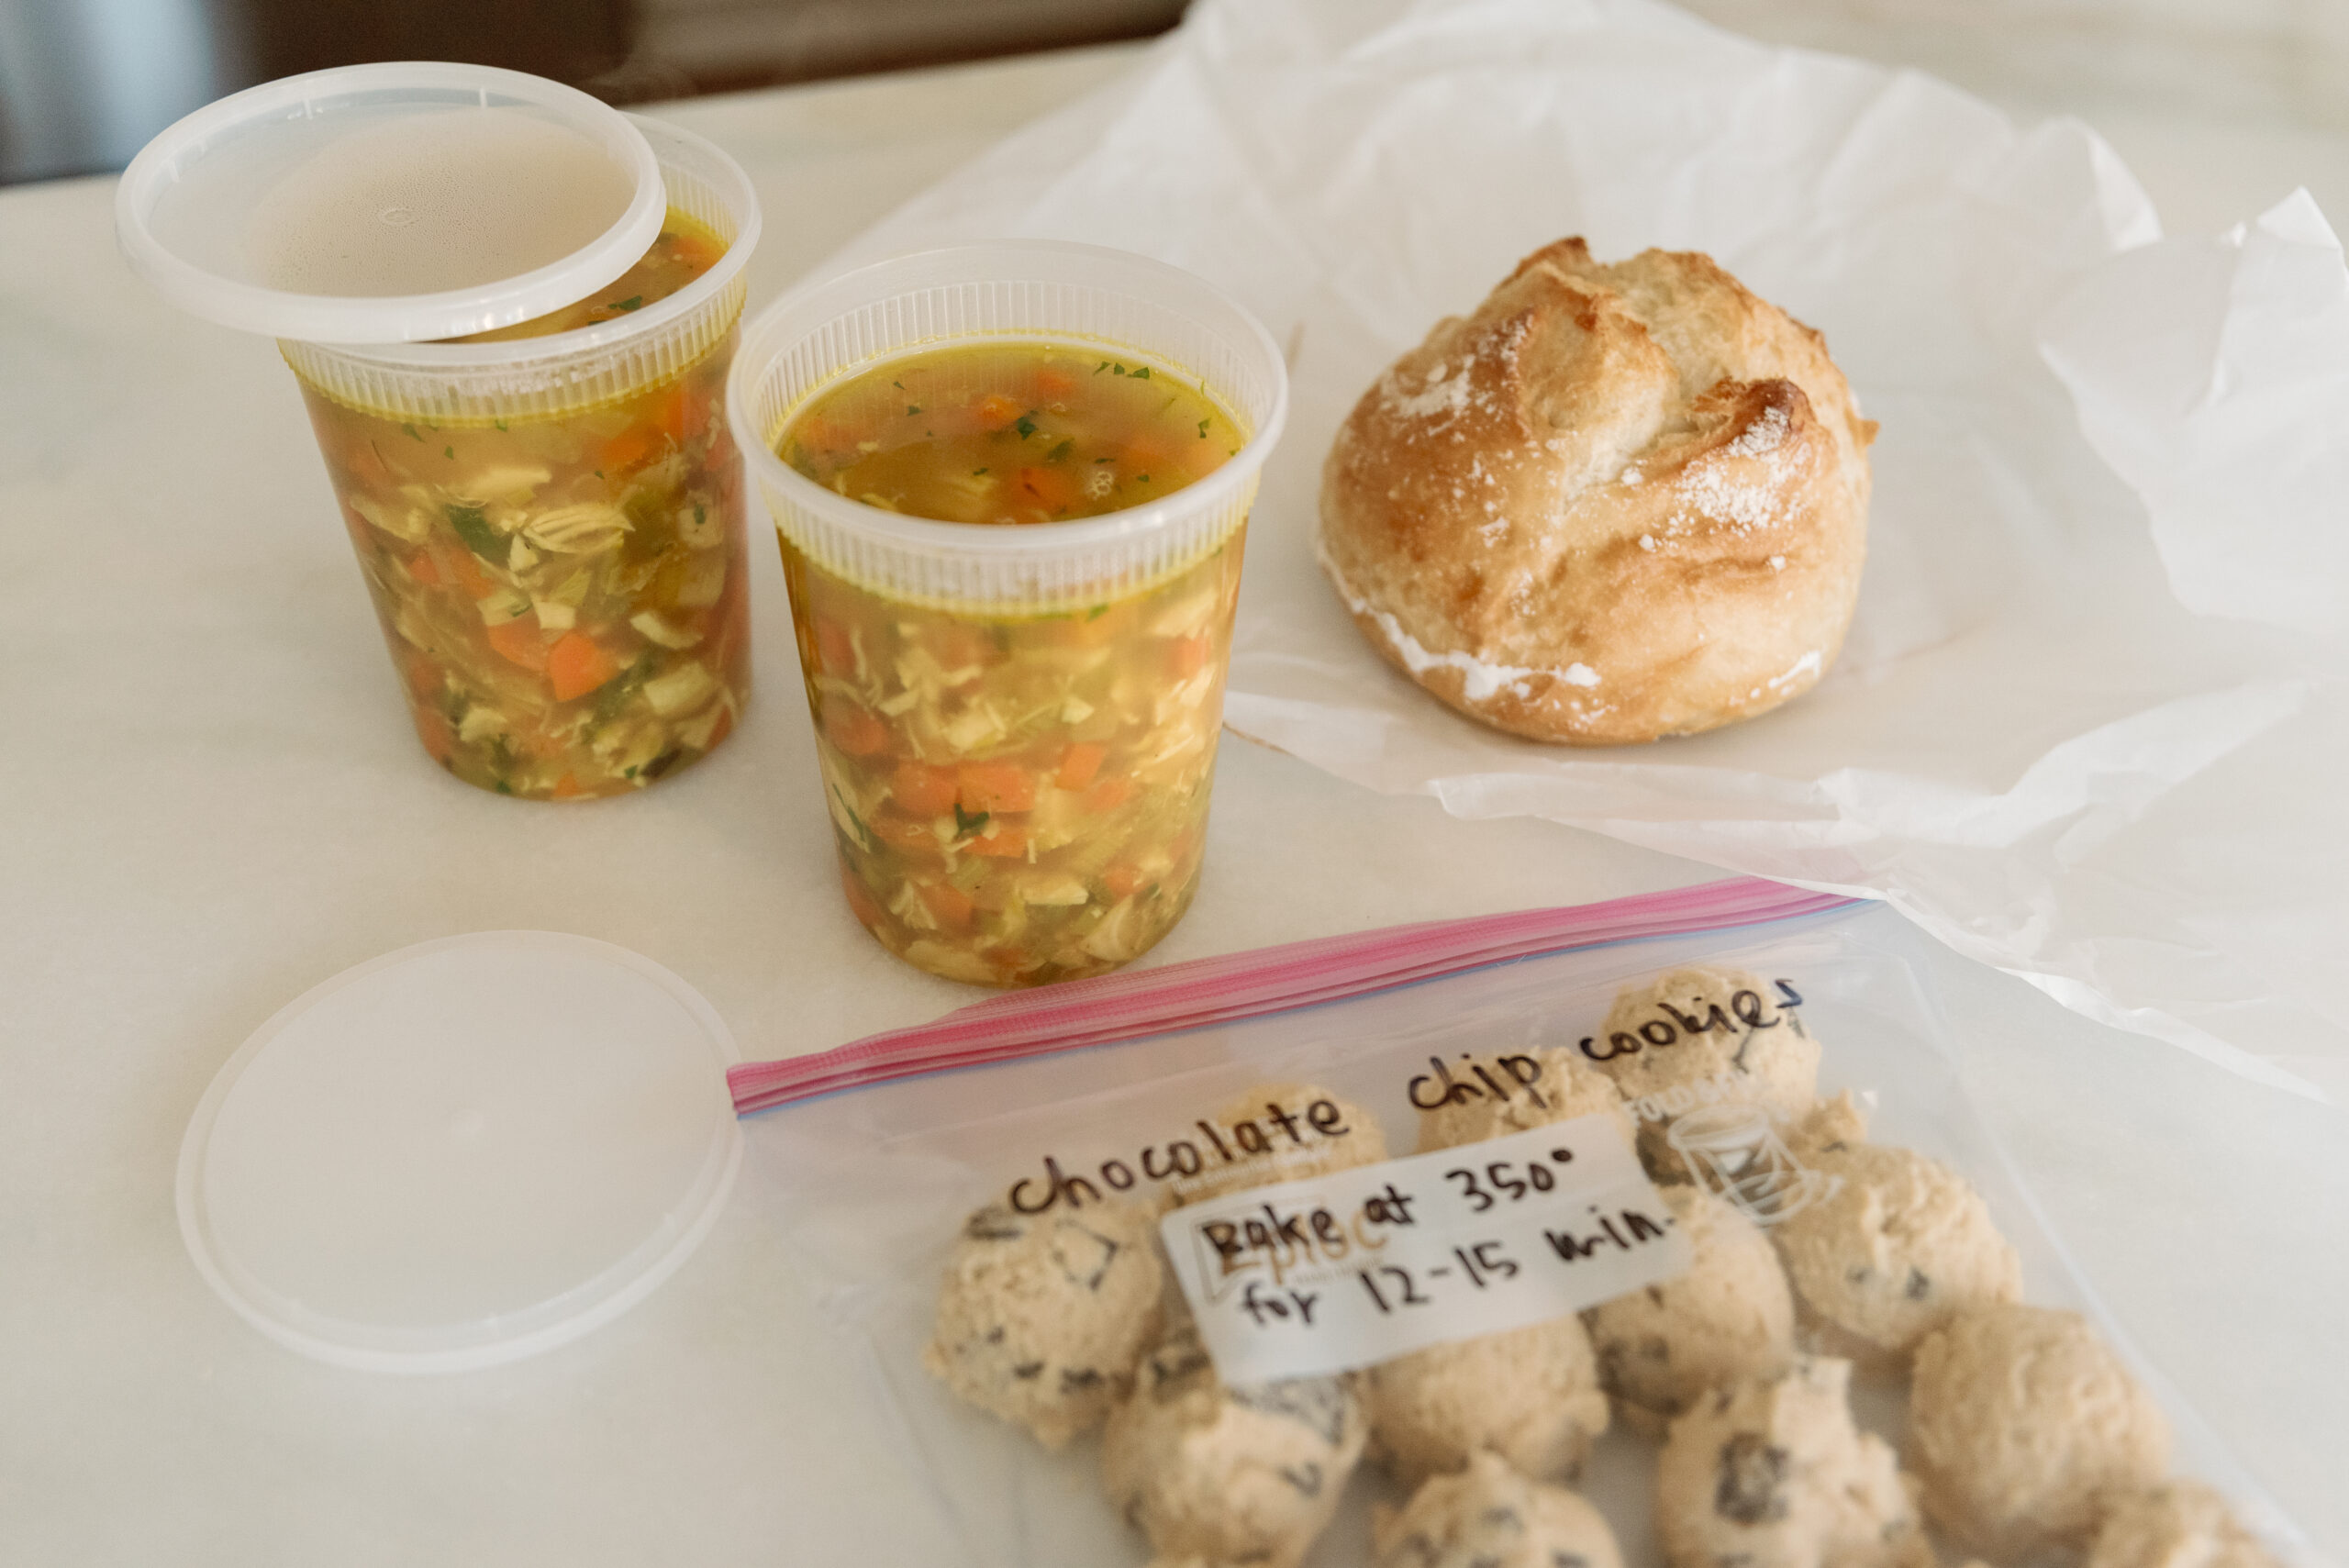
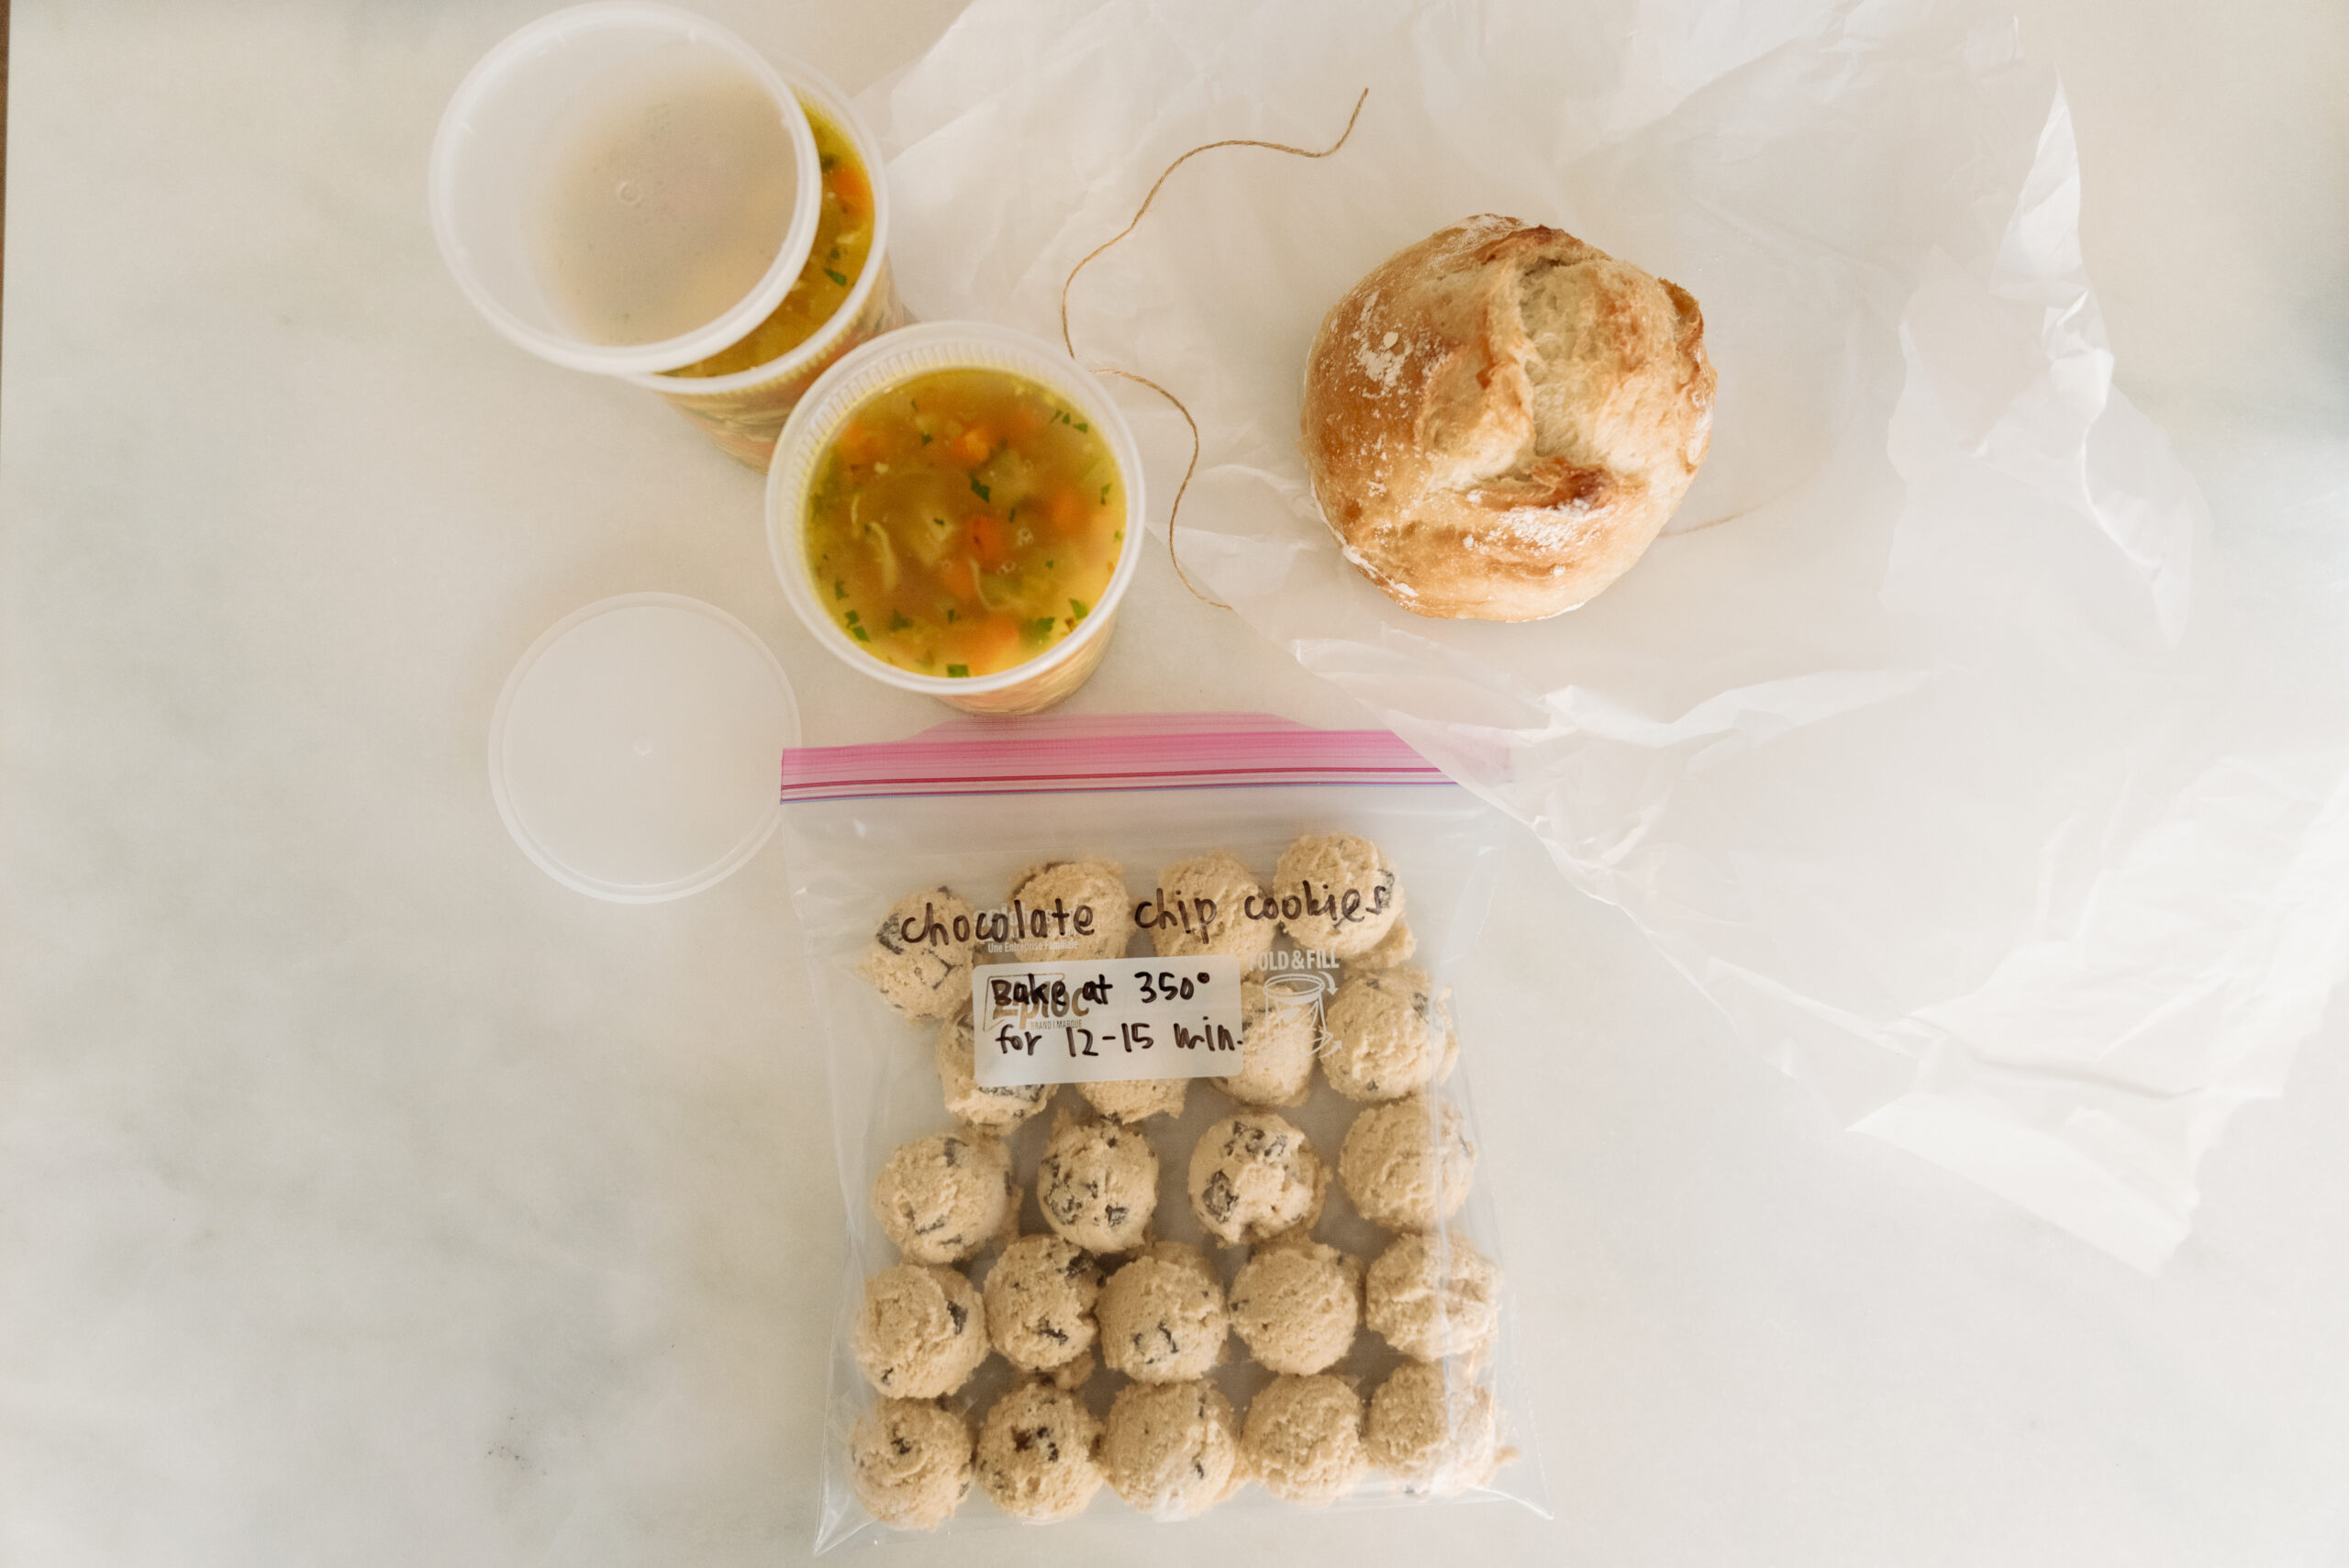
- Packaging: Use sturdy, reusable containers for the soup and cookies, and wrap the bread in parchment or a cloth bread bag. Consider adding a handwritten note with reheating instructions or a simple message like, “Thinking of you.”
- Extras: Include a small bundle of fresh herbs, like parsley or thyme, for garnishing the soup. You might also add a small jar of softened butter or infused olive oil to pair with the bread.
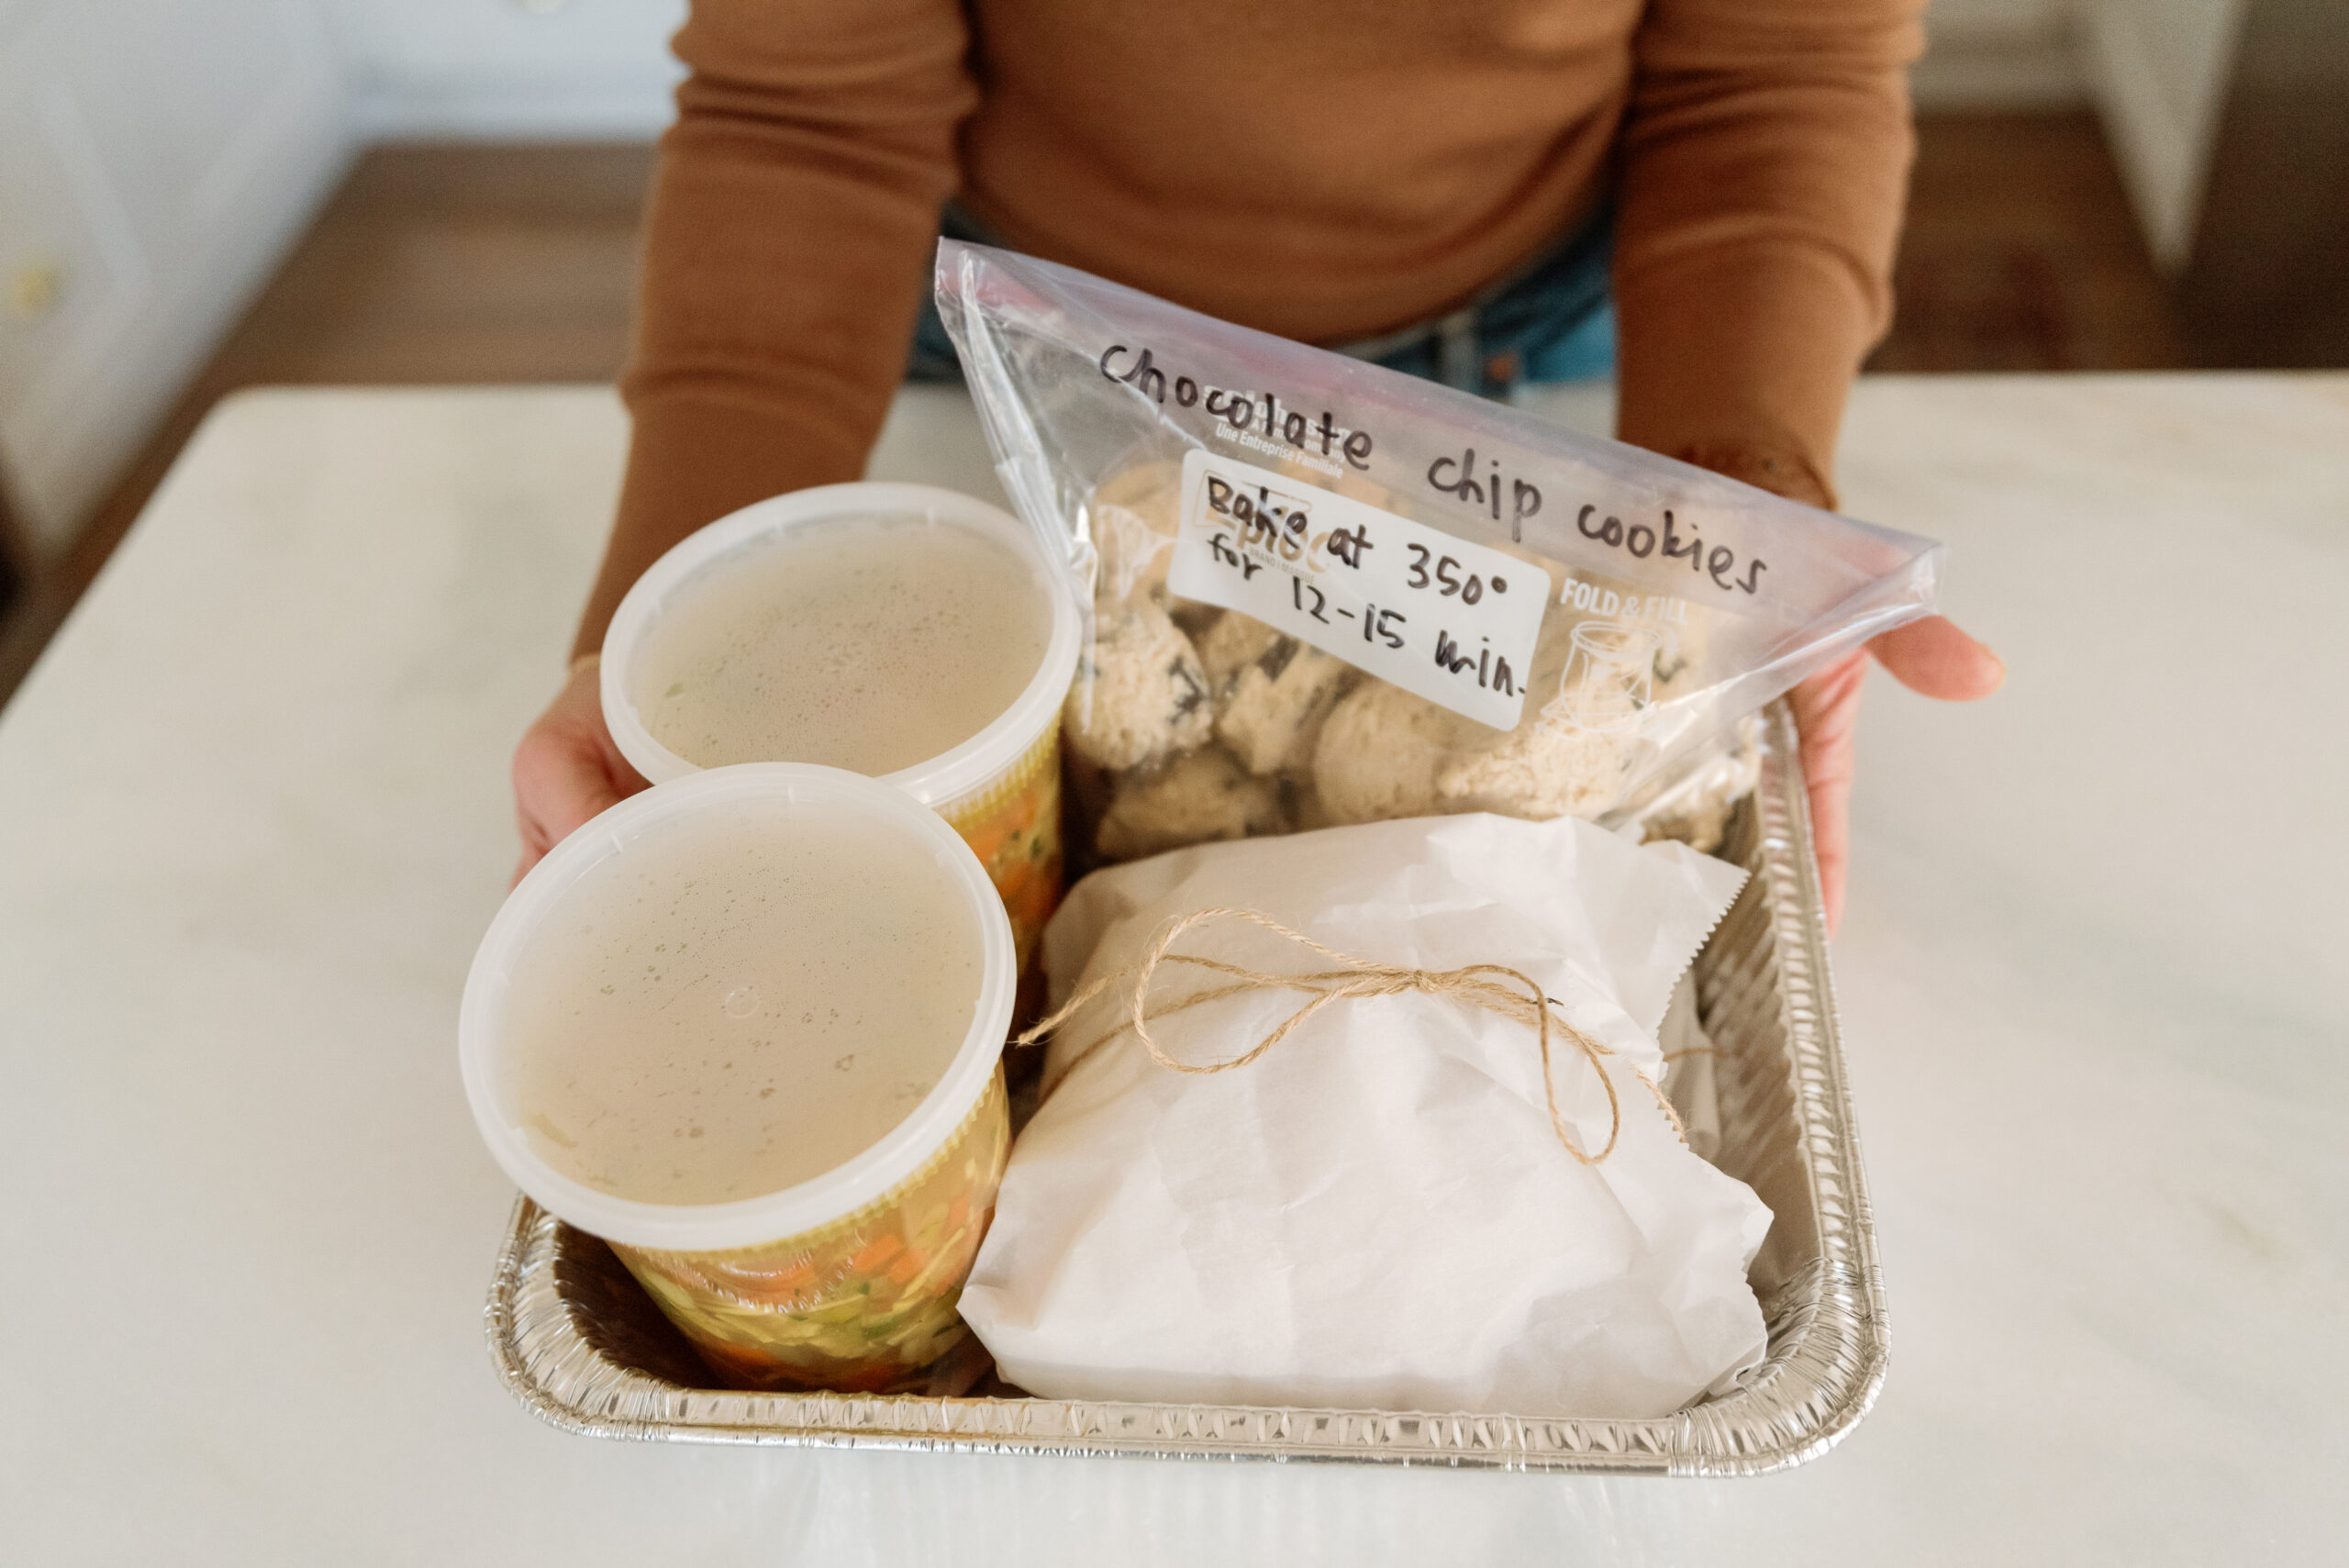
- Delivery: Bring everything in a basket or reusable bag to make transporting the meal easier. If you’re dropping it off, let the family know what’s inside and how best to store or reheat the items.
Why This Meal Works
This trio of recipes hits all the right notes:
- Comforting: Each dish feels like a warm hug—nourishing and satisfying.
- Flexible: Everything can be made ahead, stored, and reheated without losing quality.
- Simple: The recipes are easy to follow, even for beginner cooks.
- Thoughtful: Homemade food speaks volumes, and this combination offers a balanced meal with a sweet treat to round it out.
Whether you’re helping a friend recover from illness, celebrating a new arrival, or simply lending a hand during a busy season, this meal is a gift that’s sure to be appreciated. There’s something so special about the love and care that goes into preparing and sharing homemade food. It’s more than a meal—it’s a reminder that someone cares.
Recipes:
Golden Chicken Soup

- 2 Tbsp olive oil
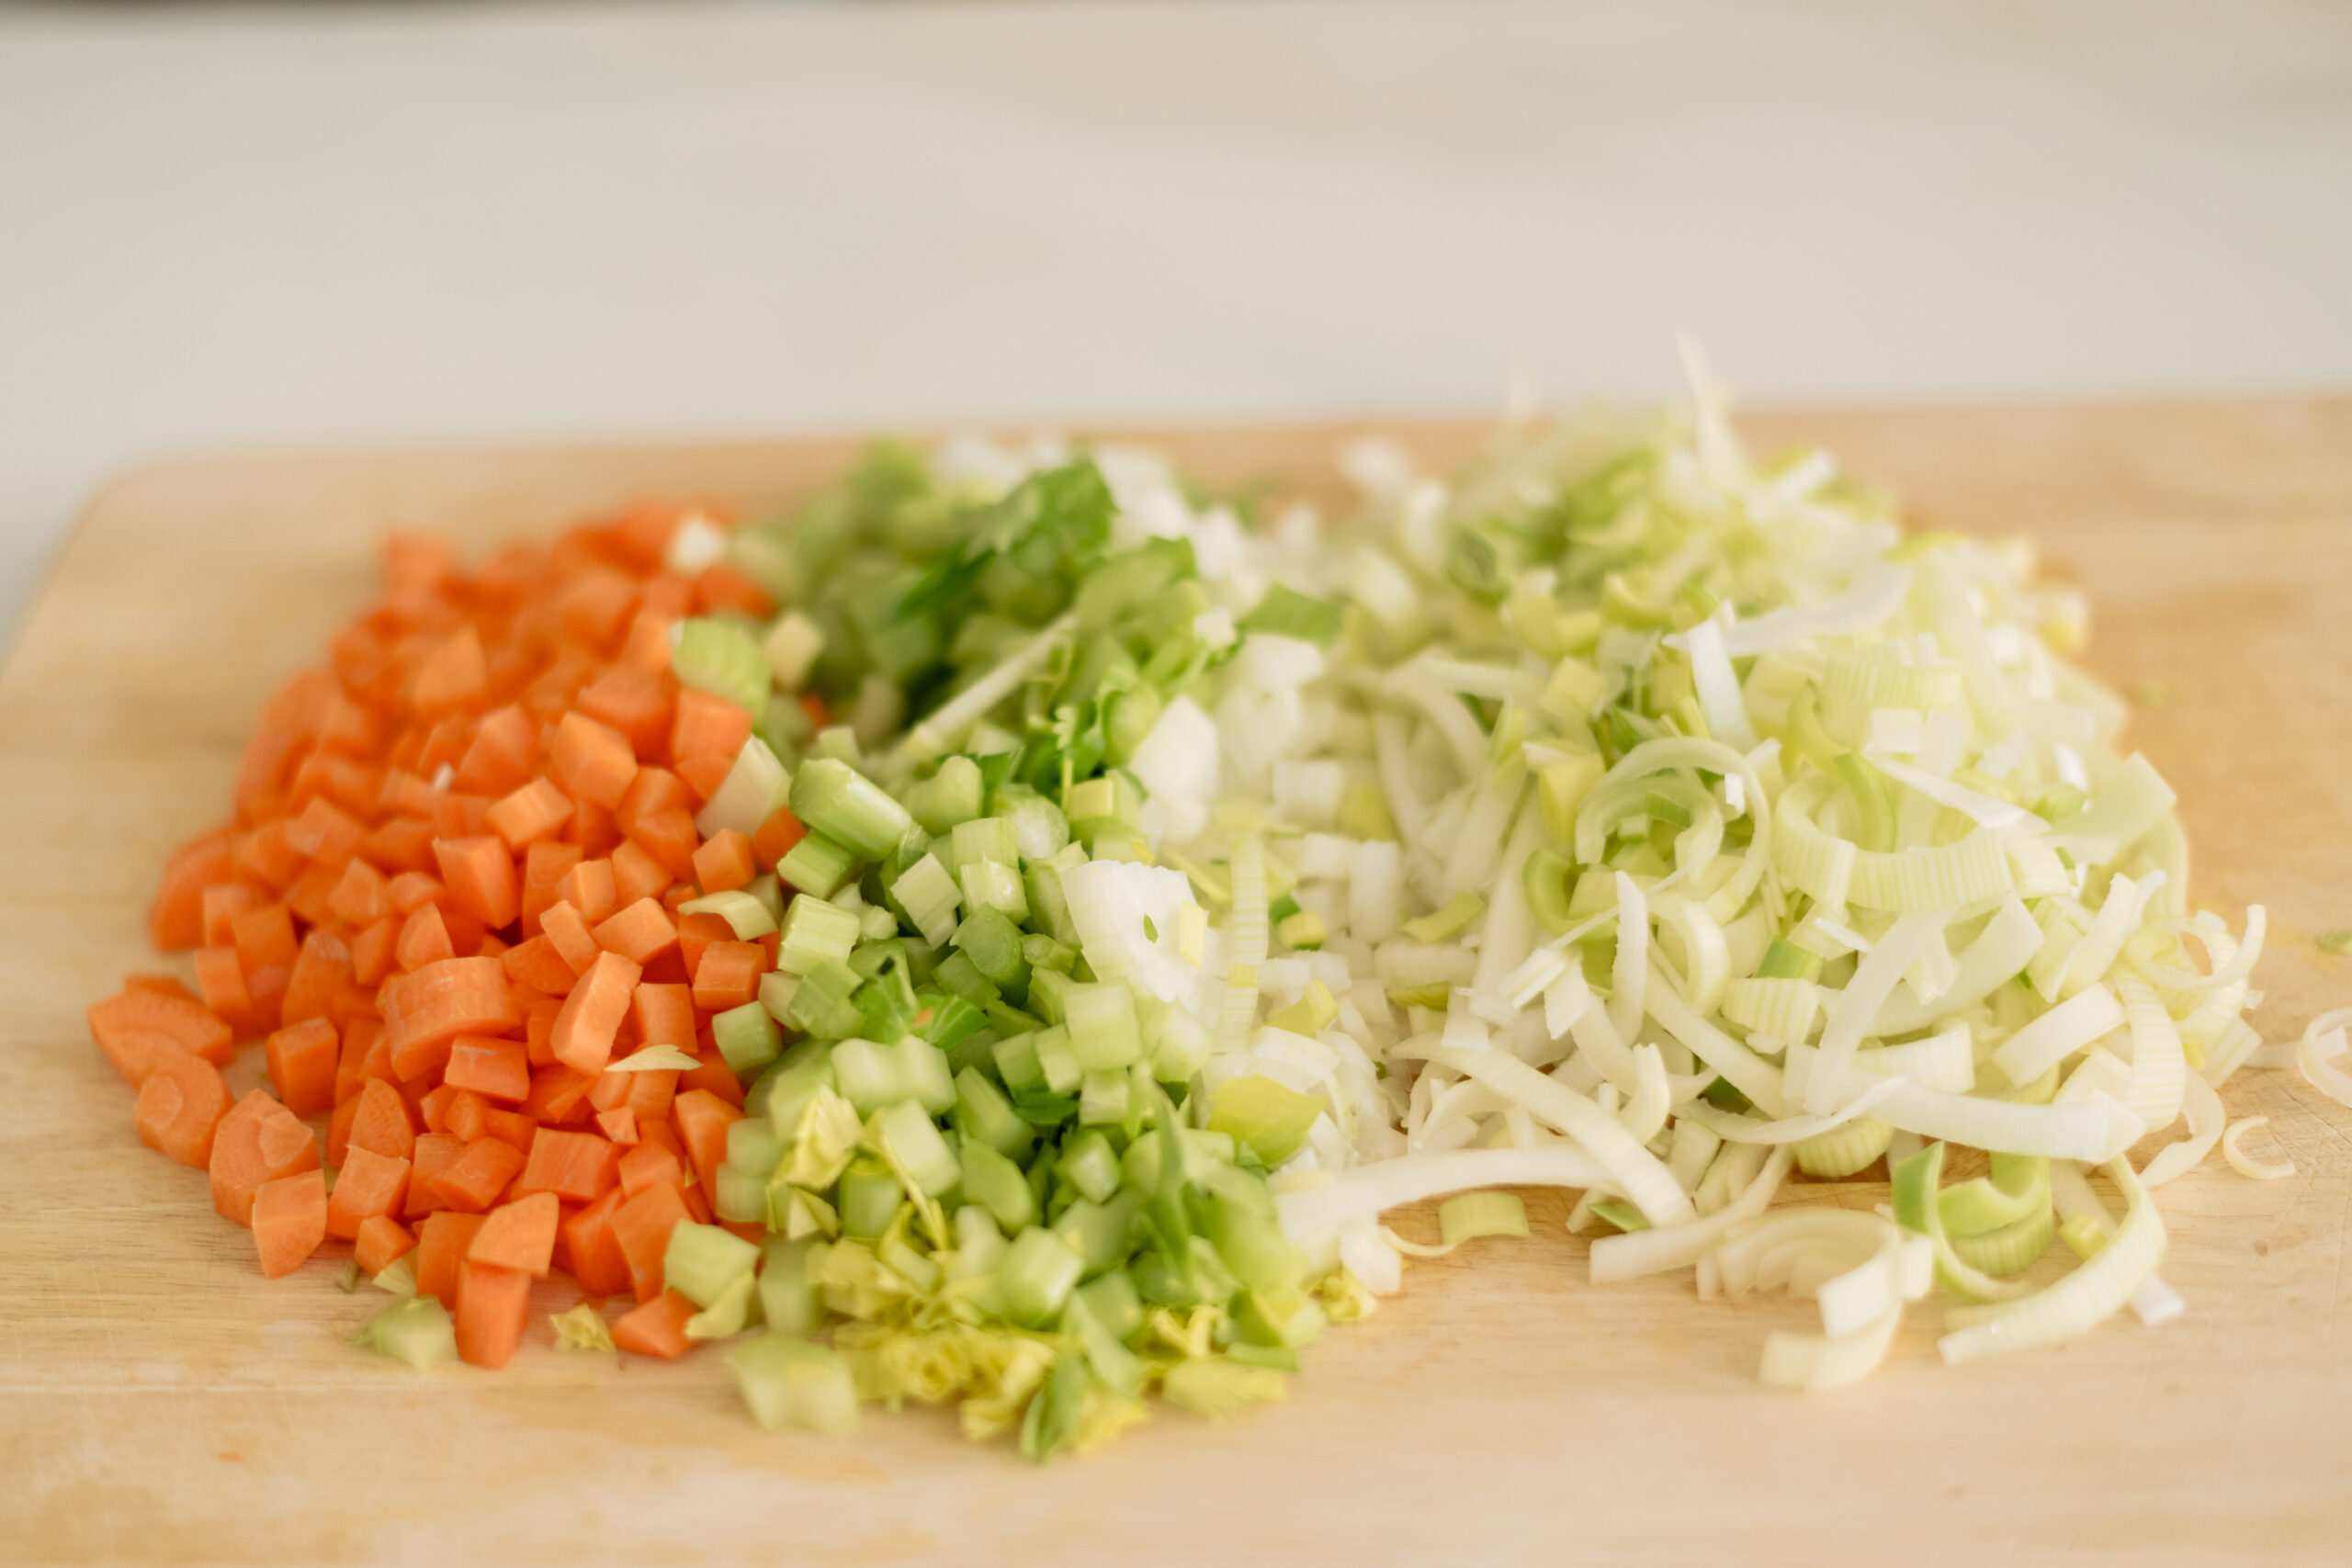
- 6 medium carrots (peeled and sliced)
- 3 ribs celery (sliced)
- 1 medium onion (diced)
- 1 leek (halved lengthwise, sliced, and rinsed)
- 4 garlic cloves (minced (or frozen garlic cubes))
- 1 tsp salt
- 1/2 tsp pepper
- 1 tsp ground turmeric
- 8 cups chicken broth
- 2 sprigs fresh thyme
- 2 bay leaves
- 2 cups shredded rotisserie chicken (packed)
- 1 Tbsp Better than Bouillon Chicken Paste
- fresh parsley (for garnish)
-
Heat a large pot over medium-high heat.
-
Add the olive oil, carrots, celery, onion, and leek. Saute until starting to soften, about 6-8 minutes.
-
Add the garlic, salt, pepper, and turmeric. Saute for another minute.
-
Add the chicken broth, thyme, and bay leaves. Bring to a gentle boil.
-
Add the chicken and bouillon paste and stir until heated through.
-
Remove the sprigs of thyme and bay leaves.
-
Top with fresh parsley, if desired.
Simple Sourdough Crusty Bread
- 3/4 cup (180 grams) active sourdough starter (<strong>see prep instructions below</strong>)
- 1 1/4 cups (300 grams) water
- 3 1/4 cups (375-400 grams) unbleached all-purpose flour
- 1 Tbsp (15 grams) honey
- 2 tsp (12 grams) kosher salt
-
PREP THE NIGHT BEFORE: Mix 60 grams sourdough discard, 60 grams water, and 60 grams all-purpose flour in a jar or bowl. Cover loosely and let sit overnight at room temperature until bubbly and active (8–12 hours).
-
In a large bowl, combine your active sourdough starter, water, 2 cups (250 grams) of flour, and honey. Stir until a shaggy dough forms. Let it rest for 20 minutes—this step, called autolyse, helps hydrate the flour and improves dough elasticity.
-
Sprinkle the salt evenly over the dough. Gradually add the remaining 125–150g of flour, mixing until the dough comes together into a soft, slightly sticky ball that pulls away from the sides of the bowl.
-
Cover with a kitchen towel or lid and let rest for about 30 minutes.
-
Start the first stretch-and-fold. With wet fingertips, gently pull one side of the dough up and fold it into the center. Rotate the bowl ¼ turn and repeat this motion all around the dough. Cover again and set a timer for 15 minutes. Repeat this stretch-and-fold process every 15 minutes for the first hour.
-
After the first hour, continue stretching and folding the dough once every hour for the next 3–5 hours. Each fold builds structure, so don’t skip this step! The dough is ready when it feels airy and holds its shape.
-
Once the dough has completed its bulk fermentation, scrape it out onto a clean surface. Shape it into a tight ball, creating surface tension as you gently tuck and rotate the dough under itself. Let it rest for 5–10 minutes.
-
Line your large bowl with a piece of parchment paper, then place the dough seam-side-down on top of the parchment paper. Cover lightly with plastic wrap or a towel and let it rise until puffy and slightly jiggly when shaken—about 2–4 hours.
-
Preheat your oven to 450°F with a Dutch oven inside. Once the dough has finished rising, lift the parchment and dough out of the bowl. Sprinkle a little flour on top and smooth with your hand. Use a sharp knife or lame to score the top with ¼-inch deep slashes.
-
Transfer the dough (on the parchment paper) into the preheated Dutch oven. Cover with the lid, reduce the oven temperature to 430°F, and bake for 20 minutes.
-
Remove the lid and bake for an additional 15–20 minutes, or until the loaf is golden brown and sounds hollow when tapped on the bottom.
-
Cool the bread completely on a wire rack before slicing—this is key for the crumb structure to set properly. Enjoy with butter, jam, or your favorite soup!
Store leftover bread in an airtight container or bag at room temperature for up to 3 days.
I always double this recipe to make 2 loaves of bread. It’s really not any harder or more time consuming, so you might as well! Extra bread freezes really well in an airtight bag.
Freezer-Friendly Chocolate Chip Cookies

- 1 cup (2 sticks) salted butter
- 1 cup (200 grams) granulated sugar
- 1 cup (220 grams) light brown sugar (packed)
- 2 large eggs
- 2 tsp (10 ml) pure vanilla extract
- 3 cups (360 grams) all-purpose flour
- 1 tsp (5 grams) baking soda
- 1/2 tsp (3 grams) salt
- 2 cups (340 grams) chocolate chips
- flaked sea salt (for topping)
-
Soften each stick of butter by microwaving for about 15 seconds separately.
-
In the bowl of a stand mixer, cream together the softened butter, granulated sugar, and brown sugar until light and fluffy.
-
Add the eggs one at a time, beating well after each addition. Stir in the vanilla extract.
-
In a separate bowl, whisk together the flour, baking soda, and salt. Gradually add the dry ingredients to the wet mixture, mixing just until combined.
-
Gently mix in the chocolate chips, just until barely combined.
-
Use a cookie scoop to portion the dough into balls (about 2 tablespoons each) and place them on a parchment-lined baking sheet.
-
Arrange the dough balls close together but not touching on the baking sheet. Freeze until firm, about 1-2 hours.
-
Transfer the frozen dough balls to a resealable freezer bag or airtight container. Label the bag with the baking instructions.
-
To bake: preheat your oven to 350°F. Place the frozen cookie dough balls on a parchment-lined baking sheet, spacing them about 2 inches apart.
-
Bake for 12-15 minutes, or until the edges are golden and the centers look slightly underbaked (they’ll set as they cool).
-
Sprinkle with flaked sea salt, if desired.
-
Let the cookies cool on the baking sheet for 5 minutes before transferring them to a wire rack to cool completely.
Tip: You can make these cookies gluten-free by substituting a 1:1 gluten free flour for the all-purpose flour. Just make sure to use the weight on the back of the gluten free flour bag instead of the all-purpose flour weight.
What’s your go-to meal to take to another family? Let me know in the comments!


