


")
If you have teenagers, you can probably relate to the struggle we’ve had of helping my daughter keep her room clean and organized. We did a makeover on her room several years ago, but it’s still proved difficult to keep her closet tidy. We don’t have a great system, and there is a lot of wasted space.
My daughter needs all the encouragement she can get when it comes to cleaning and organizing her room, so I knew we needed to come up with a better solution for her closet!
In the end, we decided to install a custom IKEA PAX wardrobe closet. IKEA has a great software program on their website that makes it easy to customize your closet—down to the specific measurements, doors, shelves, and everything else.
Our Custom IKEA PAX Wardrobe
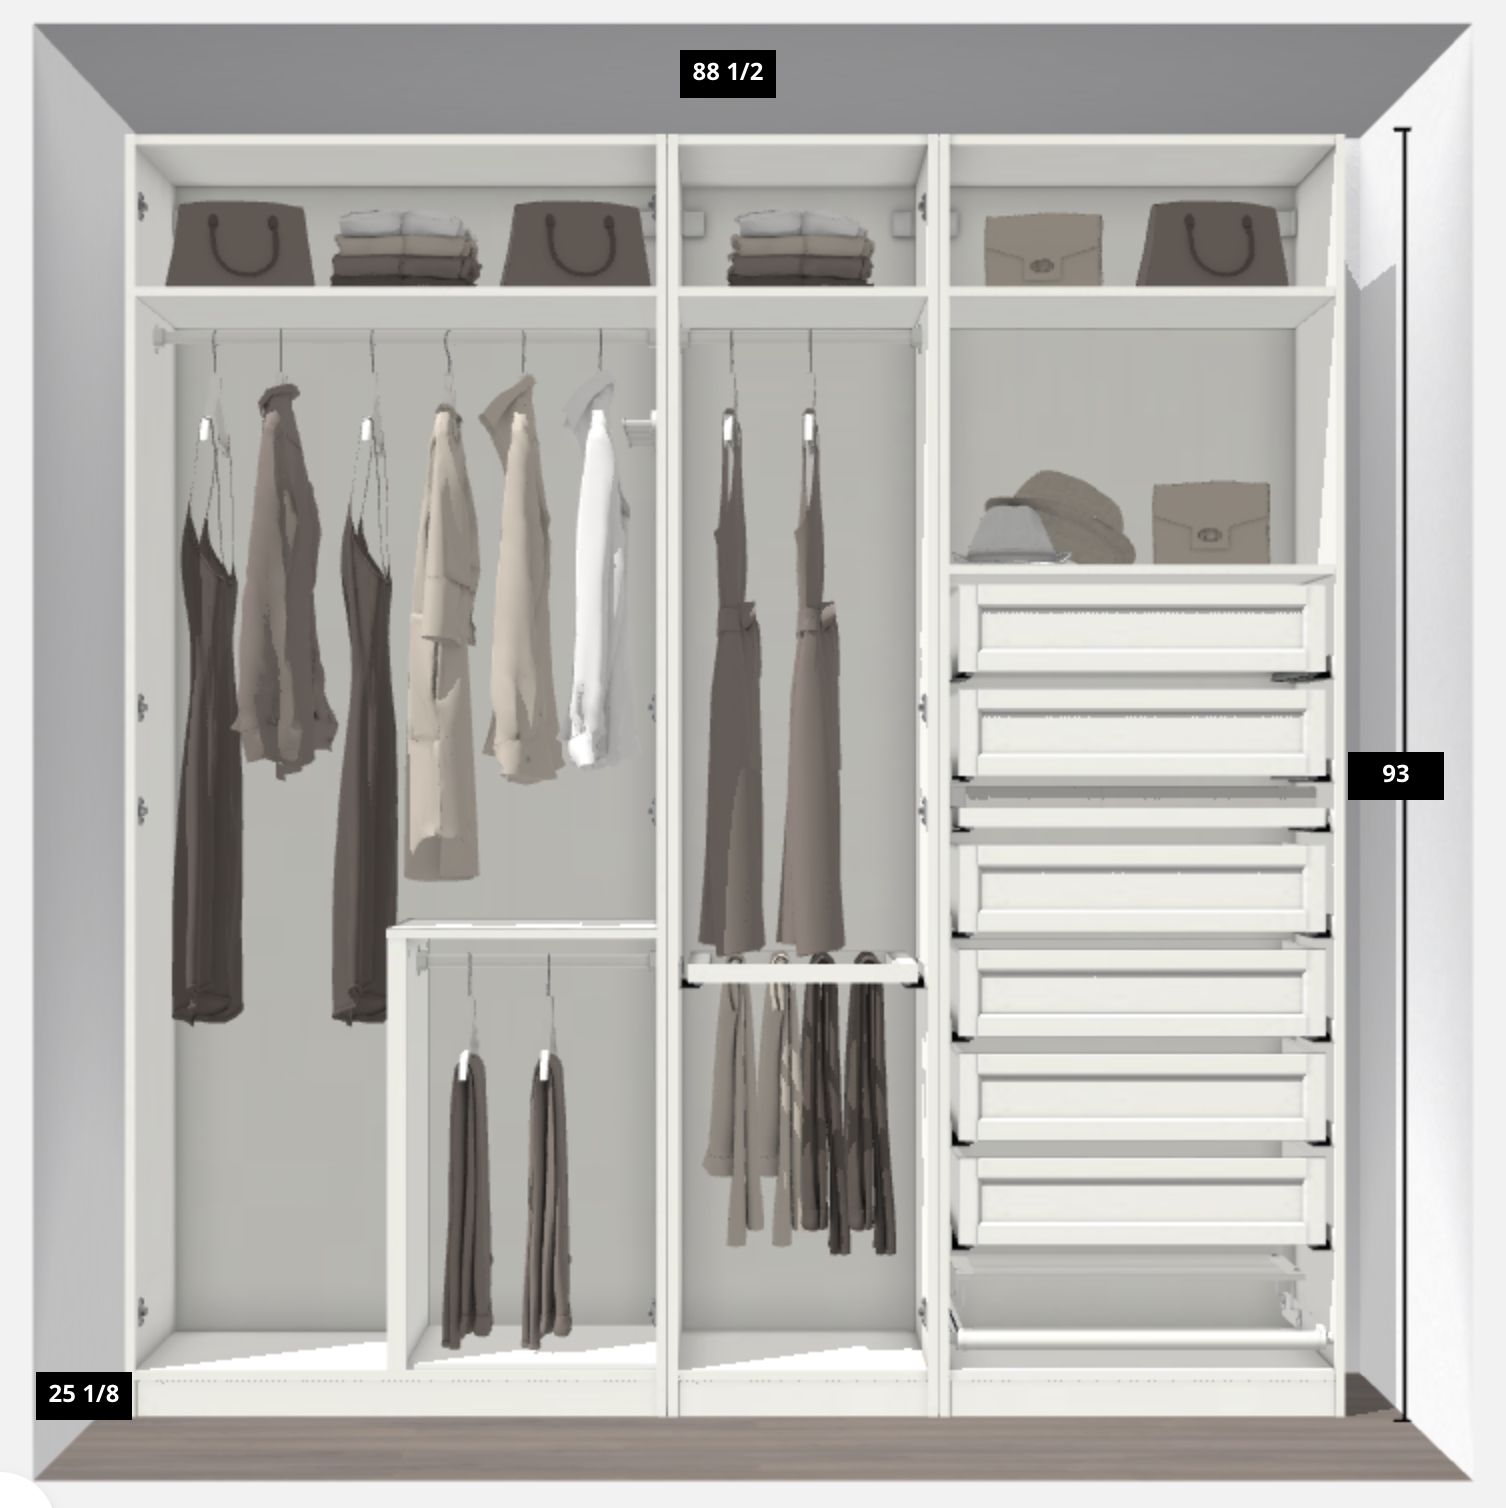
I spent a lot of time playing around with closet options on the IKEA website. In the end, I went with a three-unit system:
- Unit 1: The biggest unit, with two doors and a rod
- Unit 2: A smaller closet with one door
- Unit 3: An open unit (no door) with a bunch of drawers on the bottom and open space on the top (to give the look of a built-in dresser)
Once I finished the plans online, we ordered the closet and were off to the races!
*One thing to keep in mind is that Ikea has a lot of supply chain issues right now. I ended up placing 3 different orders to get everything we needed and I opted for a flat front door instead of the shaker style, because that’s what was available at the time.
We decided to remove the doors from her existing closet, expand the space, and install the PAX closet ourselves.
Here are all the steps we took to install my daughter’s new IKEA PAX closet!
1. Tidy Up
Before we could start any of the closet installation, I knew we needed to tidy up the existing space. It was a big mess! My daughter and I worked together to organize the clothes as best we could. It wasn’t perfect—but that’s why we were taking on this project in the first place!
2. Build the IKEA Closets
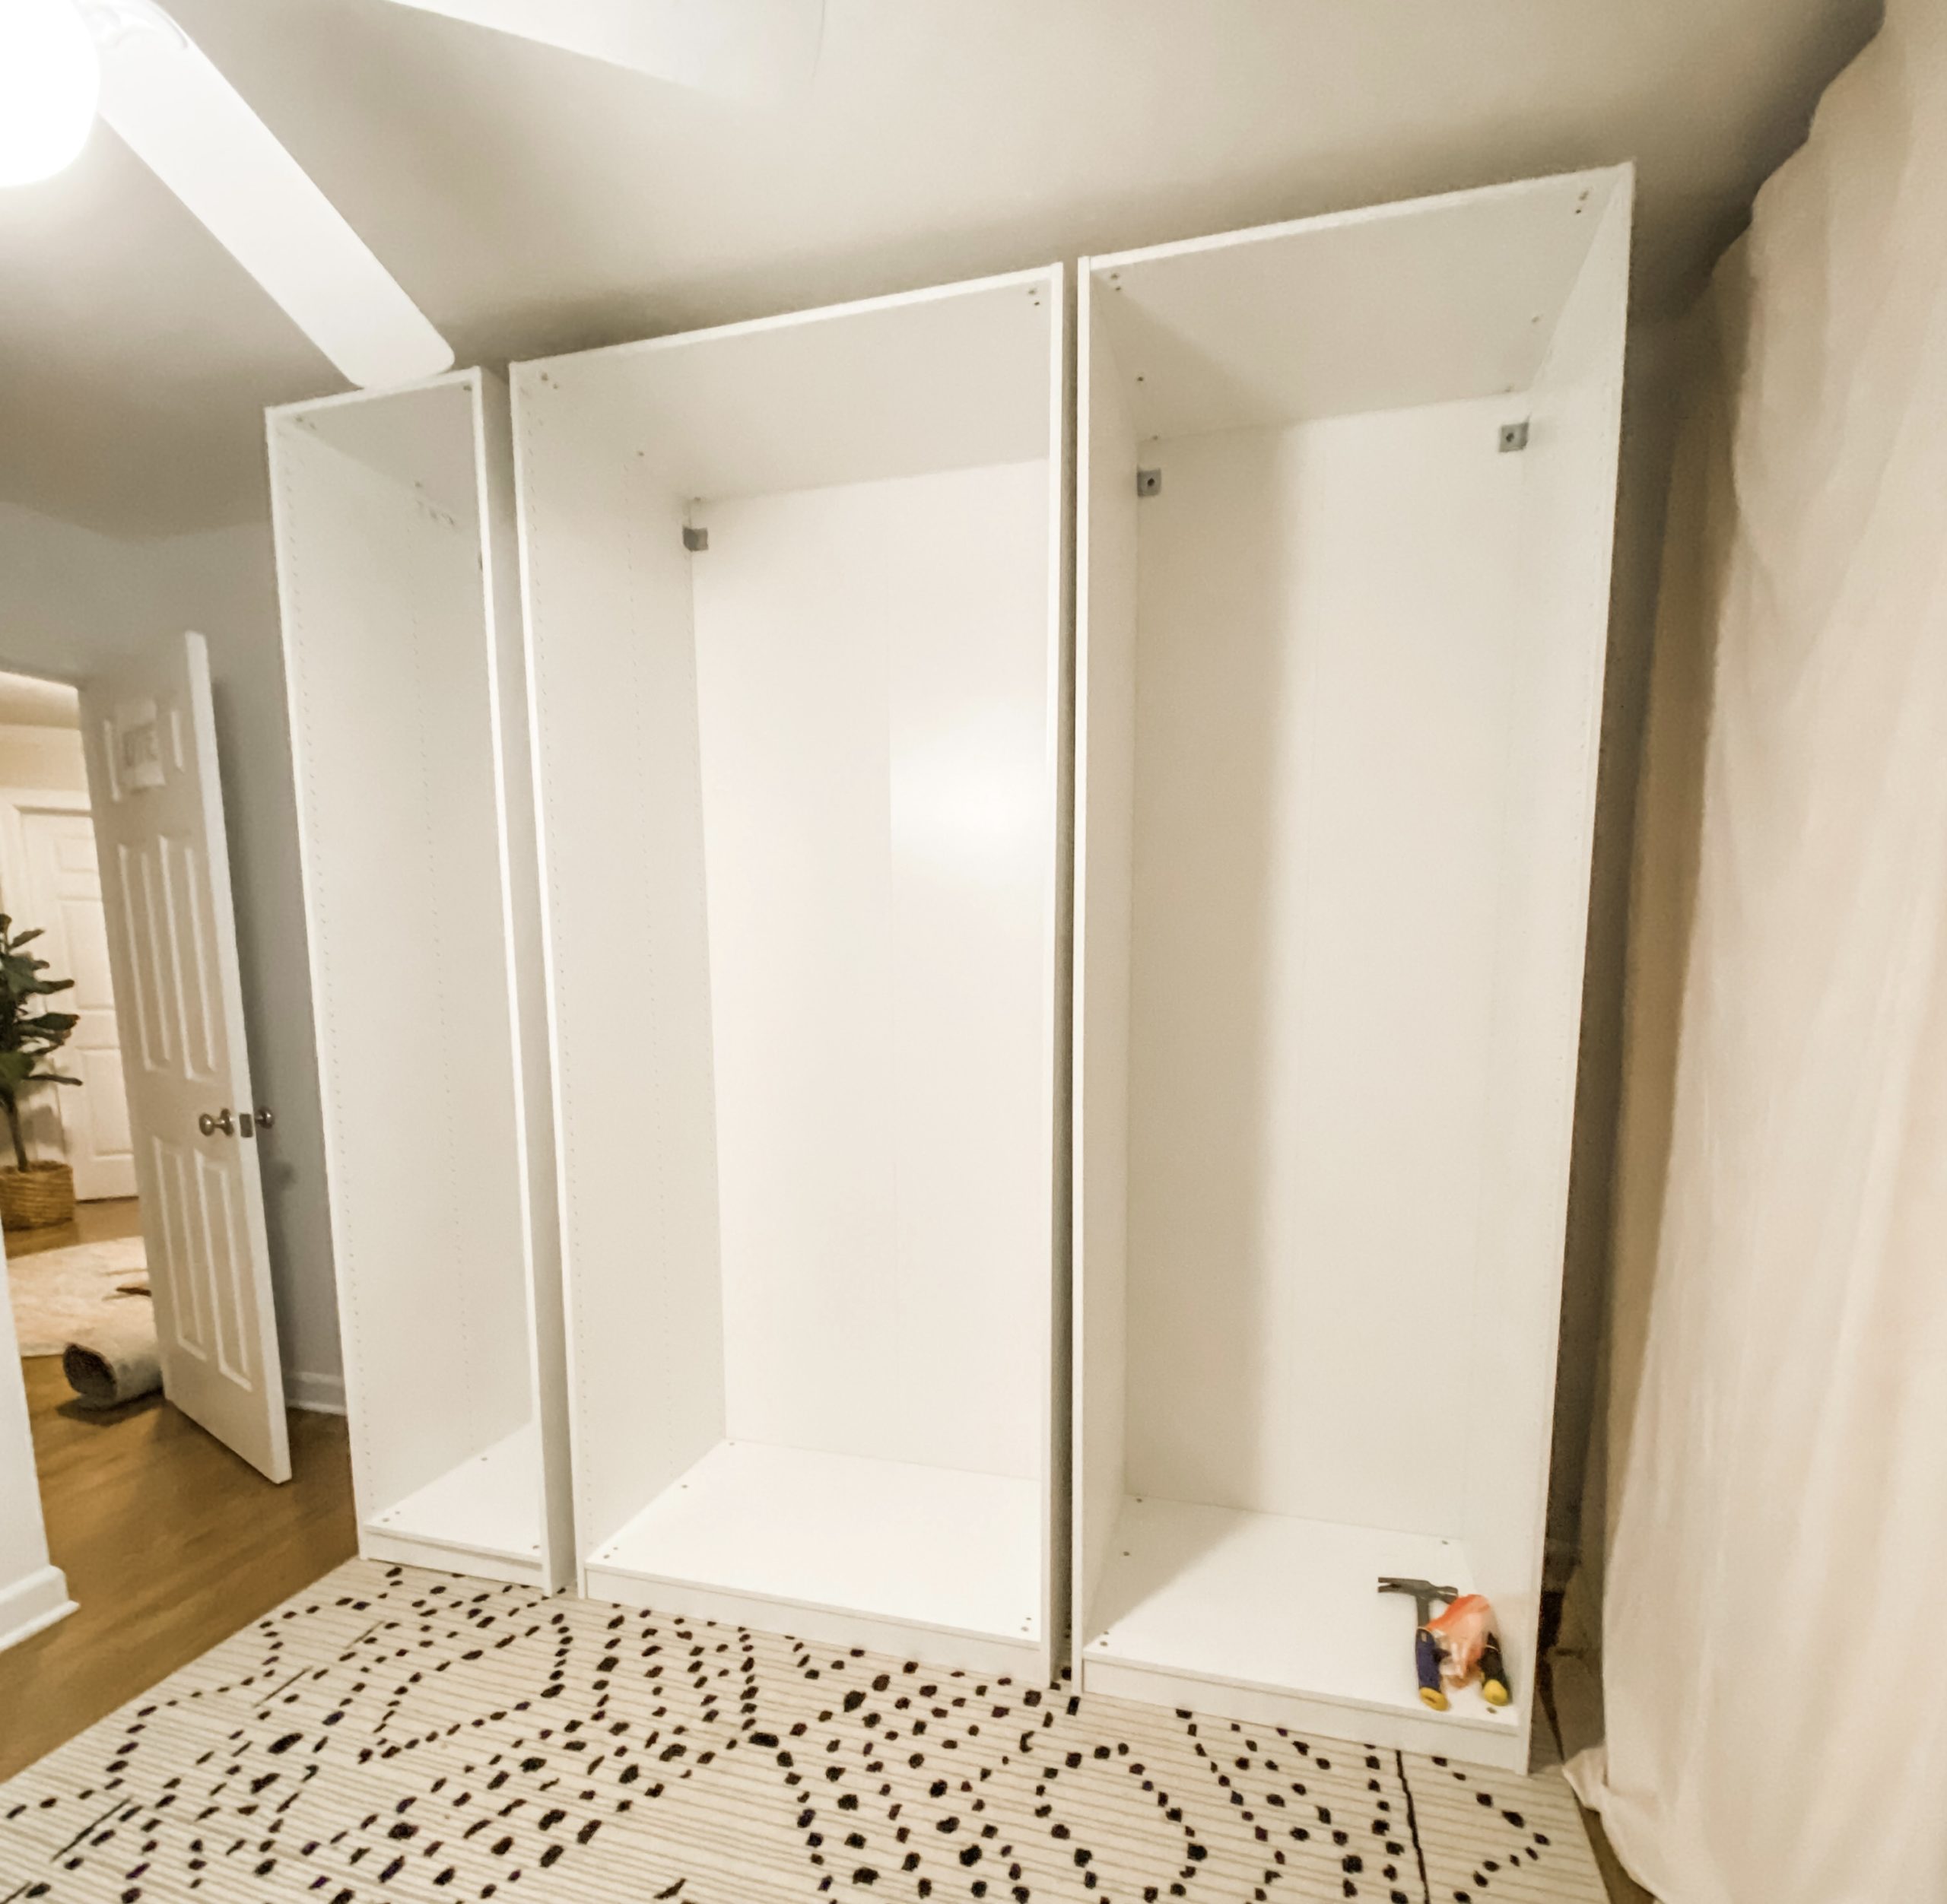
Next, we moved my daughter’s desk out of her room to clear space to build the three IKEA PAX closets. I was worried we wouldn’t be able to get them into the room if we built them outside of it. After building them on the ground, we had a moment of panic thinking there wasn’t enough ceiling clearance to stand them up. It was a really tight fit, but thankfully we got them upright!
3. Deconstruct the Existing Closet
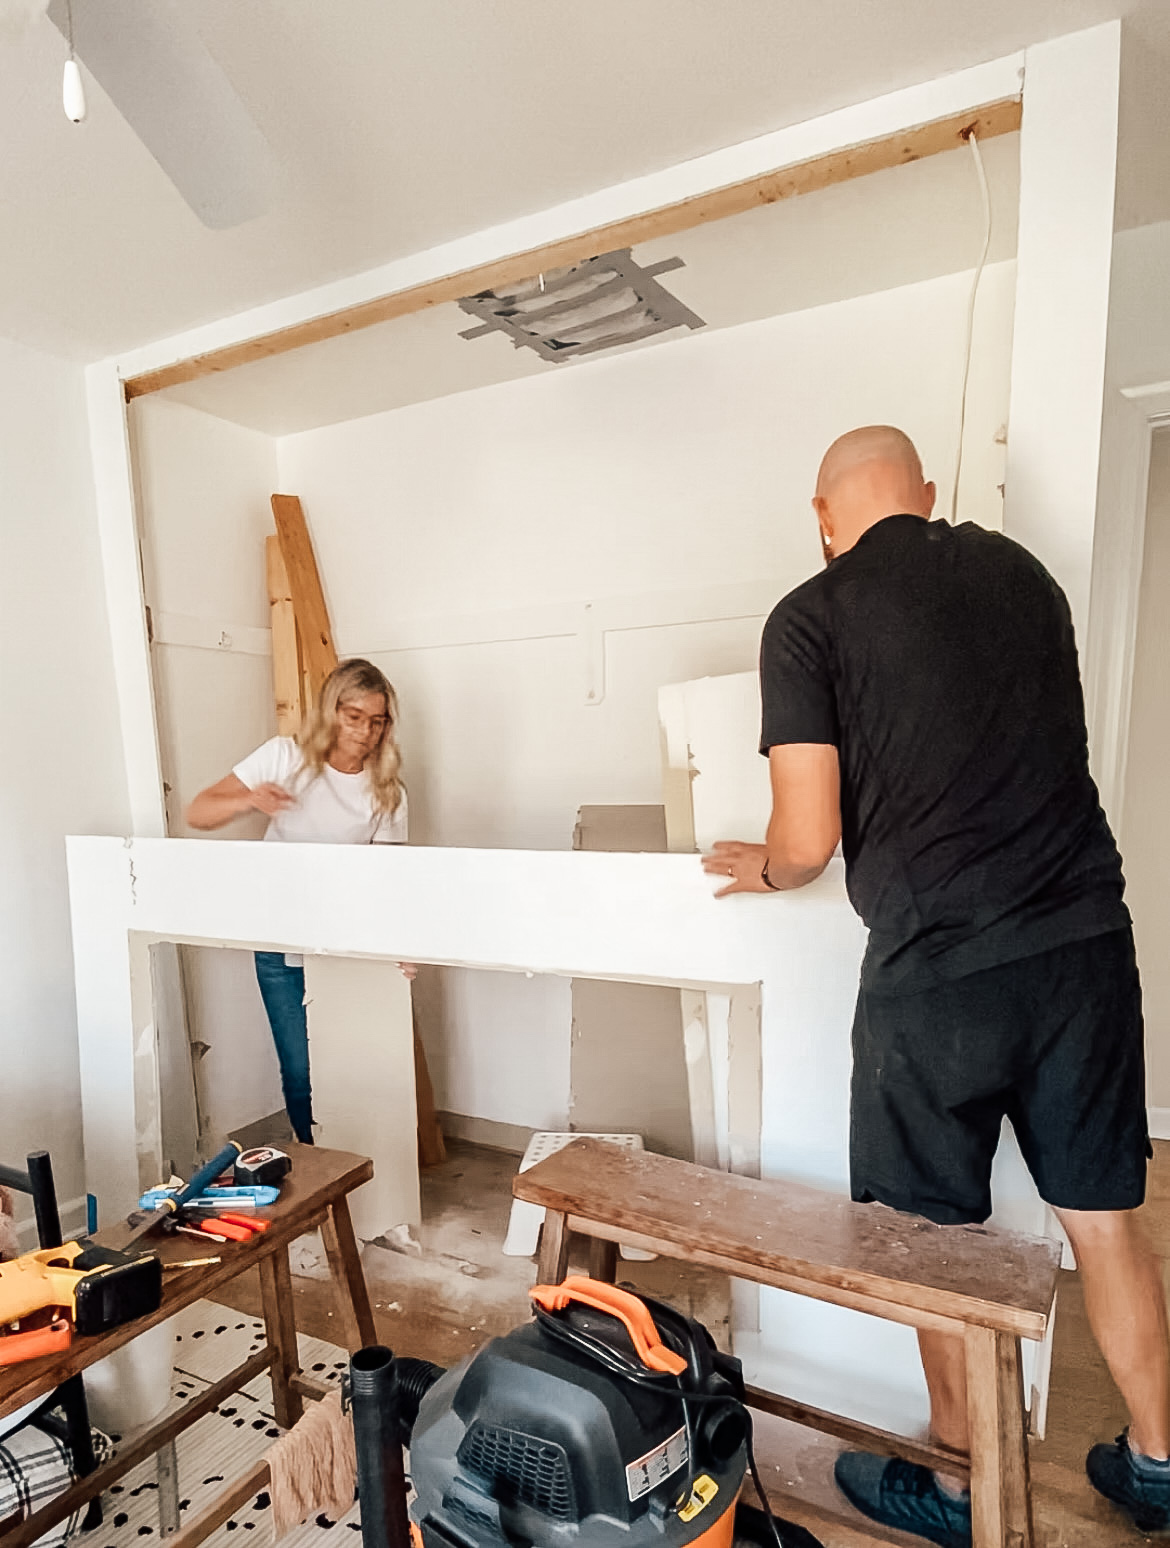
At this point, I wasn’t exactly sure how we would get the IKEA units to fit into the existing closet space. I’m a visual learner, so I knew I had to just build the units before I could envision the next steps. We decided to start by removing the closet doors and taking off the trim to see what was behind it. We had never done anything like it! But we knew we could all in reinforcements if we got in over our heads.
4. Remove Baseboards
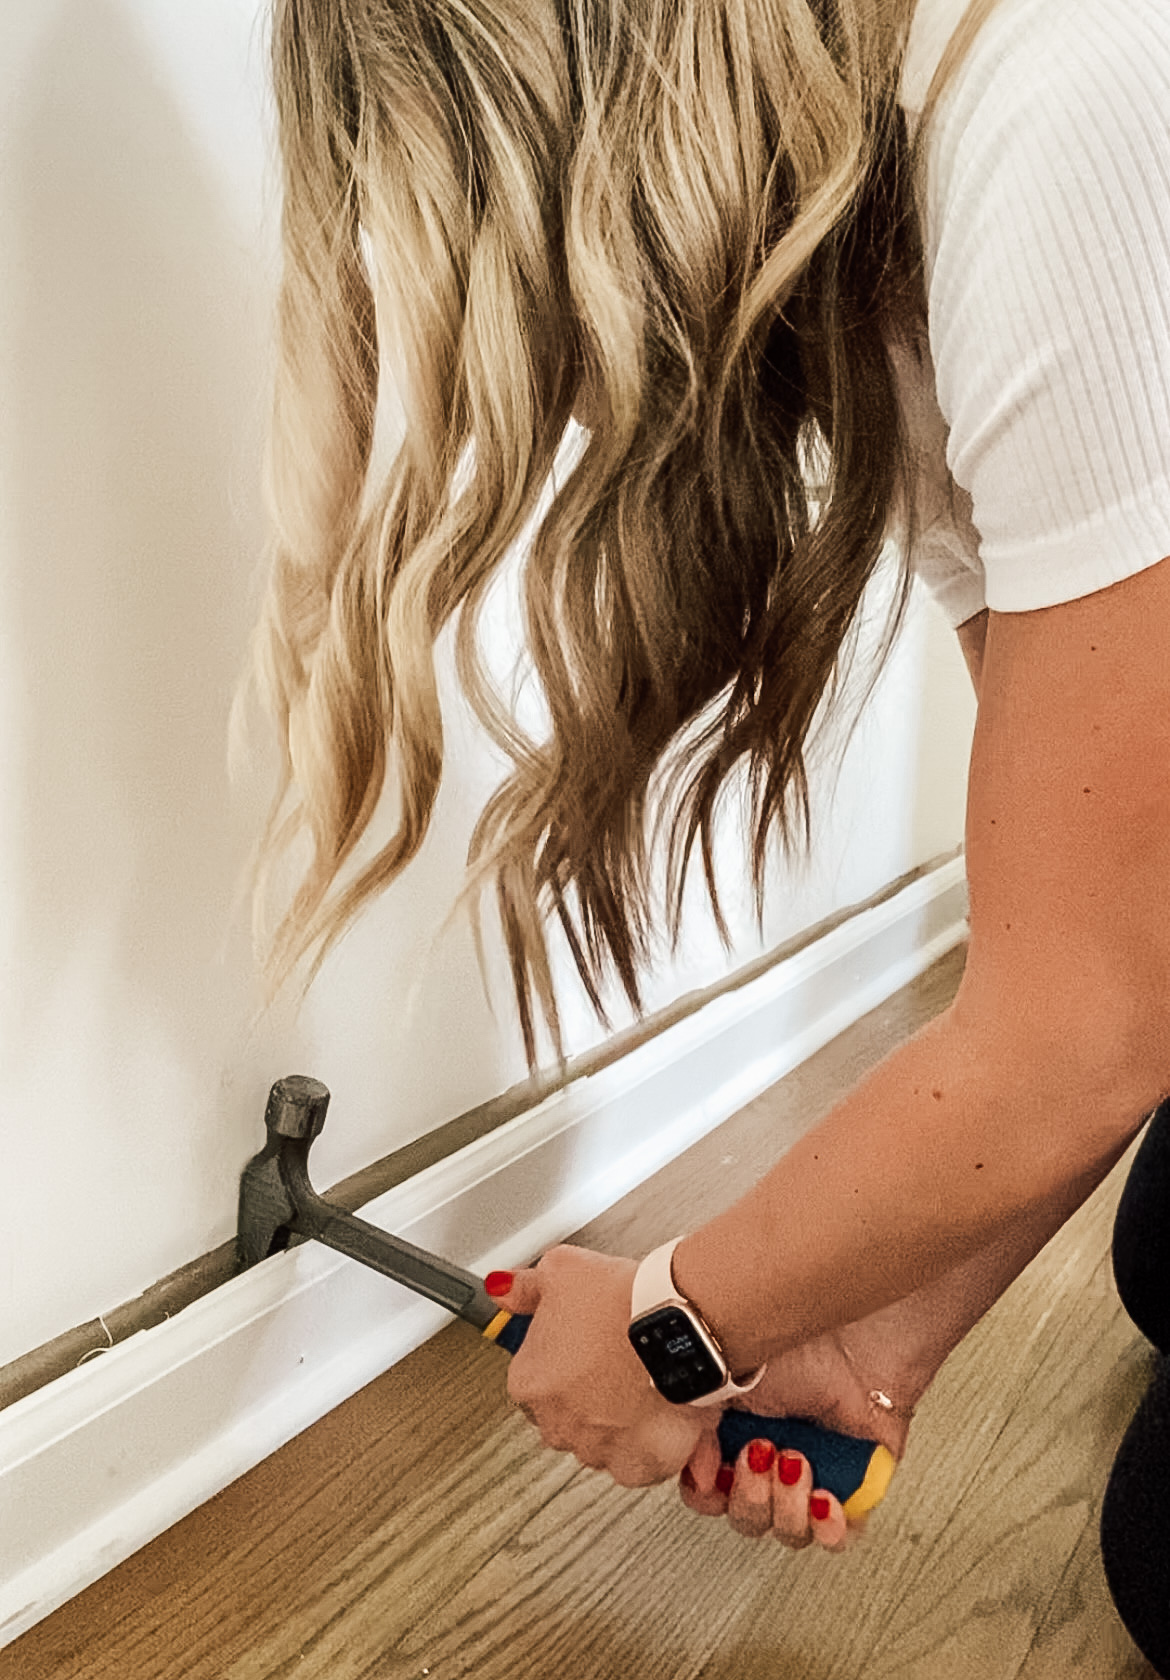
With everything out of the existing closet, I decided to start removing the baseboards around the outside of the closet. I gently pulled them off with a crowbar, knowing we would want to reuse them to cover the base of the IKEA units. This was a nice way to make the IKEA closet look more built-in!
5. Mark PAX Unit Measurements + Cut Into Drywall
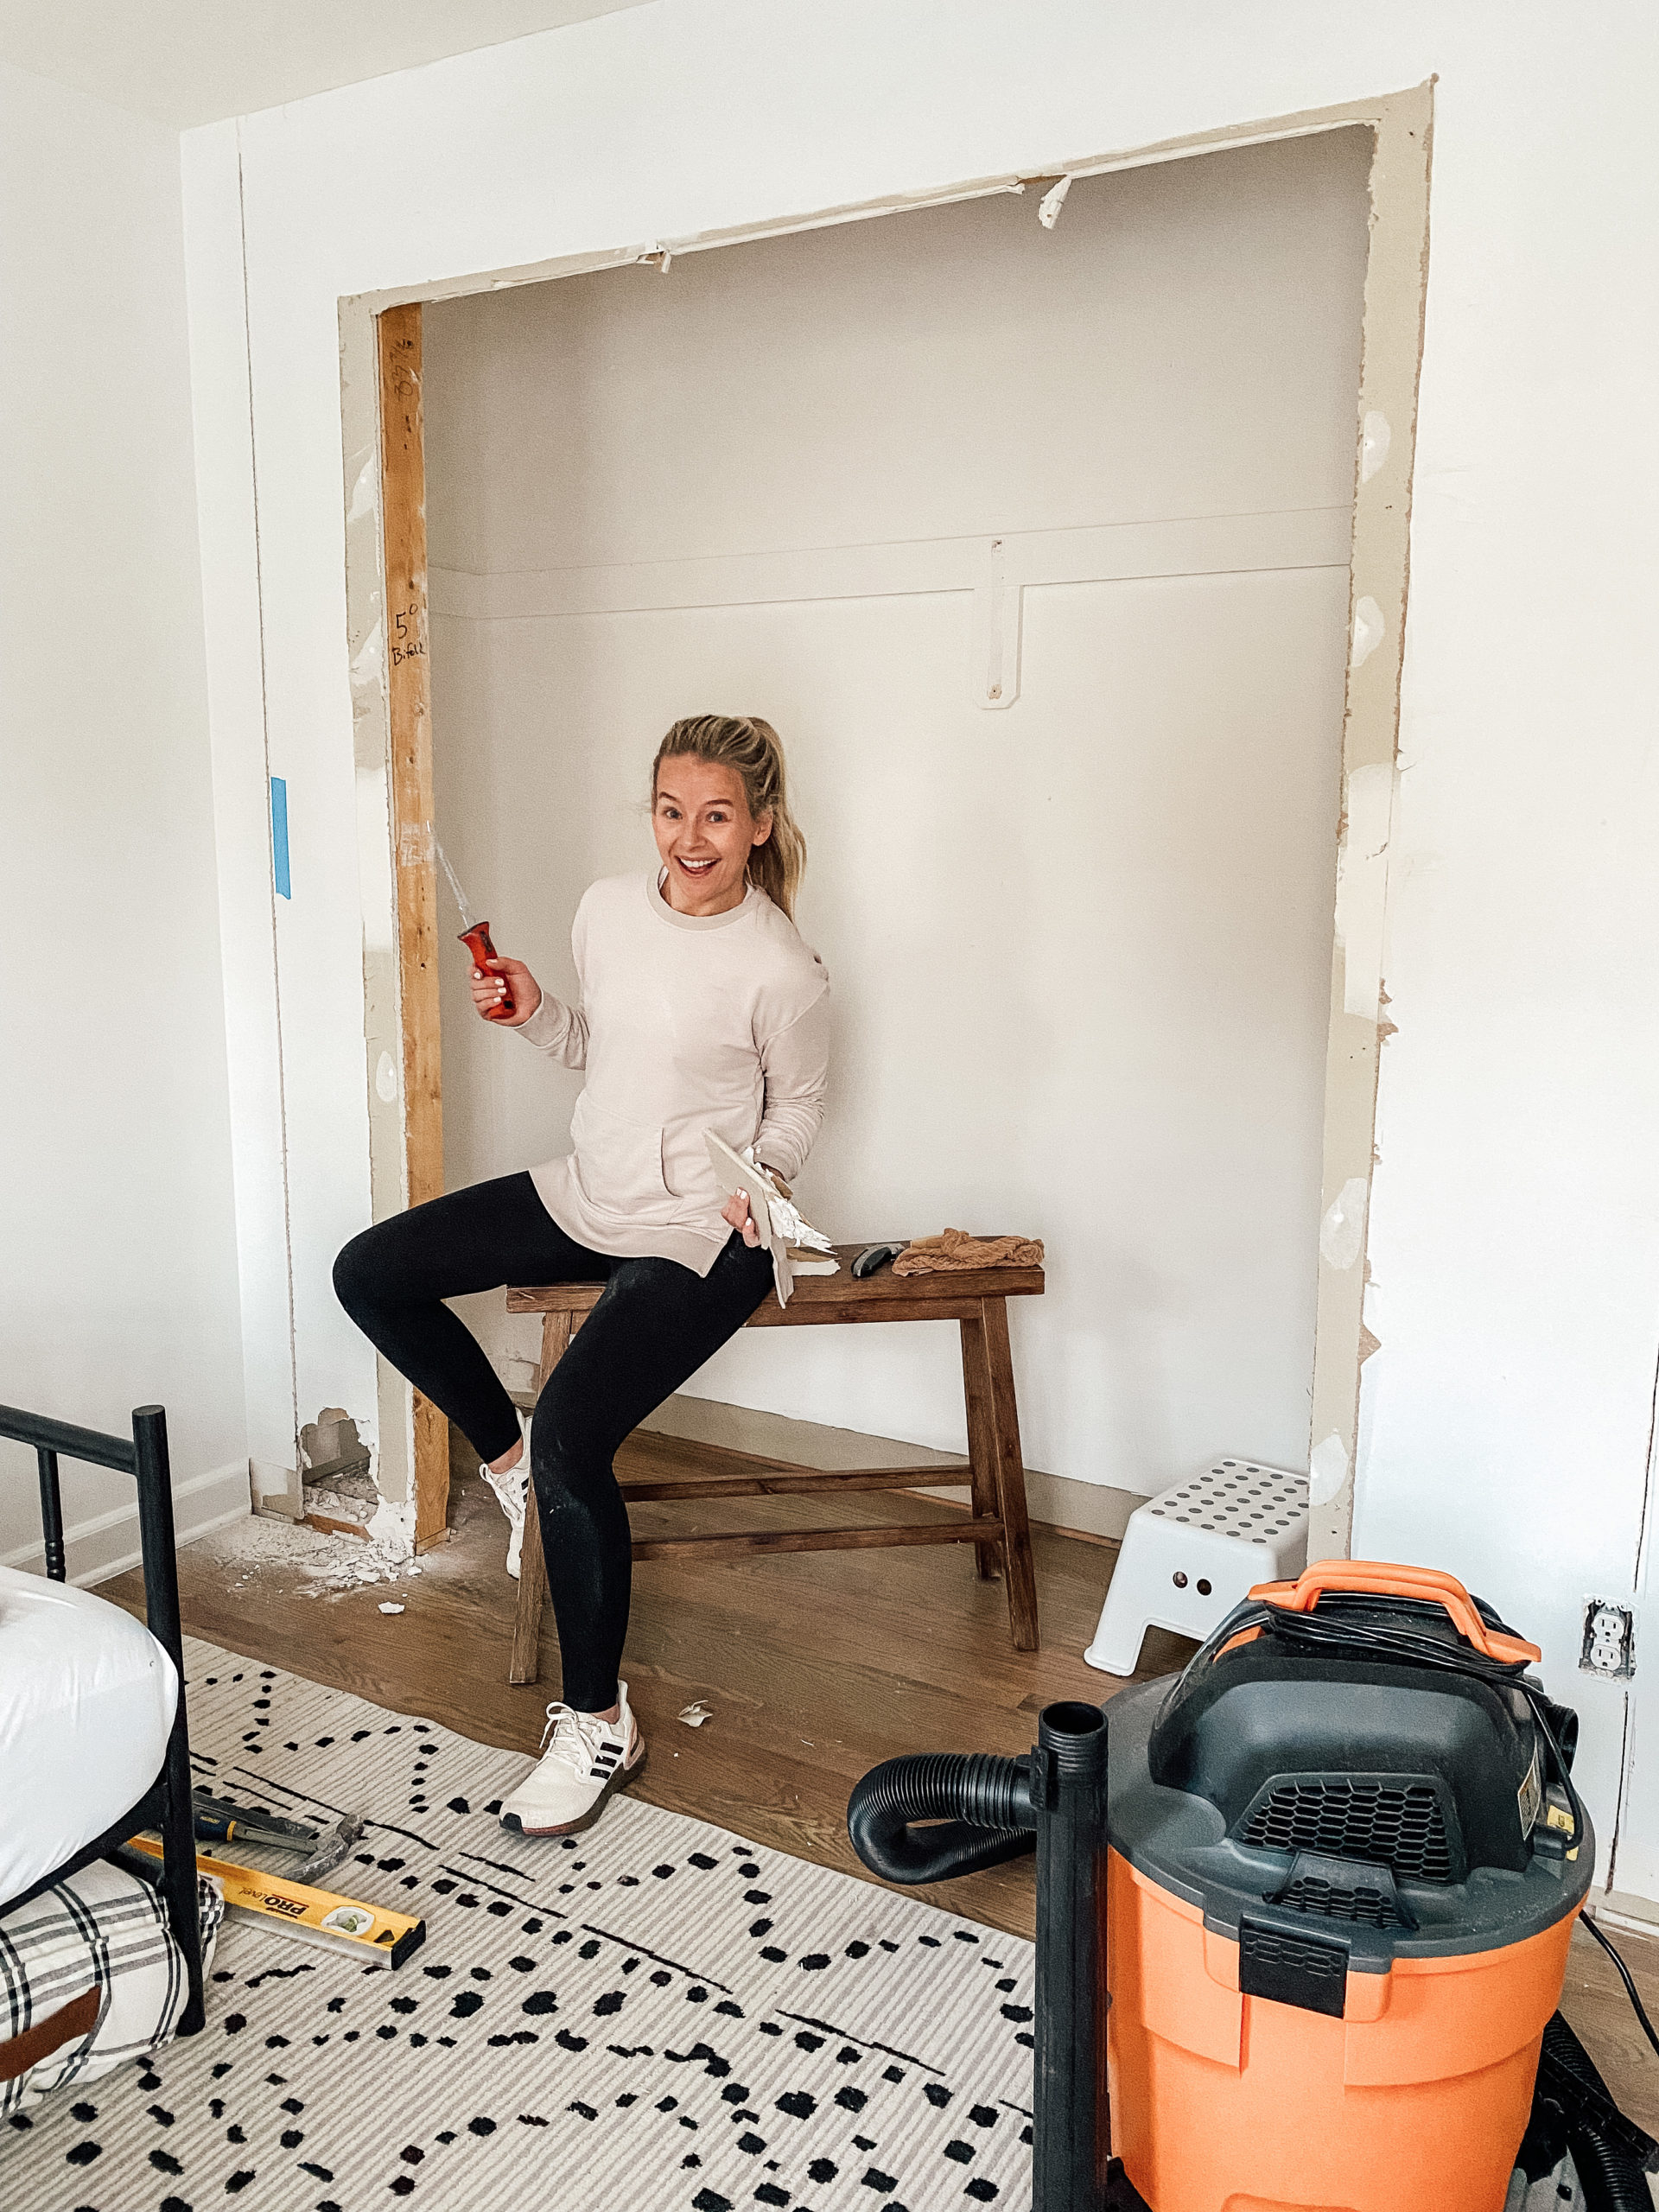
Now it was time to measure the IKEA closets (again!) and mark out these measurements on the wall inside the existing closet. Once that was done, I started cutting into the drywall. I really wasn’t sure what I would find, but I decided to cut from the inside of the closet rather than from the outside.
I’m glad went that route, because I discovered a 2×4 running parallel to the outer edge of where the IKEA PAX closet would go. I used this board as my guide to cut out the drywall.
We also discovered a beam that looked structural, so we called in a contractor friend to ask for his advice. He said he didn’t think it was a structural beam, but suggested we cut into the ceiling to confirm that the front part of the closet wasn’t holding any part of the ceiling up. This was a messy job (so much insulation!) but it was worth it, because we were able to confirm that the beam was NOT structural.
6. Relocate the Electrical Outlet
Whew! Cutting into the drywall proved to be a big ordeal, but we got through it and were able to safely remove some 2x4s that were not load-bearing. Now we wanted to move one of the outlets in the closet. Since most outlets are connected to others, it’s better to move an outlet rather than shut it off. It’s also smart to shut down the power on the breaker, and use a voltage tester to test for live wires before starting this step. We moved it to have it come out of the other wall (so we wouldn’t have to cut into the IKEA units.)
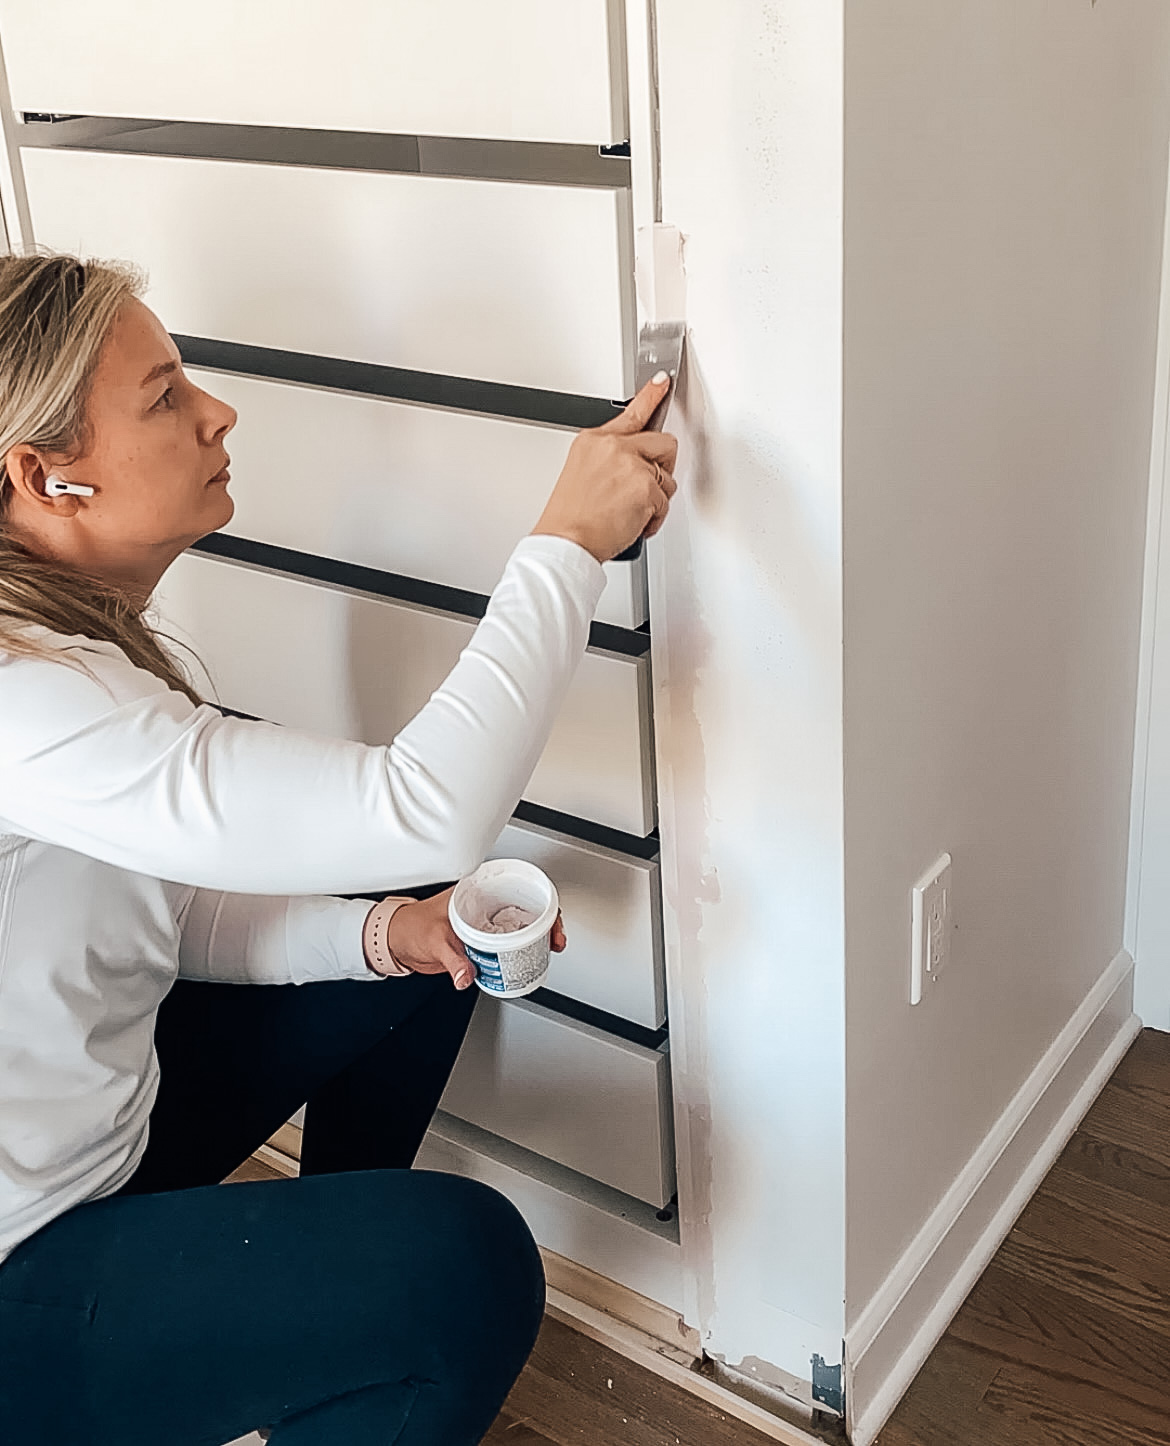
7. Finish Off the Raw Drywall Edges
Next, we used drywall tape and putty to give these raw edges a more finished look before inserting the IKEA units. Once the tape was on, we applied putty over the top, let it dry, and then sanded it down. This gave the edges a nice finished look.
8. Create a Base for the IKEA Units
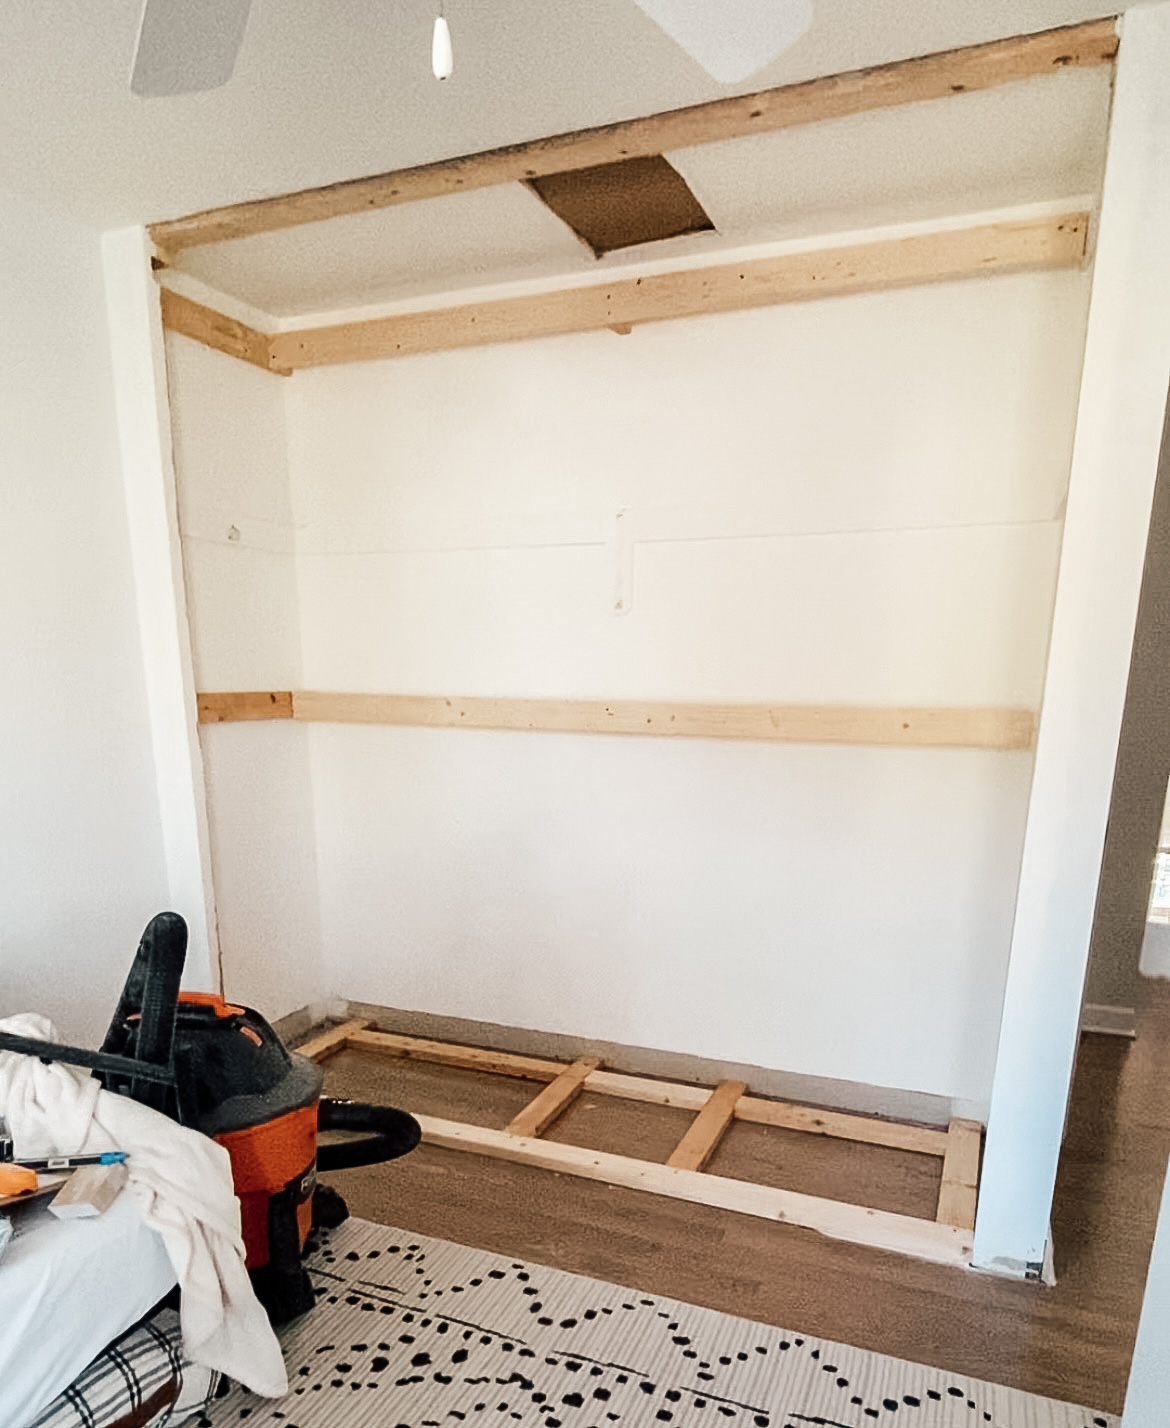
Now we needed to make a base for the IKEA units so that they would sit flush with the ceiling. We also needed the units to sit five inches out from the wall so they would sit flush with the existing drywall and we wouldn’t have to mess with the floor. We used 2x4s to create the frame and add extra support to the units.
9. Move the IKEA Units into the Closet Space

It was finally time to move the closets into the space we carved out! However, we definitely had some kinks in the plan at this point. The closets didn’t fit as perfectly as we planned. We decided to try to shave off some of the drywall to get them in, and on one of these attempts, we nicked the electrical wiring. Thankfully, the power to the outlet was off at this point, but it was still super disheartening to have this hiccup! We called an electrician to come out and fix the cord, and thankfully we were able to get back on track pretty quickly. We used a rubber mallet and a rag to ease the last unit in one inch at a time. And finally—it was in!
10. Secure IKEA Units to the Support Beams
Once the IKEA units were in place, it was time to secure them to the support beams we had put in at the back of the closet. We drilled in washers and hardware in the back corners to ensure the new closet isn’t going anywhere!
11. Fill in Seams
Then we added more putty and caulk to the seams to give the closets a built-in look. I applied a backer rod to the seam between the new IKEA unit and the wall so that I wouldn’t have to use as much putty to fill it in.
12. Assemble the Rest of the Closet
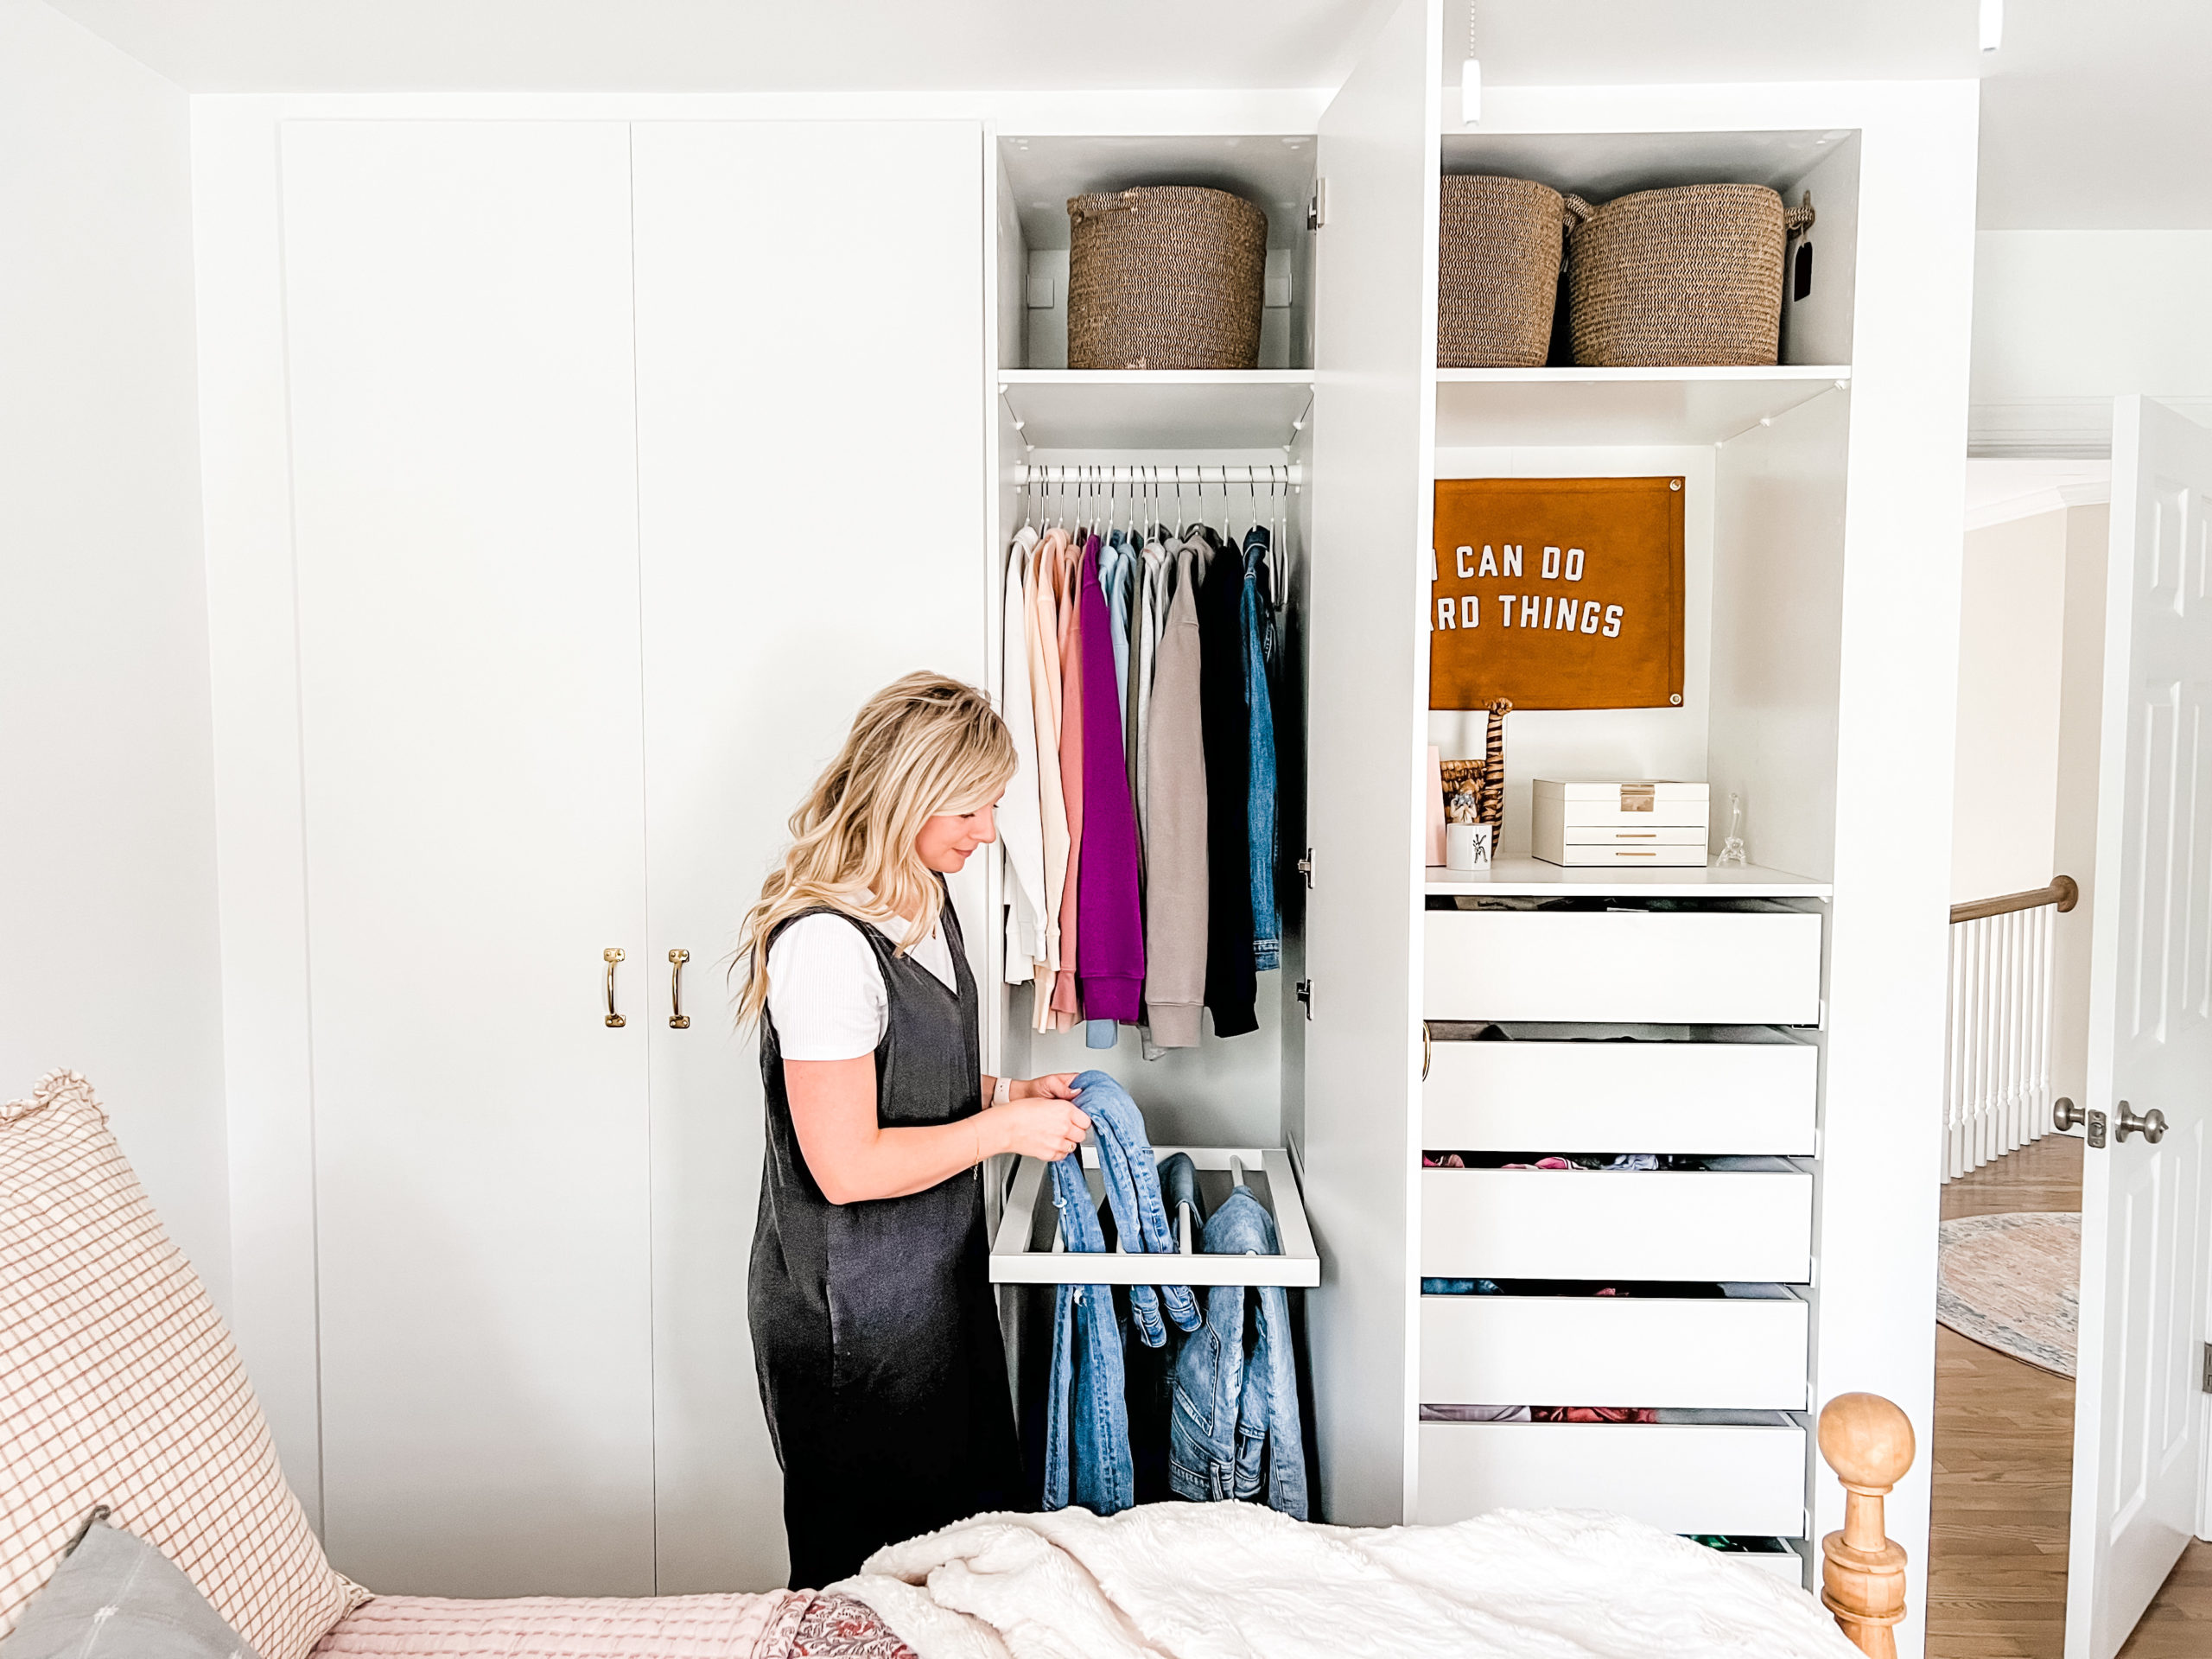
At this point I had built out the closet and attached the doors, but I hadn’t finished assembling the drawers or shelving. So I put all of those in place to finish off the IKEA PAX unit. Our custom wardrobe includes six drawers, a closet rod, shelves, and a pants hanger—which is a great solution for my daughter to store all of her jeans.
The closet units didn’t come with hardware, so I bought these brass pulls on Amazon and love them.
13. Attach Baseboards and Trim
Next, we used our nail gun to put the old baseboards back in place. Thanks to the platform we made from 2x4s, the baseboards fit perfectly and looked great! We also installed a quarter round right in front of the baseboard to make it look more professional. Finally, we dusted everything off, applied the caulking, and it was DONE!
The Finished Product


I could cry at how amazing our IKEA PAX wardrobe turned out! We certainly hit some bumps along the way, but we powered through. In the end, it was SO worth it. I highly recommend this closet system if you want a built-in look at a more affordable price!
Pricing Breakdown
You may wonder how much of an investment this Ikea closet was. Compared to a custom built-in, it saved us thousands, but was still something to budget for.
Ikea units: $1,063
Lumber, molding, finishing supplies: $52
Hardware: $28.50
TOTAL: $1,143.50
Shop the Post
{Paste Widget Shortcode}
I like to hang out on Instagram and share more in-depth tutorials on everything I make, create, and organize. Come be a part of our Home & Kind Instagram community.
Grab the PDF of 30 of our favorite family games that use
things you already have around the house.
30 games you can play
with your family that take
5 minutes each

Free Download
+ Show / Hide Comments
Share to: