

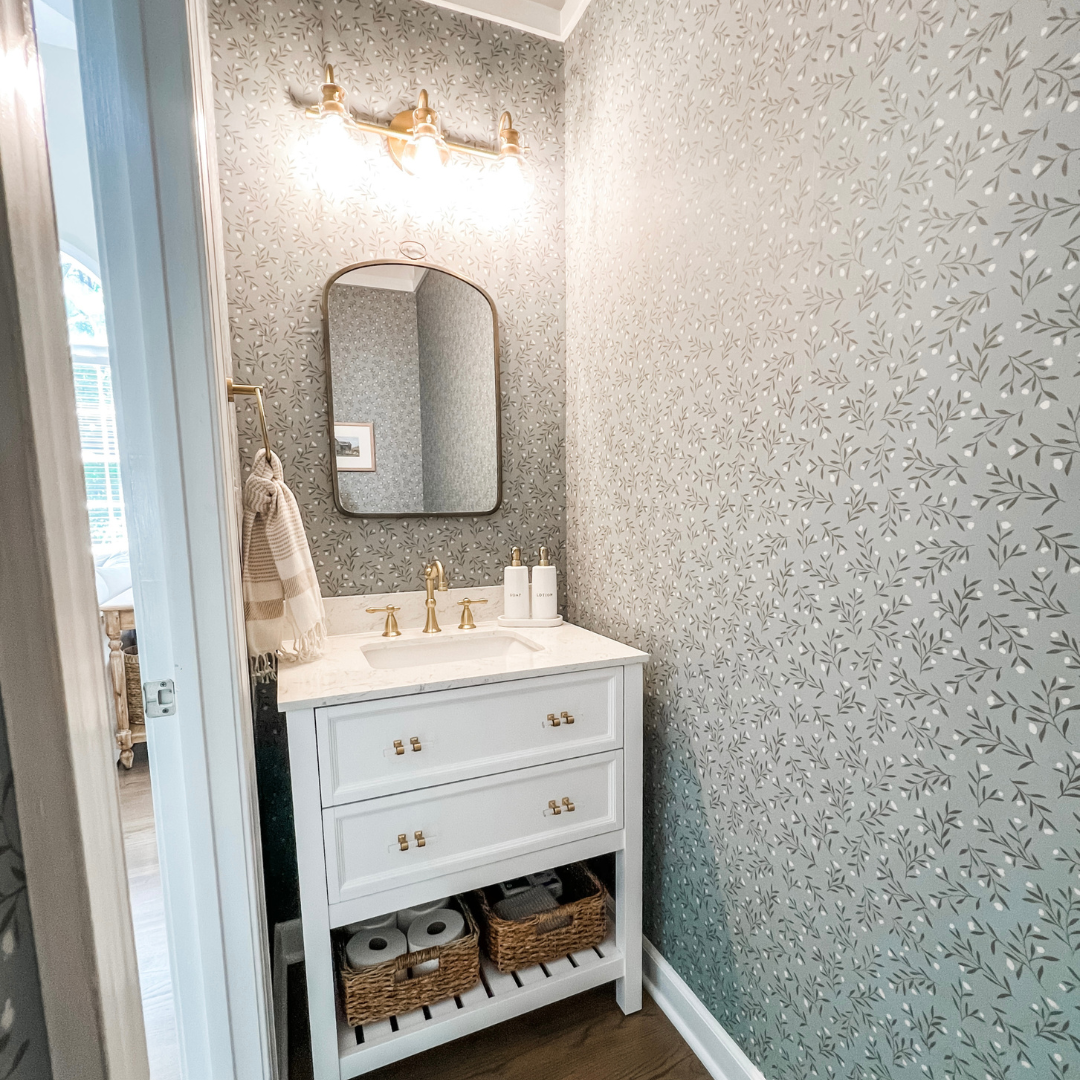
A few weeks ago I revealed our half-bath renovation and linked to all of the sources. This bathroom has truly been a game-changer for us, and I feel so happy every time I walk by and see a peek of the beautiful wallpaper!
I have done my share of wallpapering, and I'm pleased to say this wallpaper from Ayara Home is so easy to work with! It's high quality, easy to apply, and easy to peel back if you mess up.
Plus, they have so many gorgeous wallpaper options to choose from. You can't go wrong!
So many of you had questions about this process, so today I'm sharing a step-by-step guide on how to hang removable wallpaper.
Whether you're a total novice or have hung wallpaper before, this post is for you!
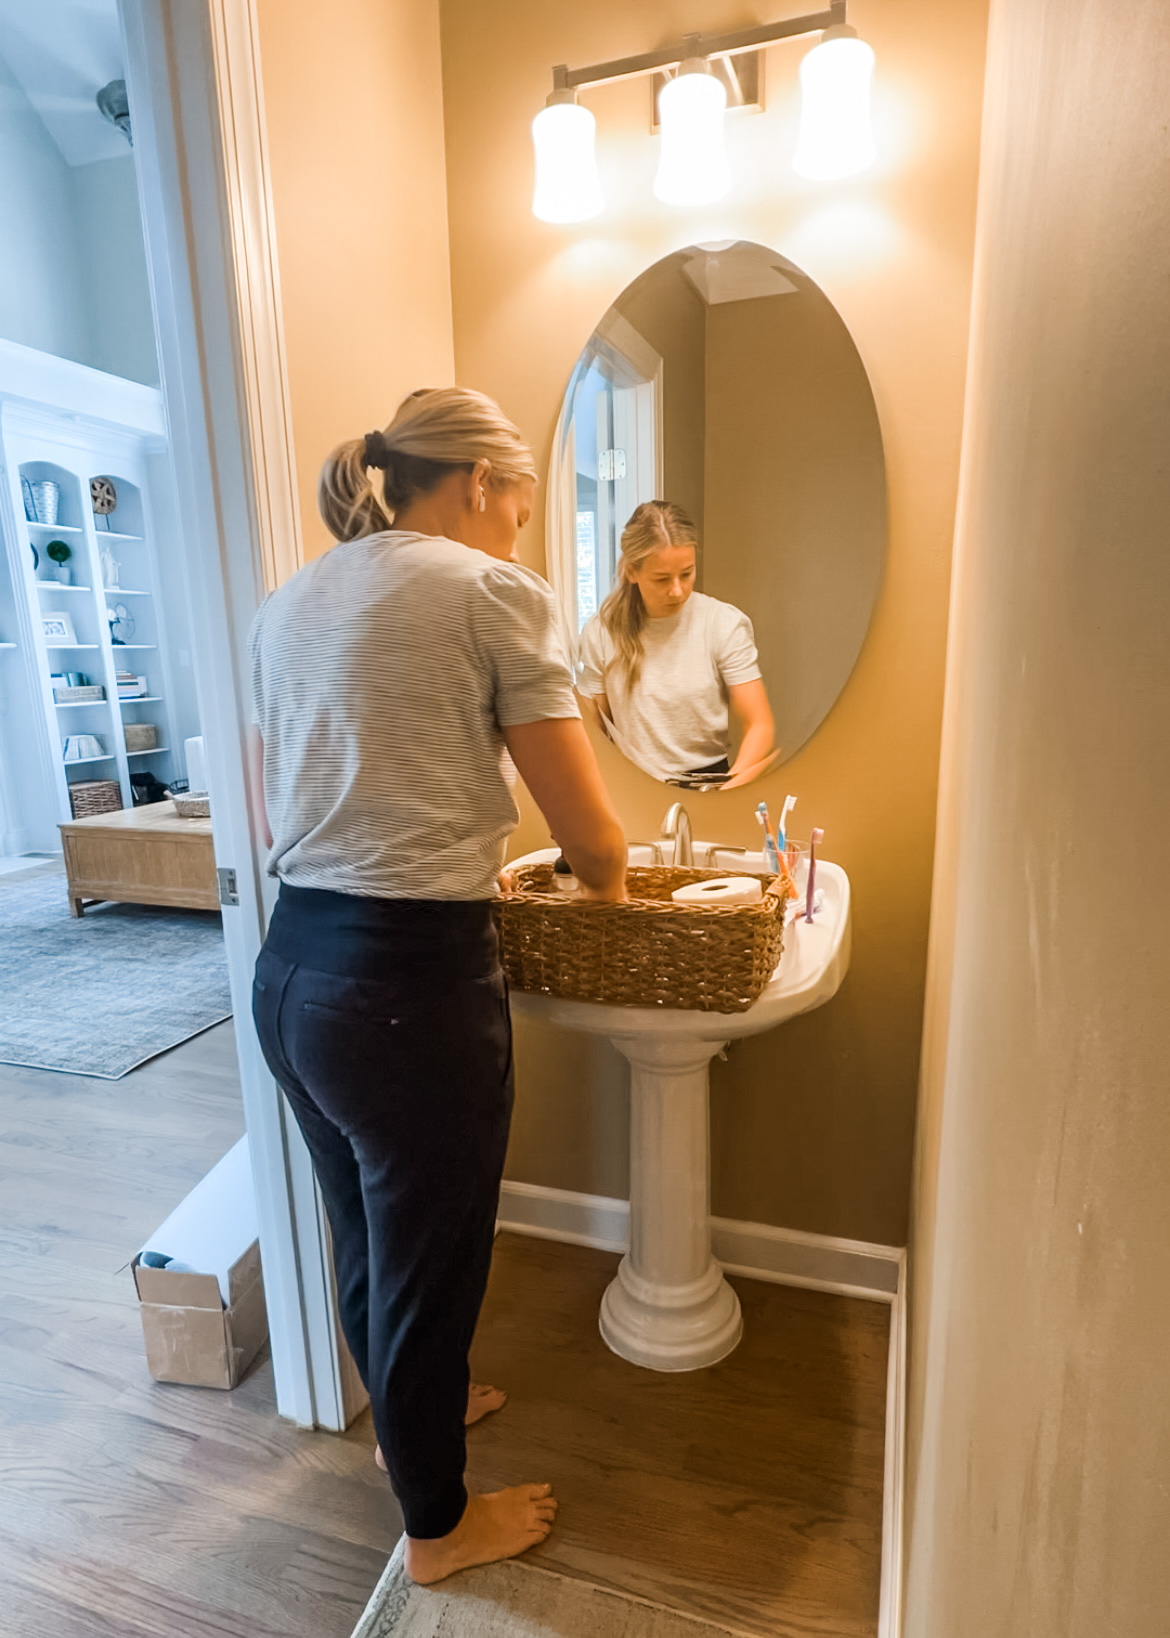
1. Remove Everything from the Room
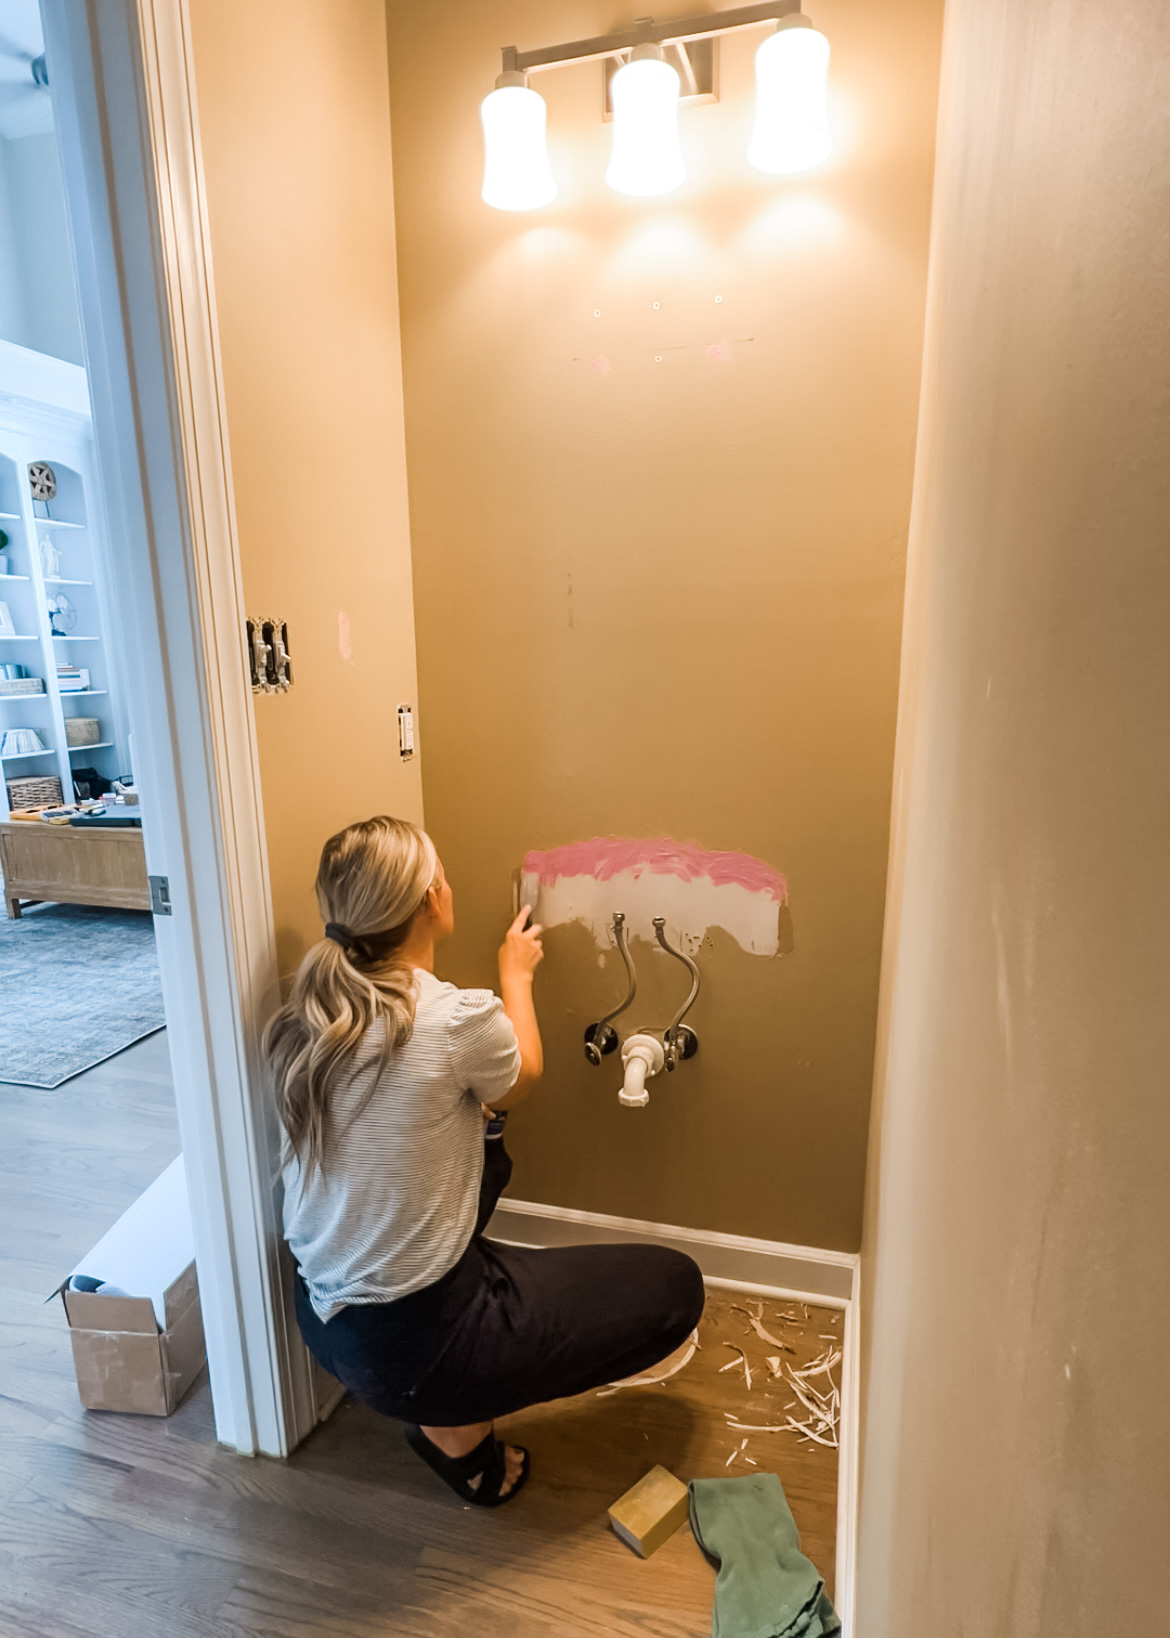
The first step to hanging removable wallpaper is getting everything out of the way! Take down art, mirrors, light fixtures, etc. If you're wallpapering the bathroom, remove sinks and toilets to clear the way for installing each panel. Patch the walls and fill holes as needed.
2. Prep the Walls
The next step is making sure the walls are completely clean, dry, and smooth. Use a clean, damp cloth to get rid of dust and debris. Then use sandpaper to smooth any bumps, which could tear the wallpaper.
Allow the walls to fully dry before moving on. You're probably eager to get to the real work, but don't skip this step! (Keep in mind: If you've recently painted, wait a month before installing wallpaper. The paint can take 4 weeks to cure!)
3. Choose a Starting Point
Next it's time to decide where you'll start the hanging process. If you're just wallpapering a single wall, start in the left corner. If you're hanging wallpaper in a full room, the decision is a little trickier. I suggest starting in a corner that gets the least attention (not the corner you see when you walk in the room.) Then, if the pattern doesn't perfectly match up at the end, it will be less noticeable.
4. Mark a the Starting Line
With your starting point chosen, use a pencil and a level to draw a straight, vertical line to mark the spot. The line should be 23.5 inches to the right of the starting point to give you enough room to install the first panel (when using 24" wallpaper strips).
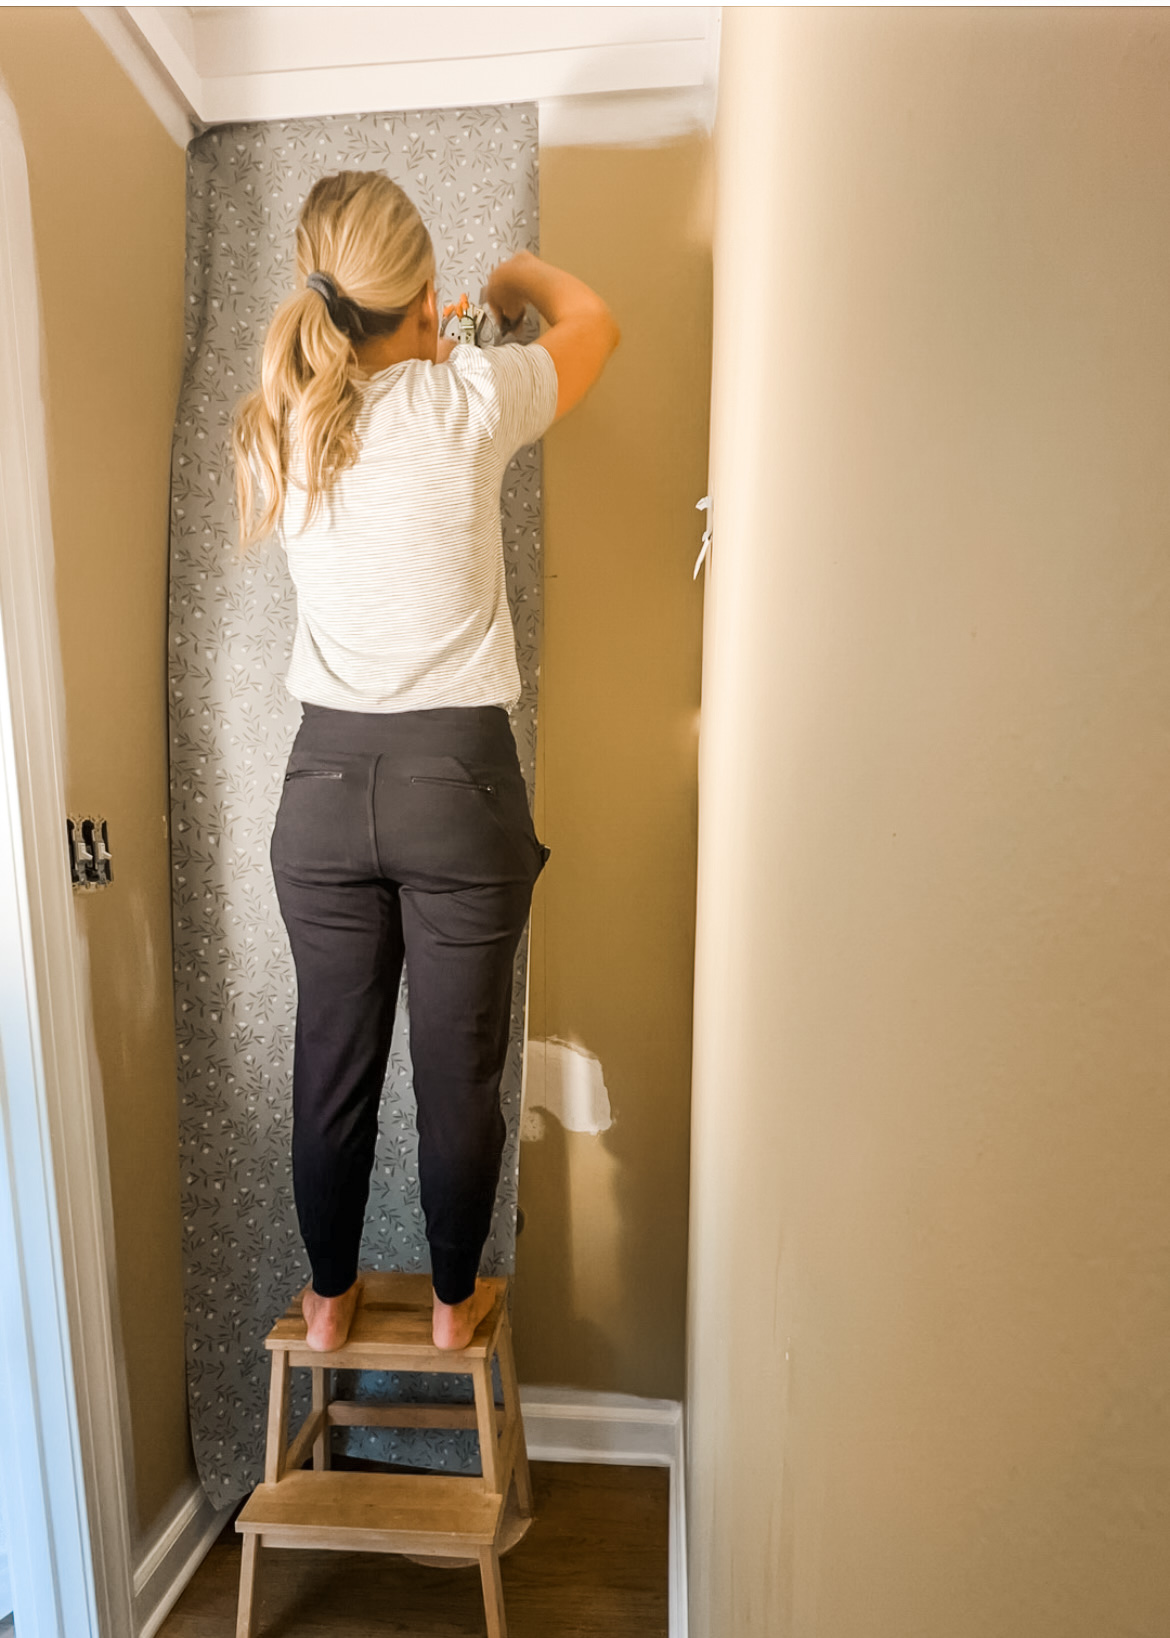
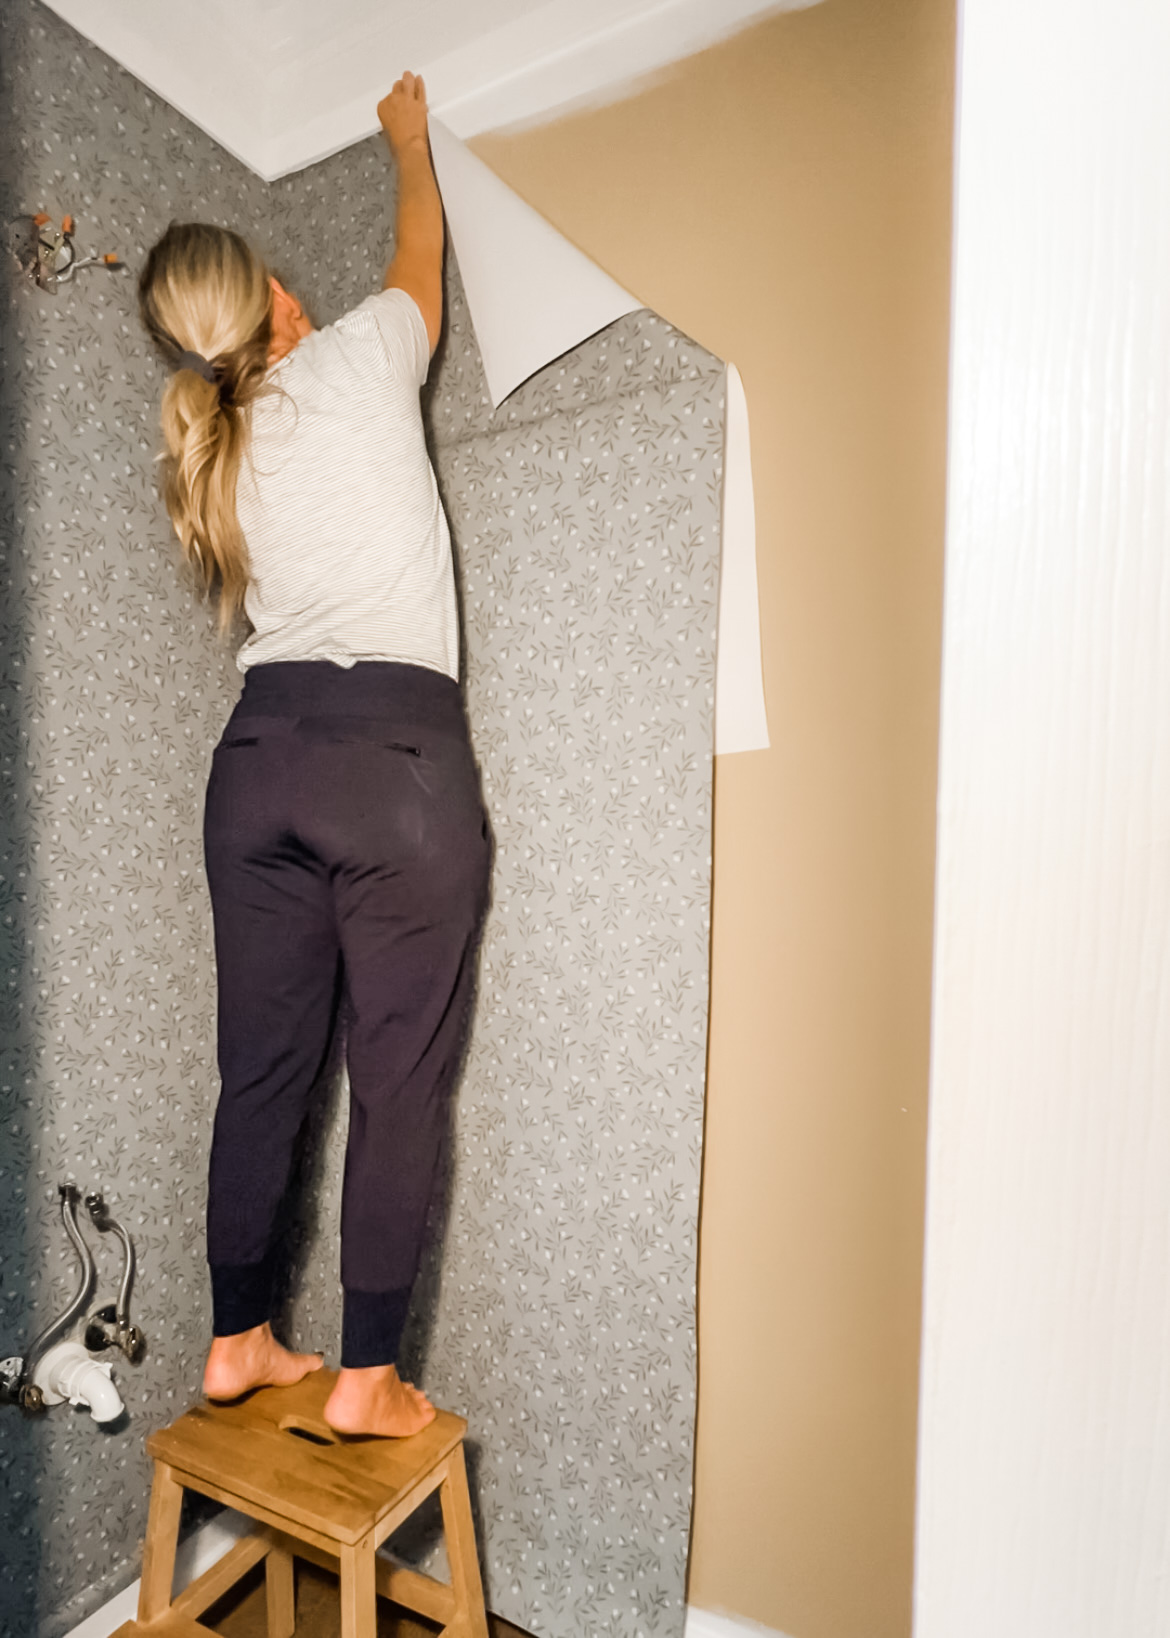
5. Install the First Panel
Now it's go time! Remove the backing from the top of the first panel, up to about 8 inches. Adhere the panel to the wall near the top of the ceiling, leaving 2-3 inches for trim, if desired. Make sure you line up the panel with your starting point line.
Working from the middle of the panel outward, use a smoothing tool to smooth the panel and get rid of any bubbles. Cut around any obstacles (like pipes and outlets) with a utility knife.
Remove another 8-12 inch section of the panel and repeat the process of adhering it to the wall and smoothing out the bubbles. Continue until you reach the bottom of the wall. Fortunately, removable wallpaper is easy to peel back and try again if you need to redo a section!
Note: In many homes, the walls aren't perfectly straight, either due to settling or construction. In this case, you'll need to lay the wallpaper so that it lays on the next wall and can be trimmed at the end. So make sure you have enough wallpaper for a 1/2 inch or 3/4 inch overlap.
6. Continue Installing Panels
Whew, you did your first panel! Honestly, the hardest part is over. Now it's time to repeat the process until the wall (or room) is complete. Pick up the next panel, remove the top 6-8 inches of backing, and apply it in the same way you did before. Be sure to overlap with the first panel by 1/2 inch to 3/4 inch, and make sure the pattern aligns at the top.
If you need to come around a corner, use the utility knife to cut off the wallpaper. Then draw another line on the next wall to help you keep everything straight.

7. Trim the Wallpaper Edges
You're in the home stretch! Now you'll need to use a utility knife to trim the edges of the wallpaper for a polished look. You'll need a very sharp knife to keep the wallpaper edges from fraying. Just run the blade along the baseboards and top of the ceiling to remove excess, then peel it off. I like to use the smoothing tool right below my knife to apply pressure and make sure the knife cuts a straight line. Repeat the process in the corners.
Transform Your Space!
You did it! Now it's time to admire your hard work. Wallpaper truly transforms any space, and the best part about removable wallpaper is that you can even take it with you if you end up moving a few years down the road.
Just store your backing somewhere and reattach it when you remove the wallpaper. Or, if you just get tired of it, it's easy to remove and start from scratch.
Learning how to hang removable wallpaper can feel intimidating, but luckily, the wallpaper from Ayara Home is a great way to dive in!
I like to hang out on Instagram and share more in-depth tutorials on everything I make, create, and organize. Come be a part of our Home & Kind Instagram community.


